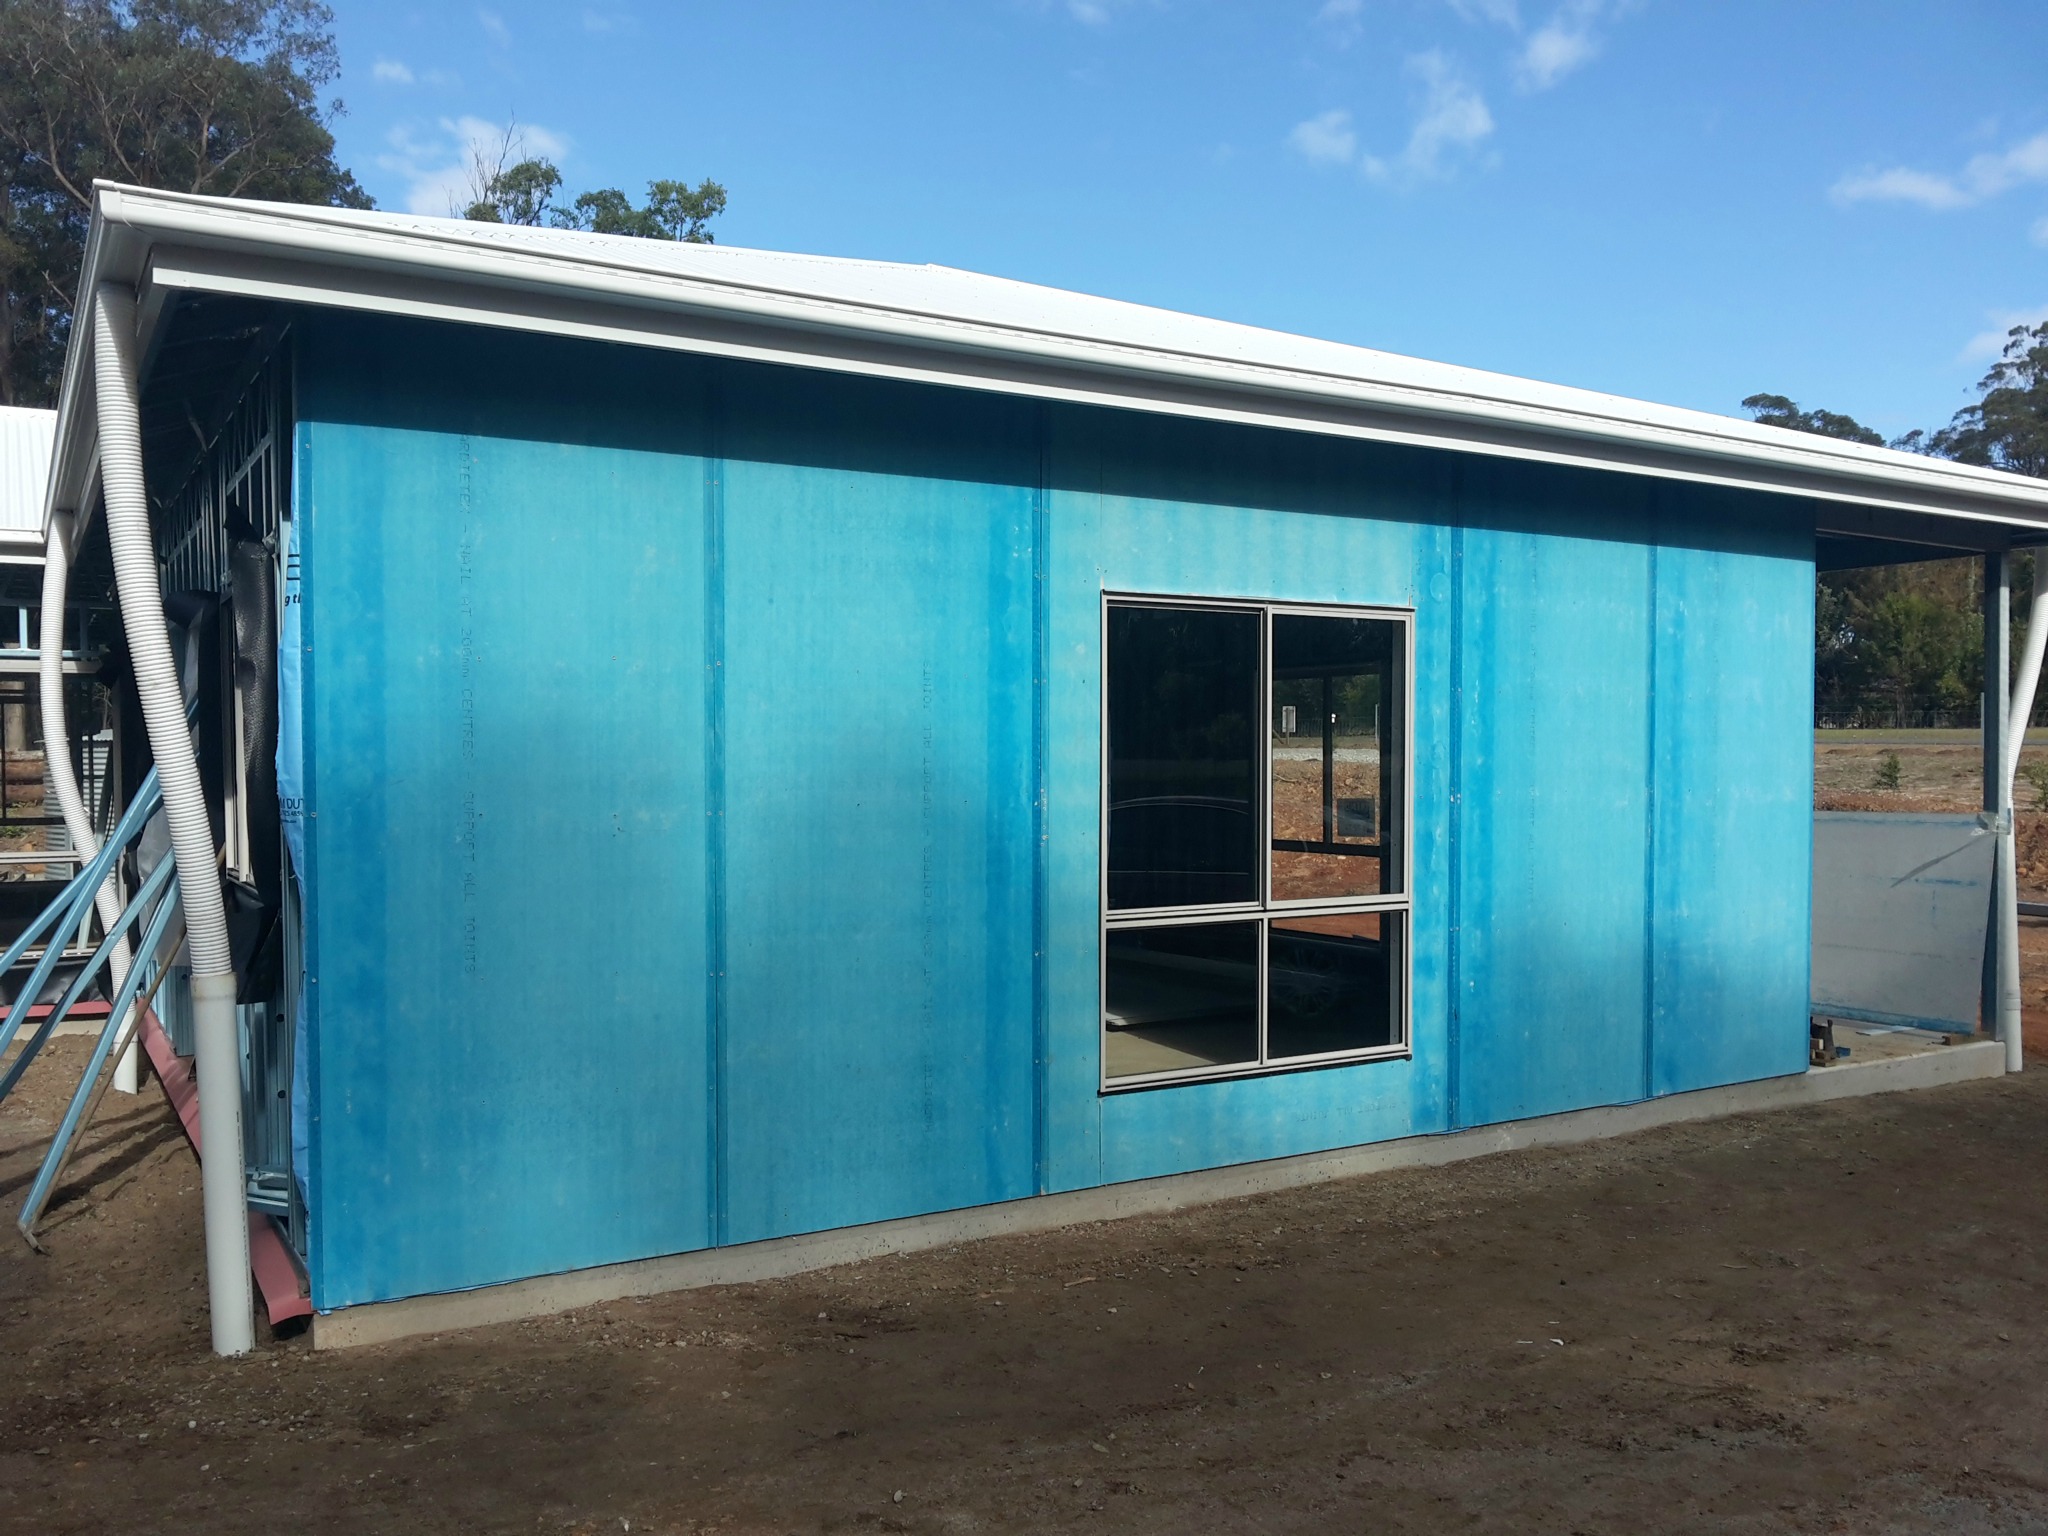
External blueboard cladding install
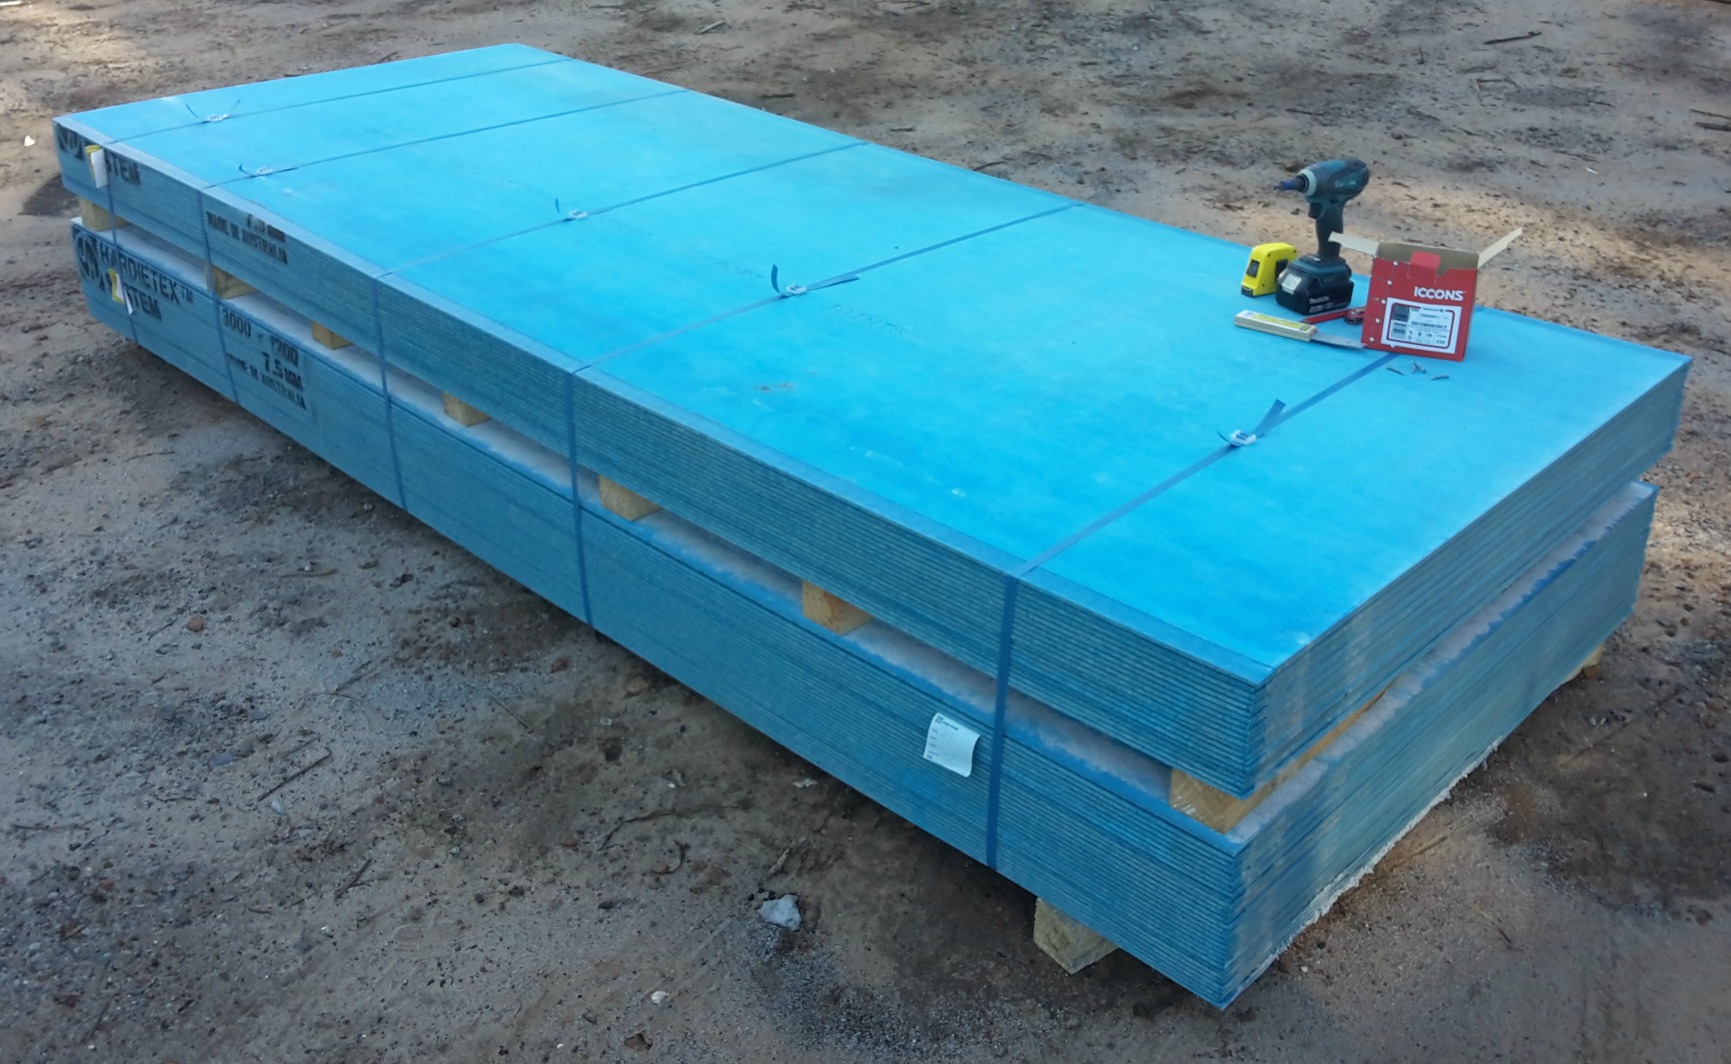
I opted for blueboard cladding as I wanted a better look than weatherboards, but still wanted to do it myself. These external blueboards were 7.5mm thick, 3 meters long and 1200m wide. They had a recess on each long side to aid jointing, and were meant to give the monolithic rendered look. Whether that would be the case after my owner builder touch, was for others to judge.
Benefits of blueboard cladding
- gives a modern monolithic look
- has a 60 minute fire rating
- accepts all renders and paints
- can double as frame bracing
Cladding with this material was a trial. Hardie, the makers of this product, claimed it was an easy, lightweight rendered option. In reality, it was a very difficult cladding to use, for a lone worker. It was very heavy, about 45kg per board, and required 50 screws to secure each of them.
If you happen to be delivered wet boards, don’t bother trying to use them till they are dry. It took me a very frustrating day to work out how on earth I was going to install them, let alone move them.
The Hardie site says blueboard cladding 'light and easy', but it is not.
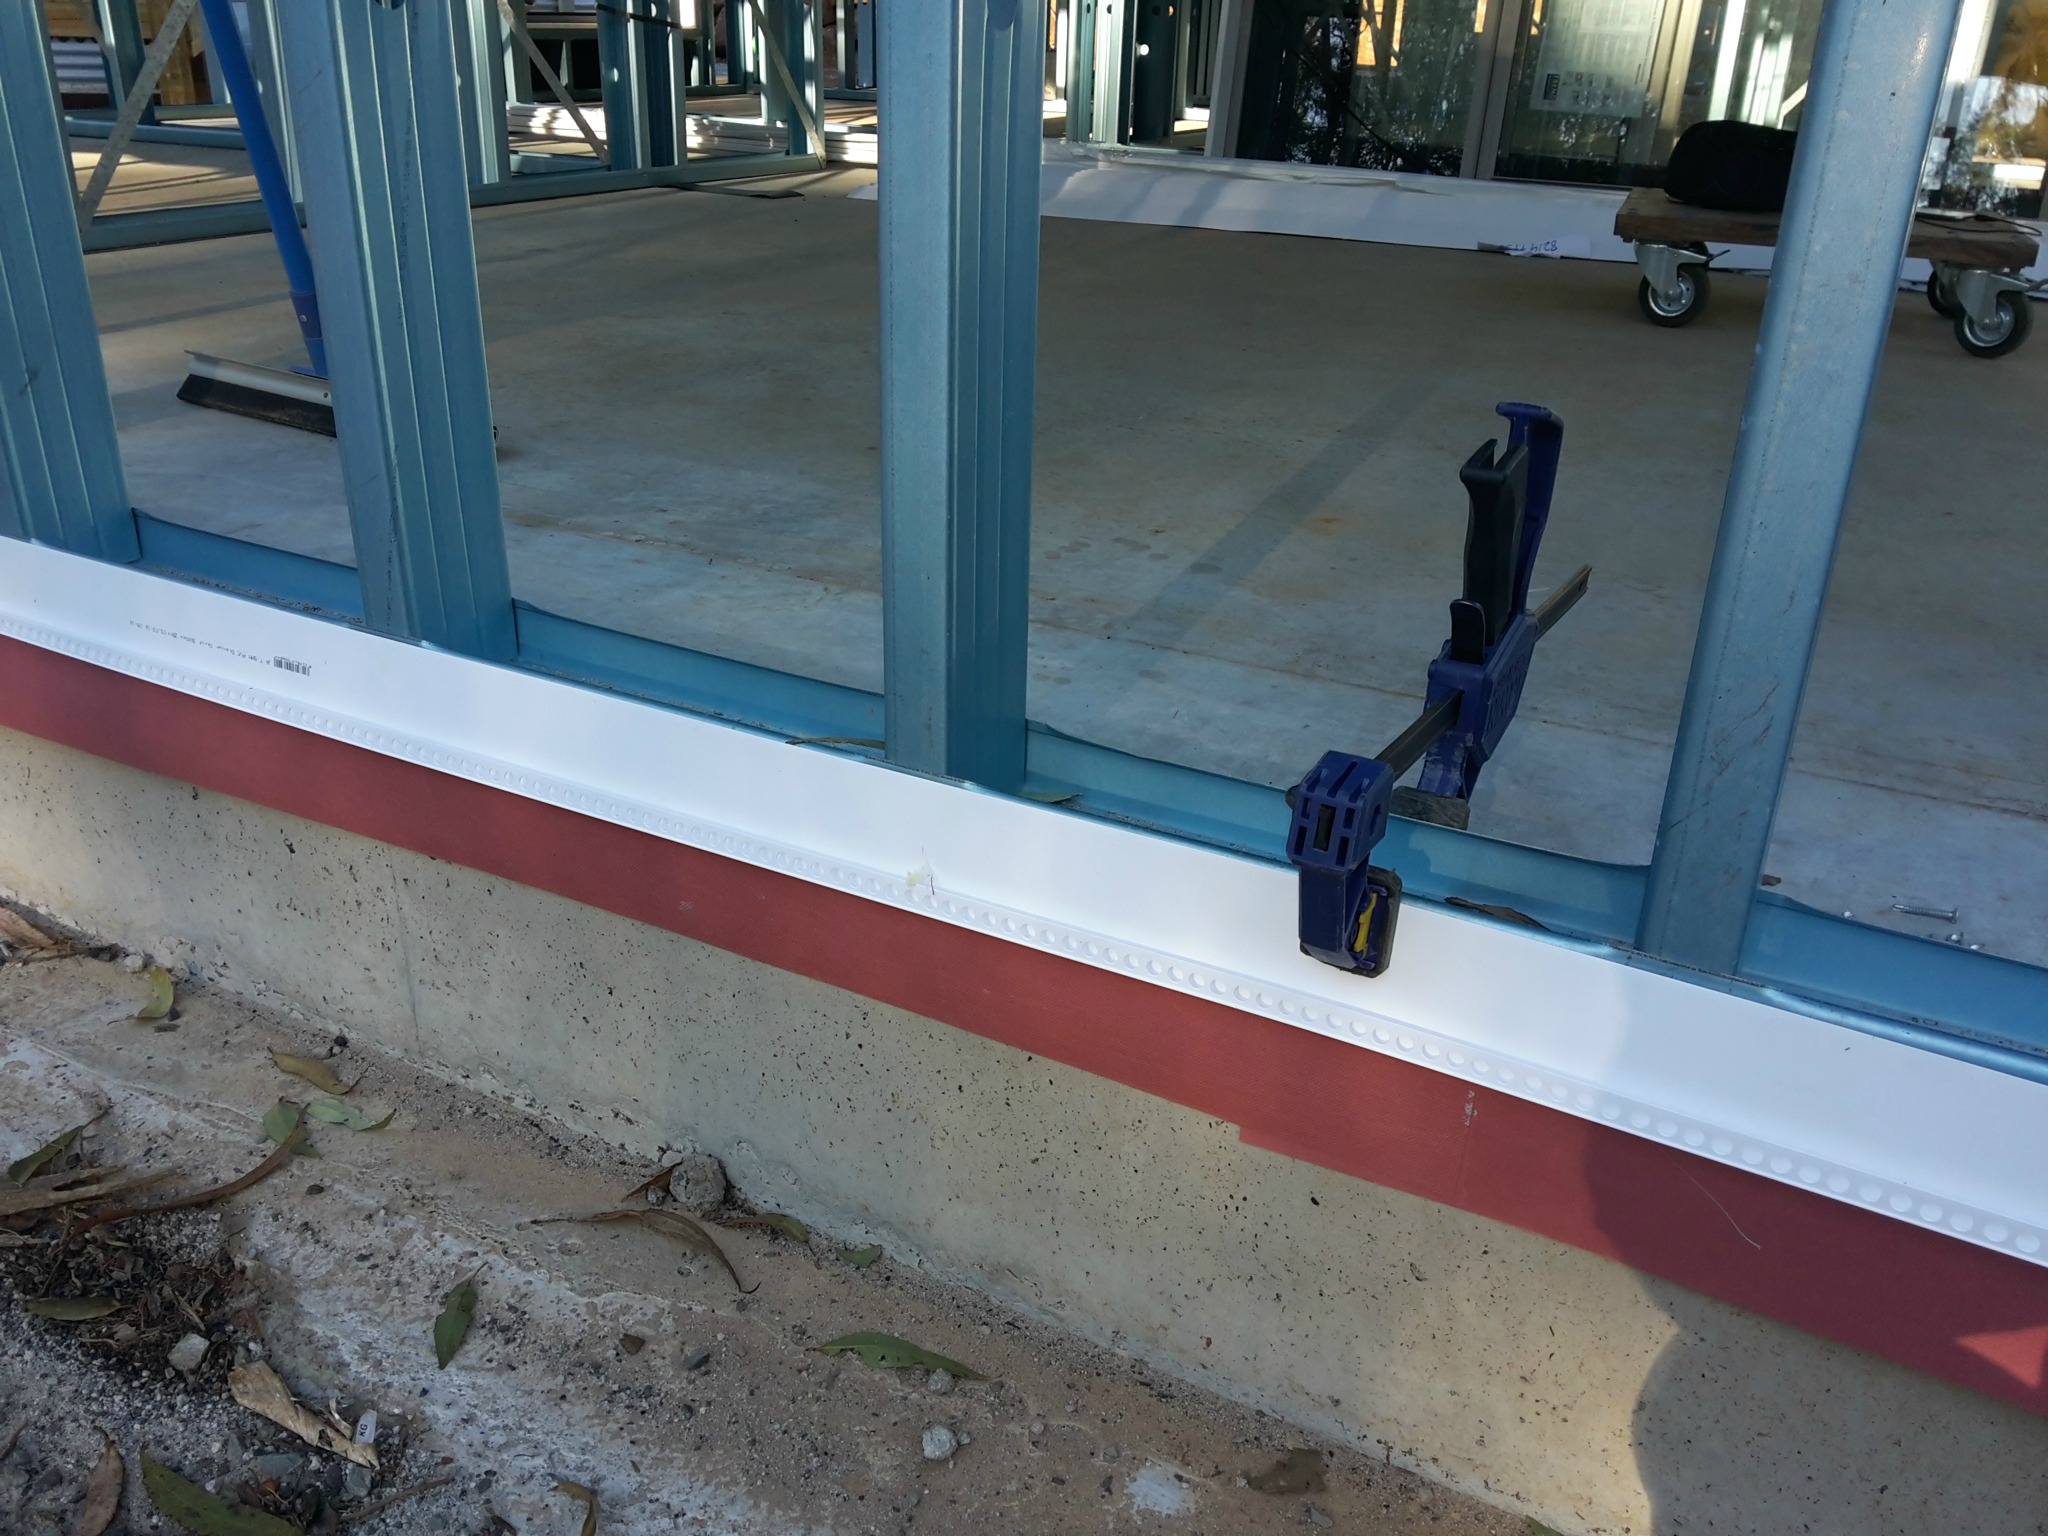
The blueboard cladding delivery came with ‘starter strips’ which had to be secured to the bottom plate of the wall frame. They had a stirrup seat for the boards to sit in, and theoretically made it easy to keep the board bases horizontal. I used these for the first wall: each 3 metre strip required a screw every 30mm or so into the bottom plate. At 25 cm off the ground, a tedious and back-breaking exercise in itself.
Placing the heavy boards into the stirrup was very difficult, and even more difficult to manoeuvre once they were in, as the stirrups were a snug fit. By the end of the first wall I ditched the strips for, what I believe, was a better method.
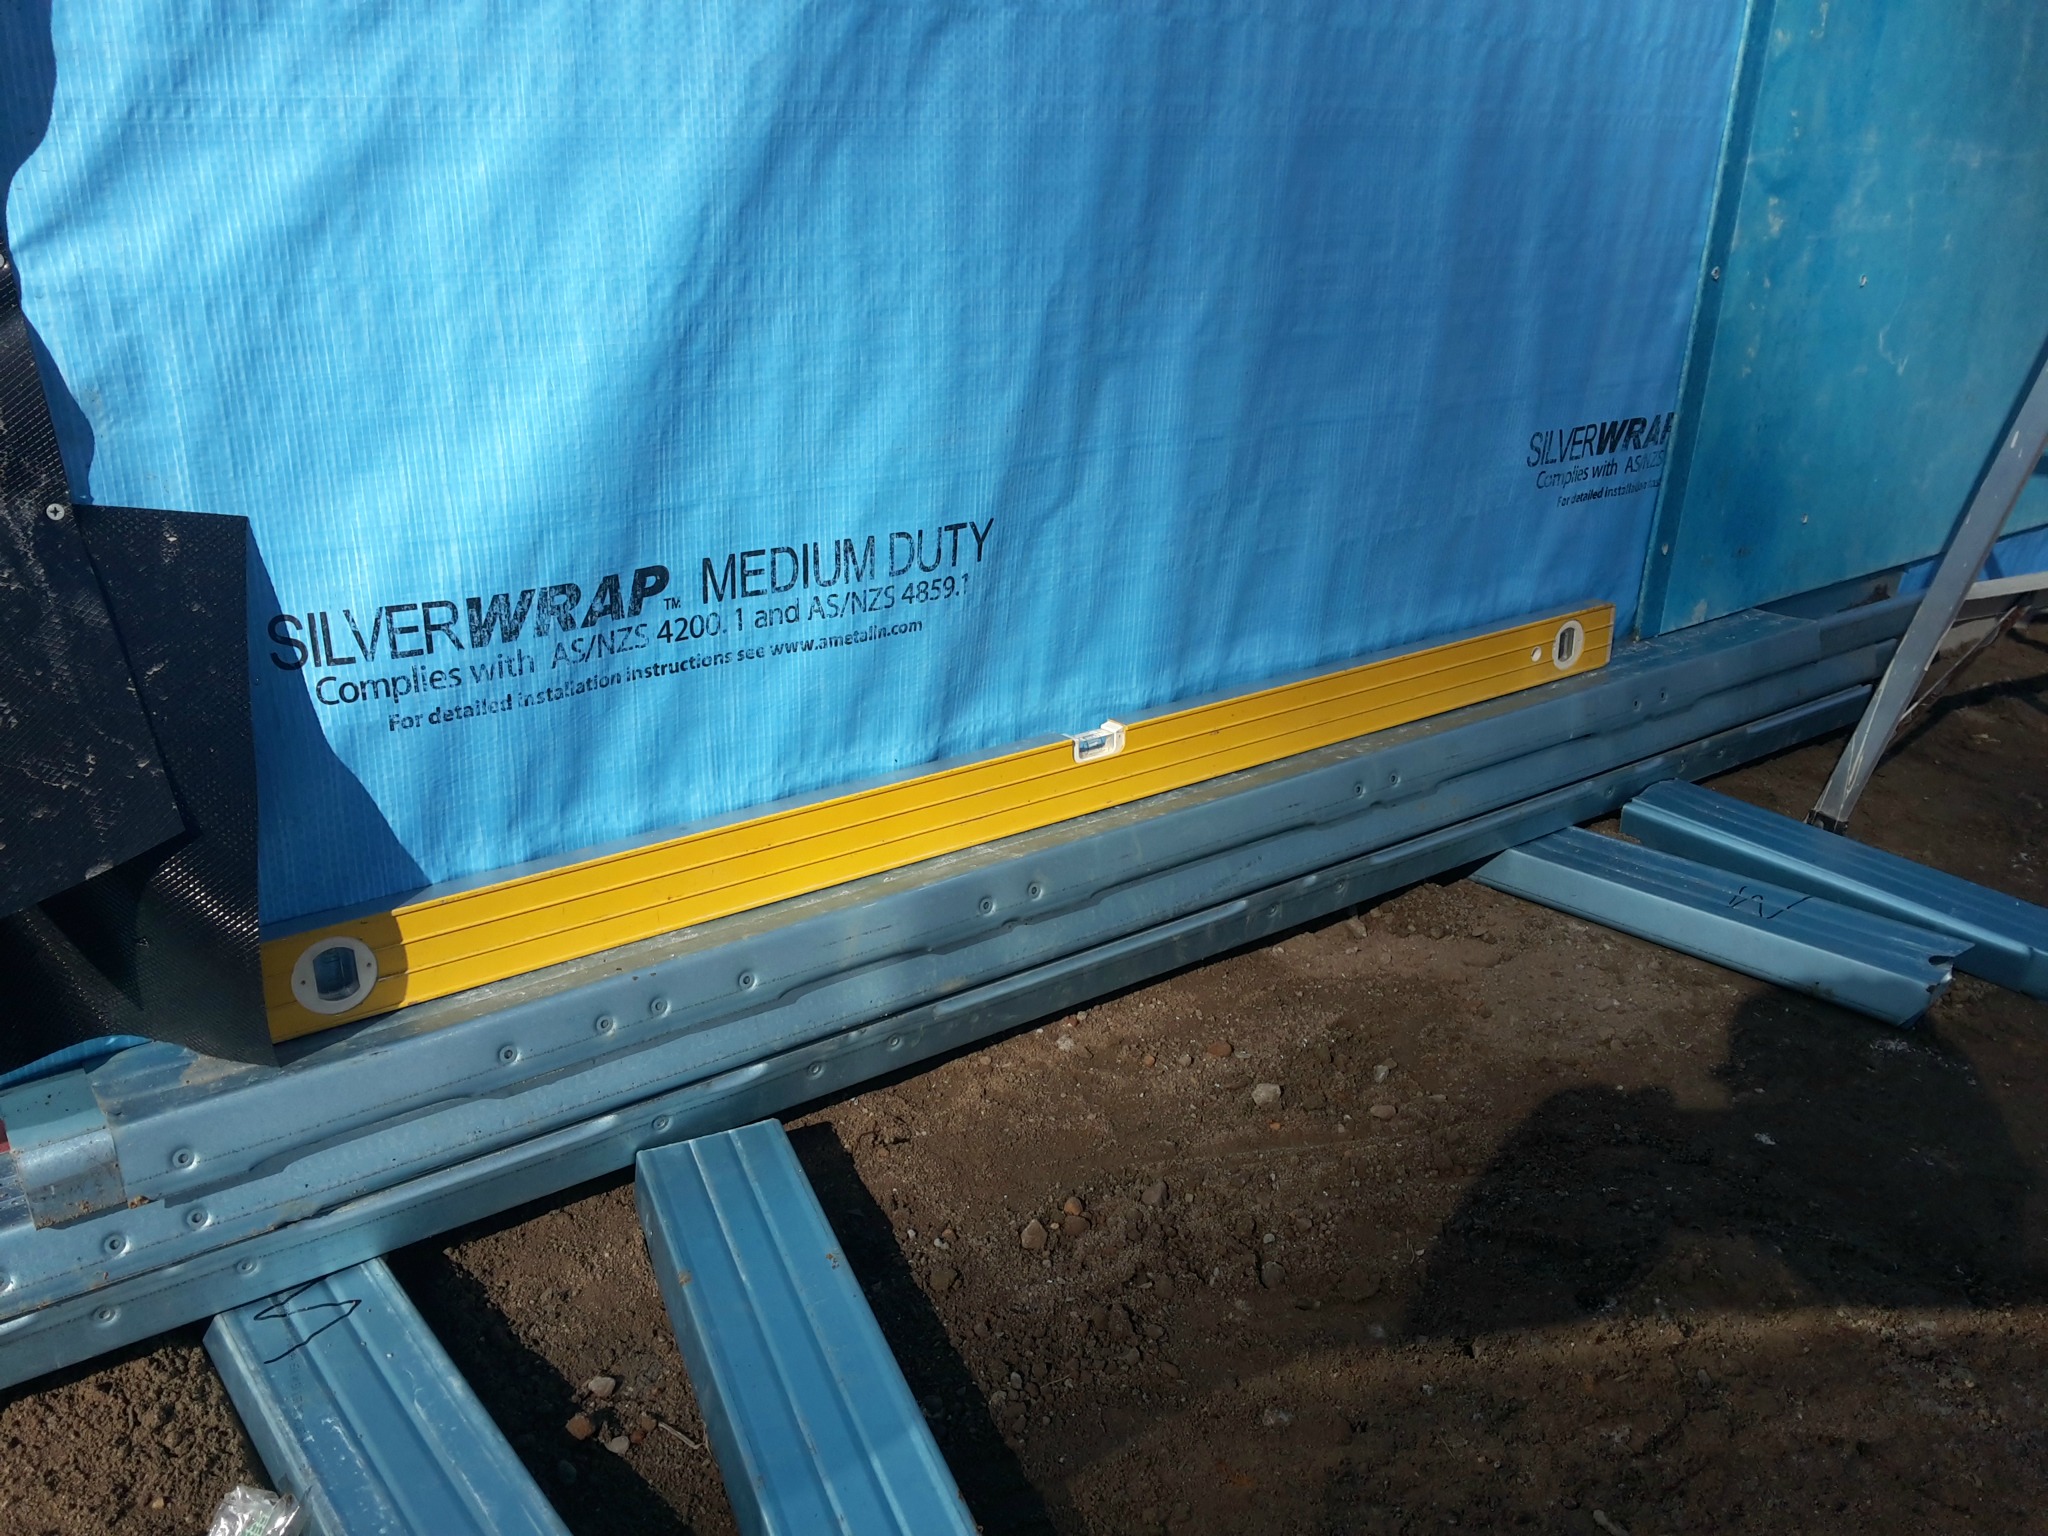
That method was to create a level support under the board. It required sand, a stamper, a spirit level and support beams of some kind: I used steel studs. I used a stringline and scribed a level on the concrete slab where I wanted the base of the boards, then set up the support for them to sit on and position horizontally. It took some time, but wasn’t back breaking...but I digress.
Blueboard cladding requires extra studs
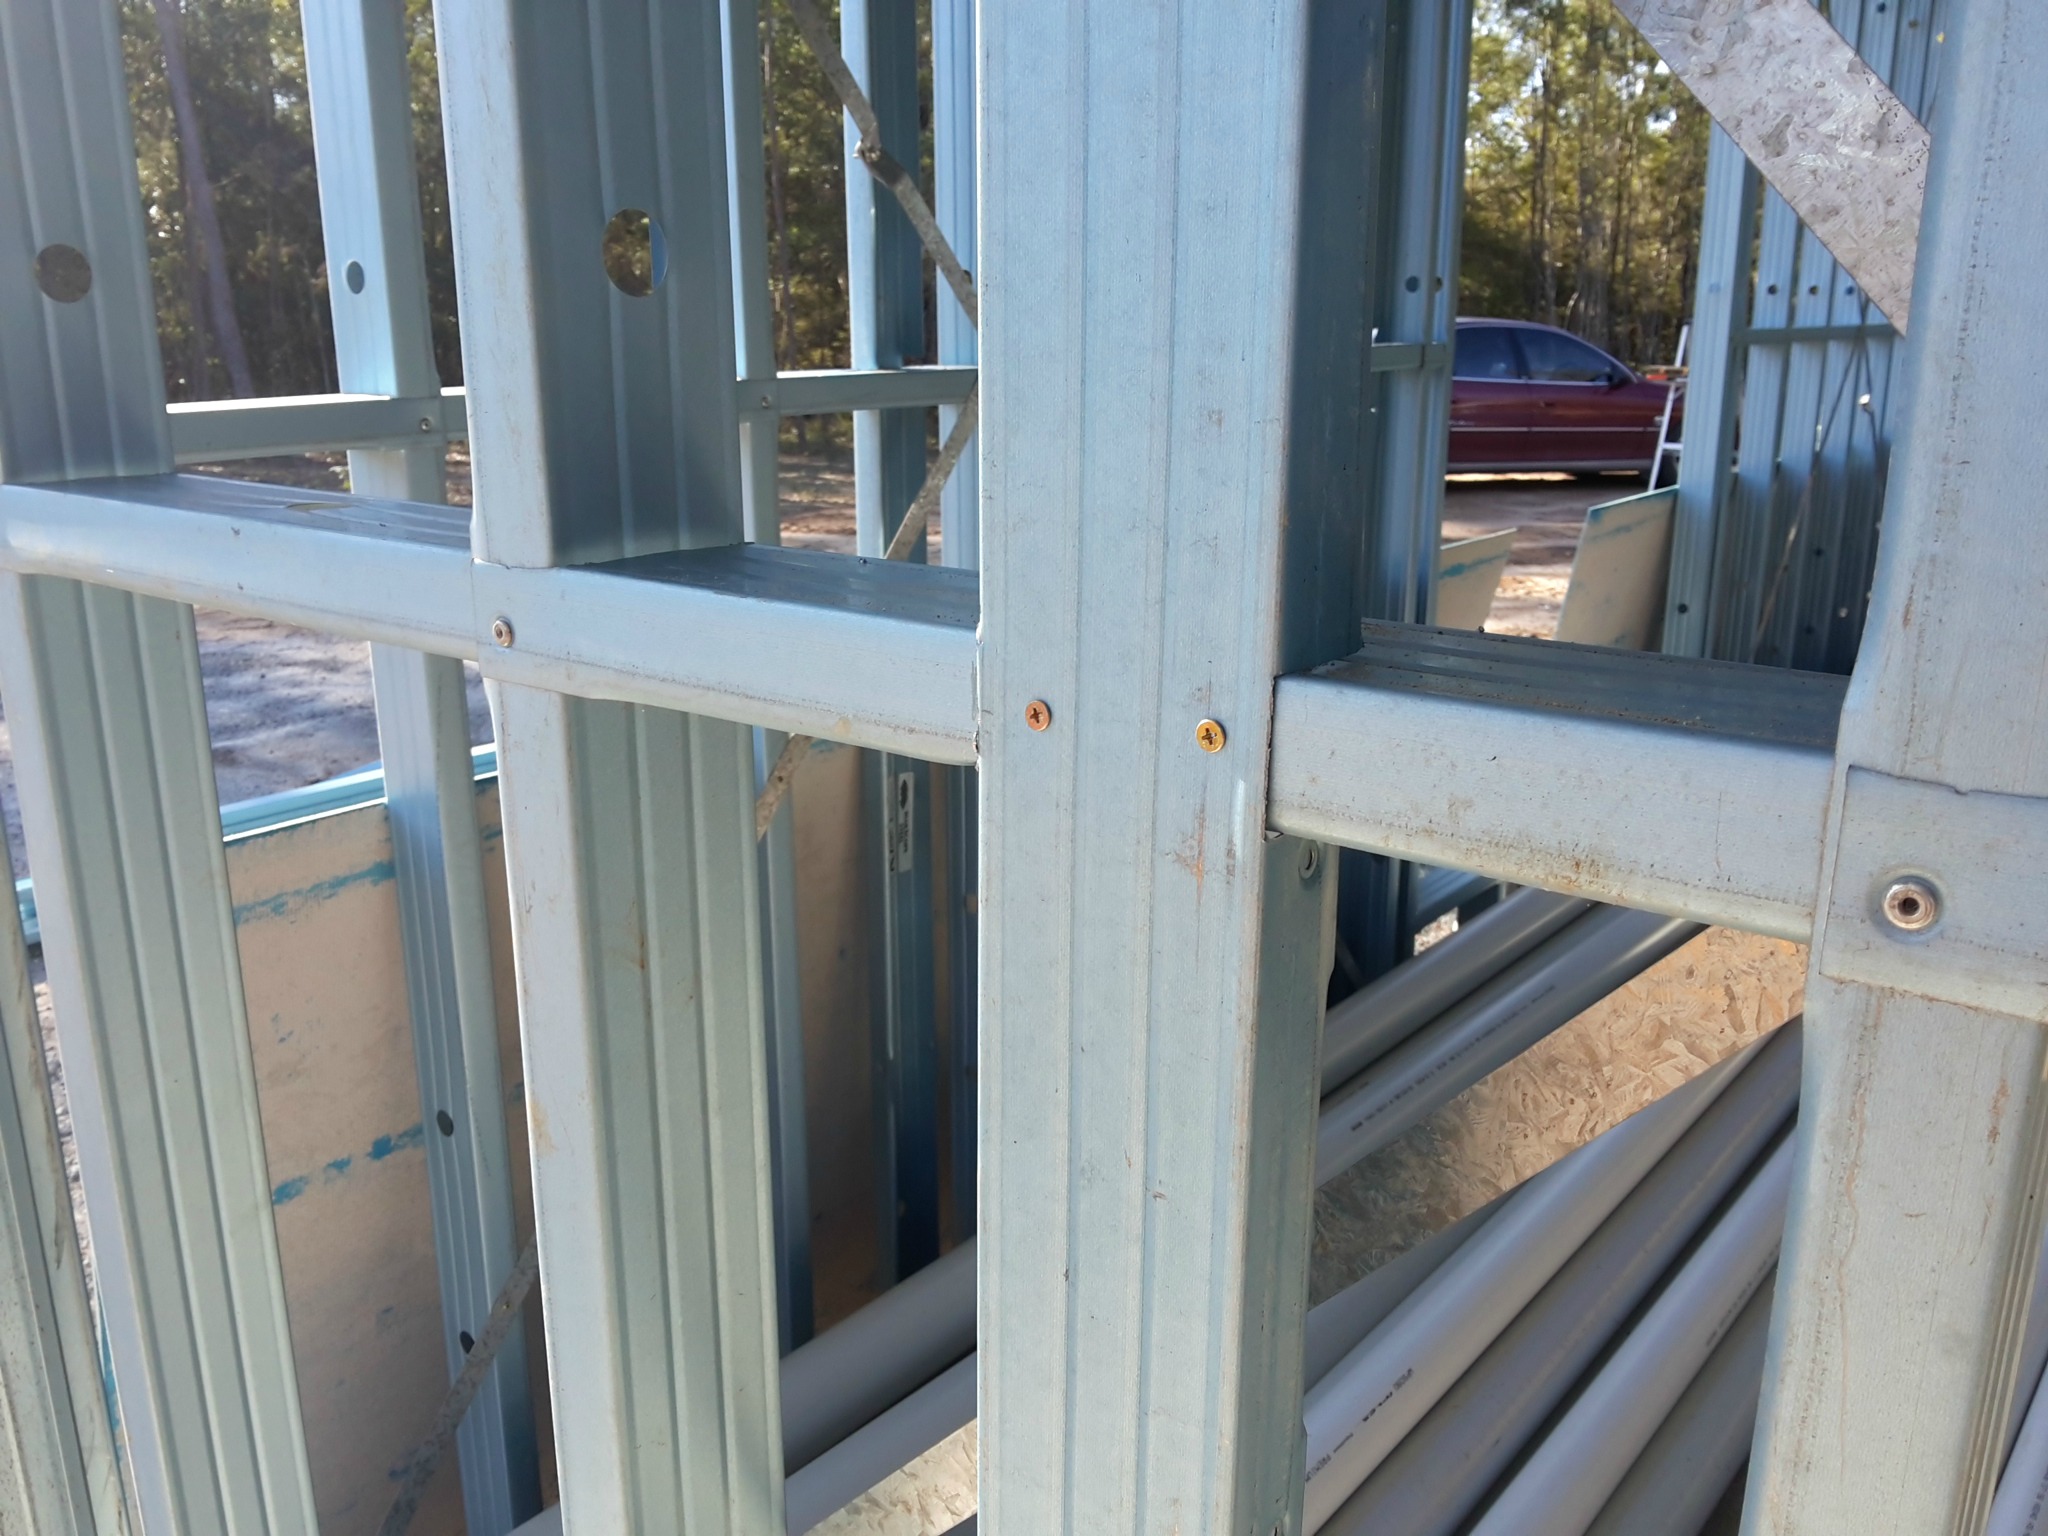
The first step in this two week blueboard cladding process was to install extra studs into the frame so the edges of the boards could be well secured. It was relatively easy to cut out studs and secure them with flat metal screws.
The second step was to measure from the top plate to the scribed bottom edge point which in my case was about 2800mm. I used a score and snap knife which was quick and easy. Lifting and moving these boards was obviously difficult for one person so I figured that using my trusty four-wheeled dolly with a couple of pieces of wood attached to form a channel, was my safest approach.
Safe in that I could protect my back and that they wouldn’t be dropped. I measured where the frame studs were and wrote them down to measure off on the board so I hit the stud when screwing.
According to the Hardie blueboard spec sheet, the boards are meant to be placed upright to eliminate as many non-recessed joining points as possible. I transported the sheets to the frame, then got under it and pitched it skyward on its base corner, then marched it over to the support level. I made sure the wind had dropped before doing this. I leaned it onto the frame first, then worked the base closer to the frame. I couldn’t put it on the base then tip it forward as it was too tall and hit the gutter. Then I grasped it on both sides and lifted the board up onto the supports.
Fixing blueboard cladding
This all sounds a little difficult, as it was the first few times, until I got my systems right. The impact driver, screws, measure tape, pencil and a clamp needed to be handy so I could screw the first one home and secure it to the frame, before it blew off in the wind.
I rammed each board up against the next, marked a pre-measured stud point on the board, then screwed in a self-drilling, self- embedding metal gal screw in the board centre, then took a breath.
I marked off the rest of the stud points on the board and proceeded to work outwards from the centre to the left, then the right, then down the board and finally to the top plate screws. It was a while until I learnt how to use the impact driver with these screws: light pressure pulled them through the board where they would self-tap into the frame stud and pull themselves home.
When to stop the drill was dependent on the board. Some were marginally softer and I had to time it so the screw didn’t pull itself right through. Just below the surface was the object and at 200mm centres vertically, up to 50 screws per board were required.
Again, according to the Hardie specs, wrapping the sheets around windows and doors i.e. continuous full sheets with pieces cut out, reduced the incidence of cracking from frame movement.
This sounded ok until I tried to install a sideways ‘U’ shaped cut board up against the installed board and in behind the window lip, above, and below the sills, including getting it under those pesky rubber base flashings. At least a second pair of hands needed for that task.
For me, alone, it was impossible, so against advice I cut the boards vertically at the window edge and added boards across the top and base of the window, adding twice the screws to secure and brace them, and later, extra jointing work. All non-recessed joints were ground back to provide a recess to help join them. Lastly, the blueboard cladding joinery had to be fixed, and consisted of 40mm corner angle strips to finish the internal and external corners.
|
For further specifications and MDSS go to the Hardie blueboard page My Cladding Render page is here. Go back to Exterior Wall Cladding or go back to kithomebasics home page |
