Hanging a Door in a kit home
Hanging a door is considered by some to be a true measure of carpentry talent or skill. A door only 'works' when fine tolerances and clearances are set up, levels and plumbs are true and seals are tight and sound. Well if you aren't a carpenter, your ability to hang a door may be only average, by these standards.
However there are now 'pre-hung doors' which you can specify in your inclusions, which make hanging a door effortless.
So what is a prehung door? These interior and exterior doors arrive with a fully assembled frame, with the door hanging on the hinges, ready to plumb and install. The assembly will have timber braces to keep it square as you install it, and the kit home prefab frames will be itching for a that perfect door. What could be simpler.
Types of house doors
Flush doors are completely smooth, having plywood or MDF fixed over a light timber frame, the hollow parts of which are often filled with a cardboard core material. Flush doors are most commonly used as plain interior doors.
Moulded doors have the same structure as that of flush door. The only difference is that the surface material is a moulded skin made of HDF / MDF. They are commonly used as modern interior doors
French doors, also called a French windows, are doors with multiple windows set into it for the full length of the door. Traditional French doors are assembled from individual small pieces of glass and mullions.
Sliding glass doors are rectangular framed sheets of glass mounted adjacent to a similar fixed glass partition, sliding in its own plane parallel to its neighboring partition. See our page on sliding glass doors
Folding doors (accordion doors/bifold doors) have an multiple panels which fold upon one another.

Sliding doors move on overhead tracks, often for space or aesthetic considerations. Pocket or cavity sliding doors slide between two wall panels and are used as space saving doors.
Panel doors have vertical and horizontal boards (stiles and rails), panels usually in multiples of two,and glass panels at the top.
Solid-core doors consist of low-density particle board or foam used to completely fill the space within the door.
Solid-core flush doors (especially foam-core ones) are commonly used as exterior doors as they provide more insulation, strength and security.
Doorway components
- Lintel - A horizontal beam above a door that supports the wall above it. (Also known as a header)
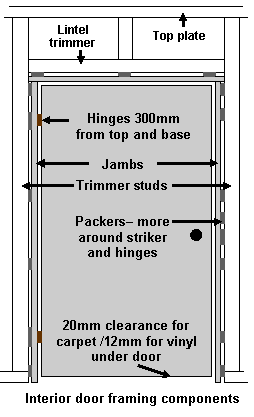
- Jambs - The vertical and horizontal timber that form the sides and top of a door frame, where the hinges are mounted, and with which the bolt interacts.
- Sill - A horizontal profiled beam below the door that supports the frame.
- Doorstop - a thin slat built inside the frame to prevent a door from swinging through when closed, which might break the hinges.
- Architrave - The decorative moulding that outlines an inside door frame.
- Facings - Sometimes called casings, timber strips covering the outside jambs and weatherboards.
Prehung interior doors
When you specify prehung interior doors as inclusions in your kit home, the need to know how to hang a door becomes less of a problem. A carpenter knows the tolerances required to set jambs into frames, rebate hinges, plane door edges and bore door furniture holes. A handy person nowadays can bypass most of the exacting measurements necessary to install an interior door.
Some prehung interior doors are delivered complete with a hinged door hanging on a constructed jamb frame with door stops and architraves pre-cut to fit. The frame will have a brace across the jambs to keep it square as you set it up between the trimmer studs. Others are delivered with stiles and doors pre-hinged, and ready to trim and assemble.
Hanging a door
To begin, do the following calculation for the head jamb height:
Door = 2040mm
Head jamb = 19mm
Clearance between door & head jamb = 3mm
Carpet allowance = 20mm
Total trim height = 2082mm
Alternately use the supplied framed door for the measurement. Mark the height of the top side of the head jamb on the hinge side trimmer stud. Now calculate the width required as below:
Door = 820mm (Interior doors can be specified in widths of 870 down to 520mm)
Jambs 19mm x 2 = 38mm
Plumbing jamb allowance = 10mm
Clearance between door & jambs x 2 = 4mm
Total trim width = 872mm (between frame trimmer studs)
 Door delivery for kit home
Remove the door from the jamb frame and slot the frame into the trimmers against the hinge side trimmer and speed clamp it in place. Check the top of the head jamb on the earlier marked level. Use an off-cut of some drywall lining to check the edges of the jambs will be a flush fit when the linings are installed, then check for plumb.
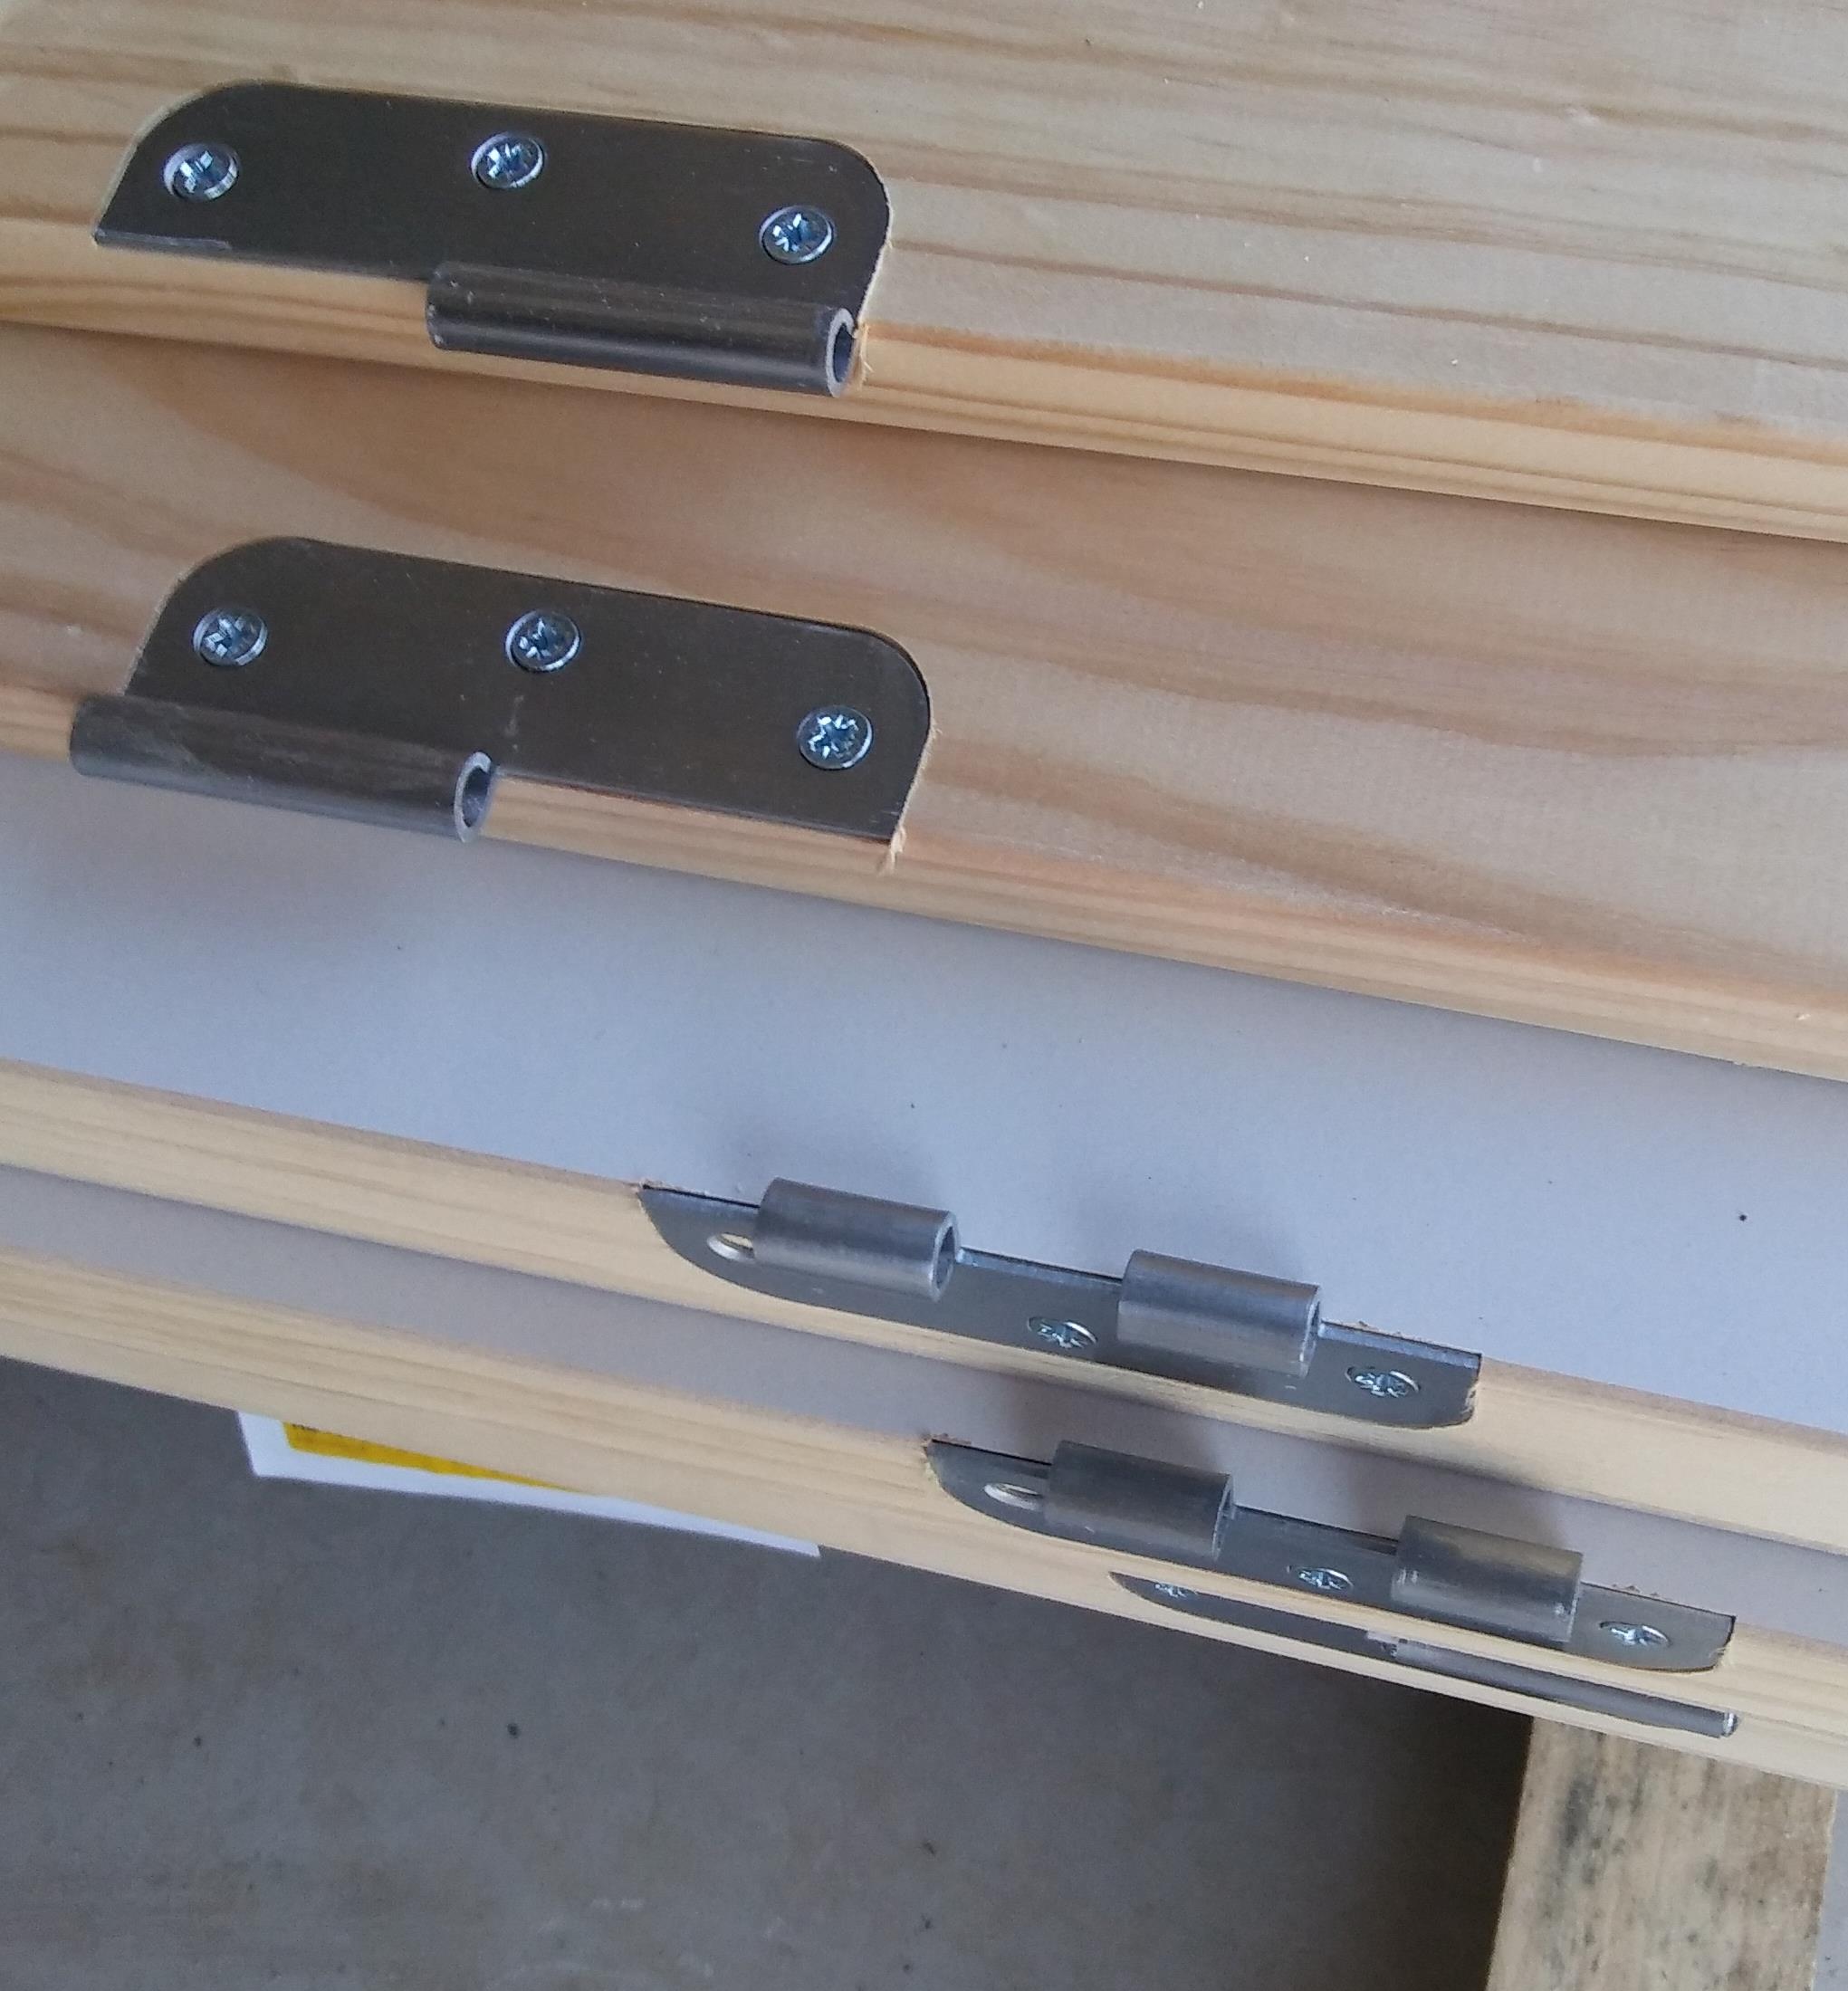
Now pack out the latch side jamb ensuring extra packing around the latch area and speed clamp the latch jamb to the trimmer. Recheck heights, levels and plumbs before nailing the jambs to the trimmers with 60-75 mm nails. Release the clamps and attach the door to the hinges with one screw in each hinge. Swing the door home and check the gaps are even. If everything is square, attach the remaining screws. Now pack out the head jamb and nail off.
Install the door furniture into the pre-drilled door and the striker plate into the checked out jamb. Test the door closure is sound then attach the door stops so the door shuts snugly without rattling. In some assemblies the door stops are already attached. Lastly, attach the supplied architraves, which may need to be trimmed to fit.
Here is a guide page on installing exterior doors and exterior sliding doors. Go back to Exterior Wall Cladding or go to kit home basics home page


