Intex pool review
This intex pool is the second above ground pool we have had. The first was a generic Clark Rubber 3.66m x 75cm above ground pool, but the waterline only reached a few inches above our knees. It said 75cm but that is the measurement to the top of the frame, not the safe water level. We didn't mind the pool, and chose to dismantle and store it over the winter months for reassembly the next season.
A design fault with these framed pools is the liner sleeves, which house the horizontal beams, tend to stick to the beams and are virtually impossible to remove after being warmed in the sun. So we dismantled it and left the beams inserted. When we rolled it out next season the beams ends had cut the liner in a couple of places so repairs were needed. So..fail.
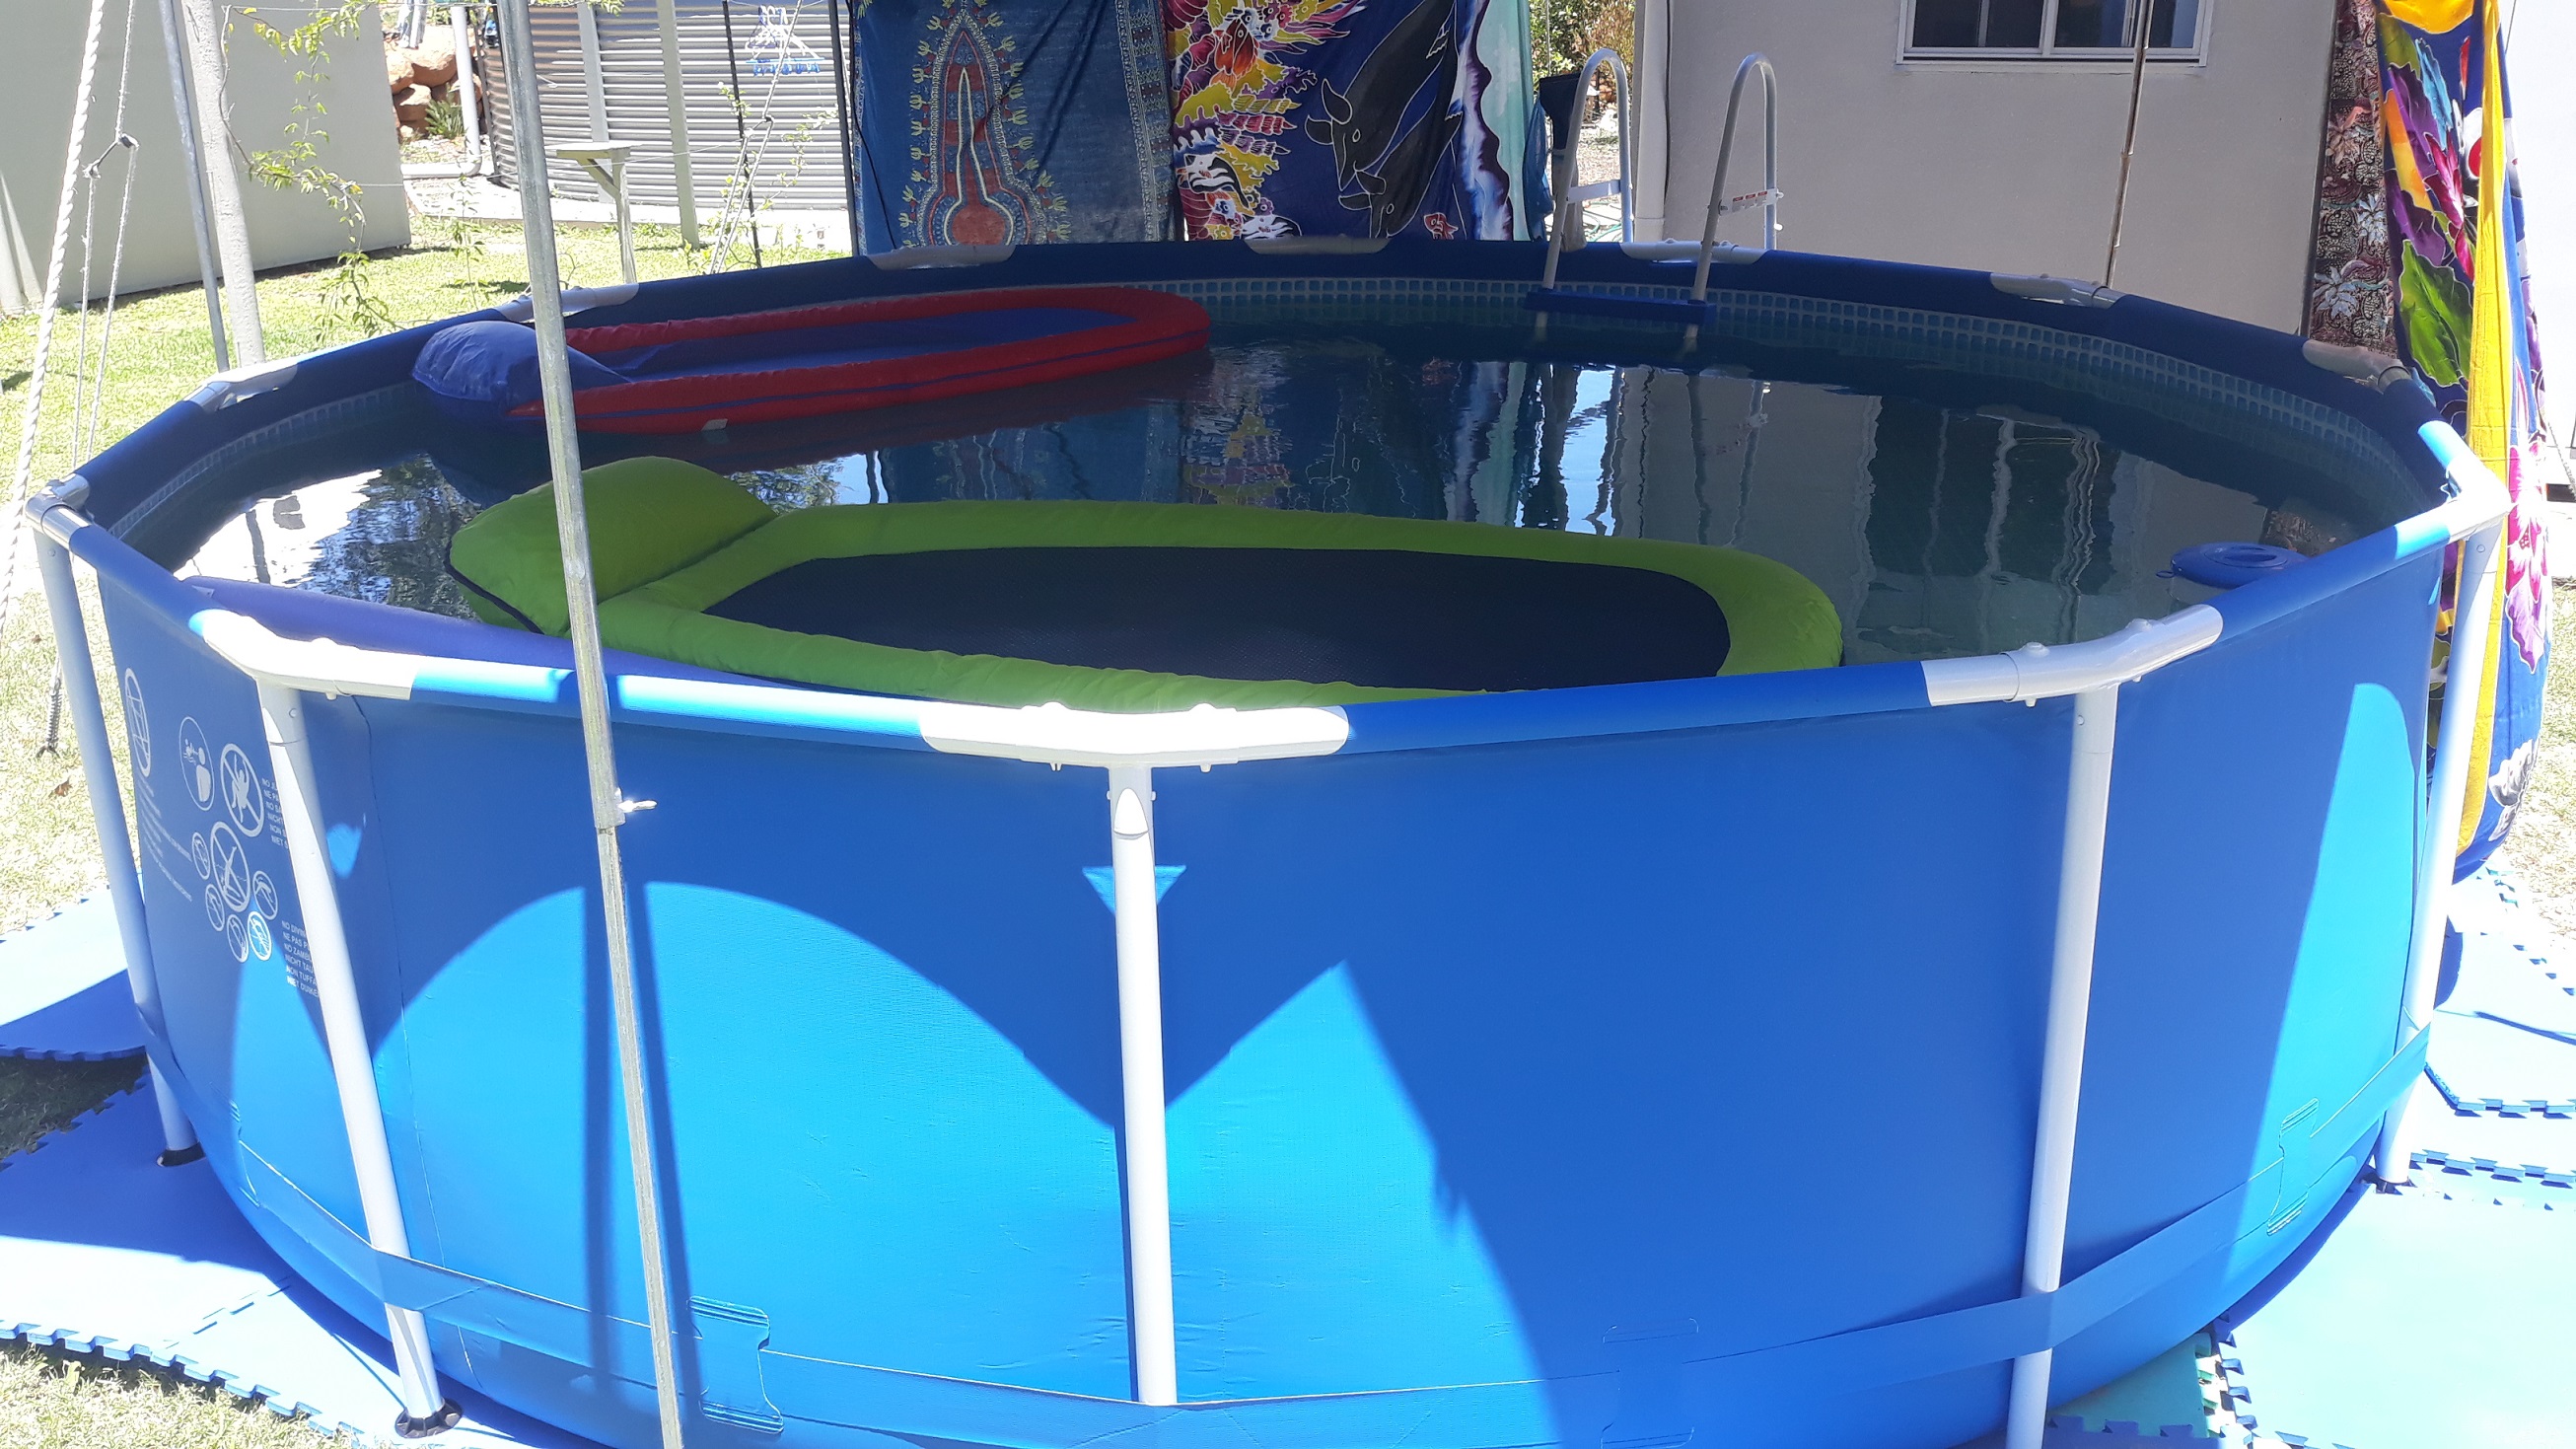
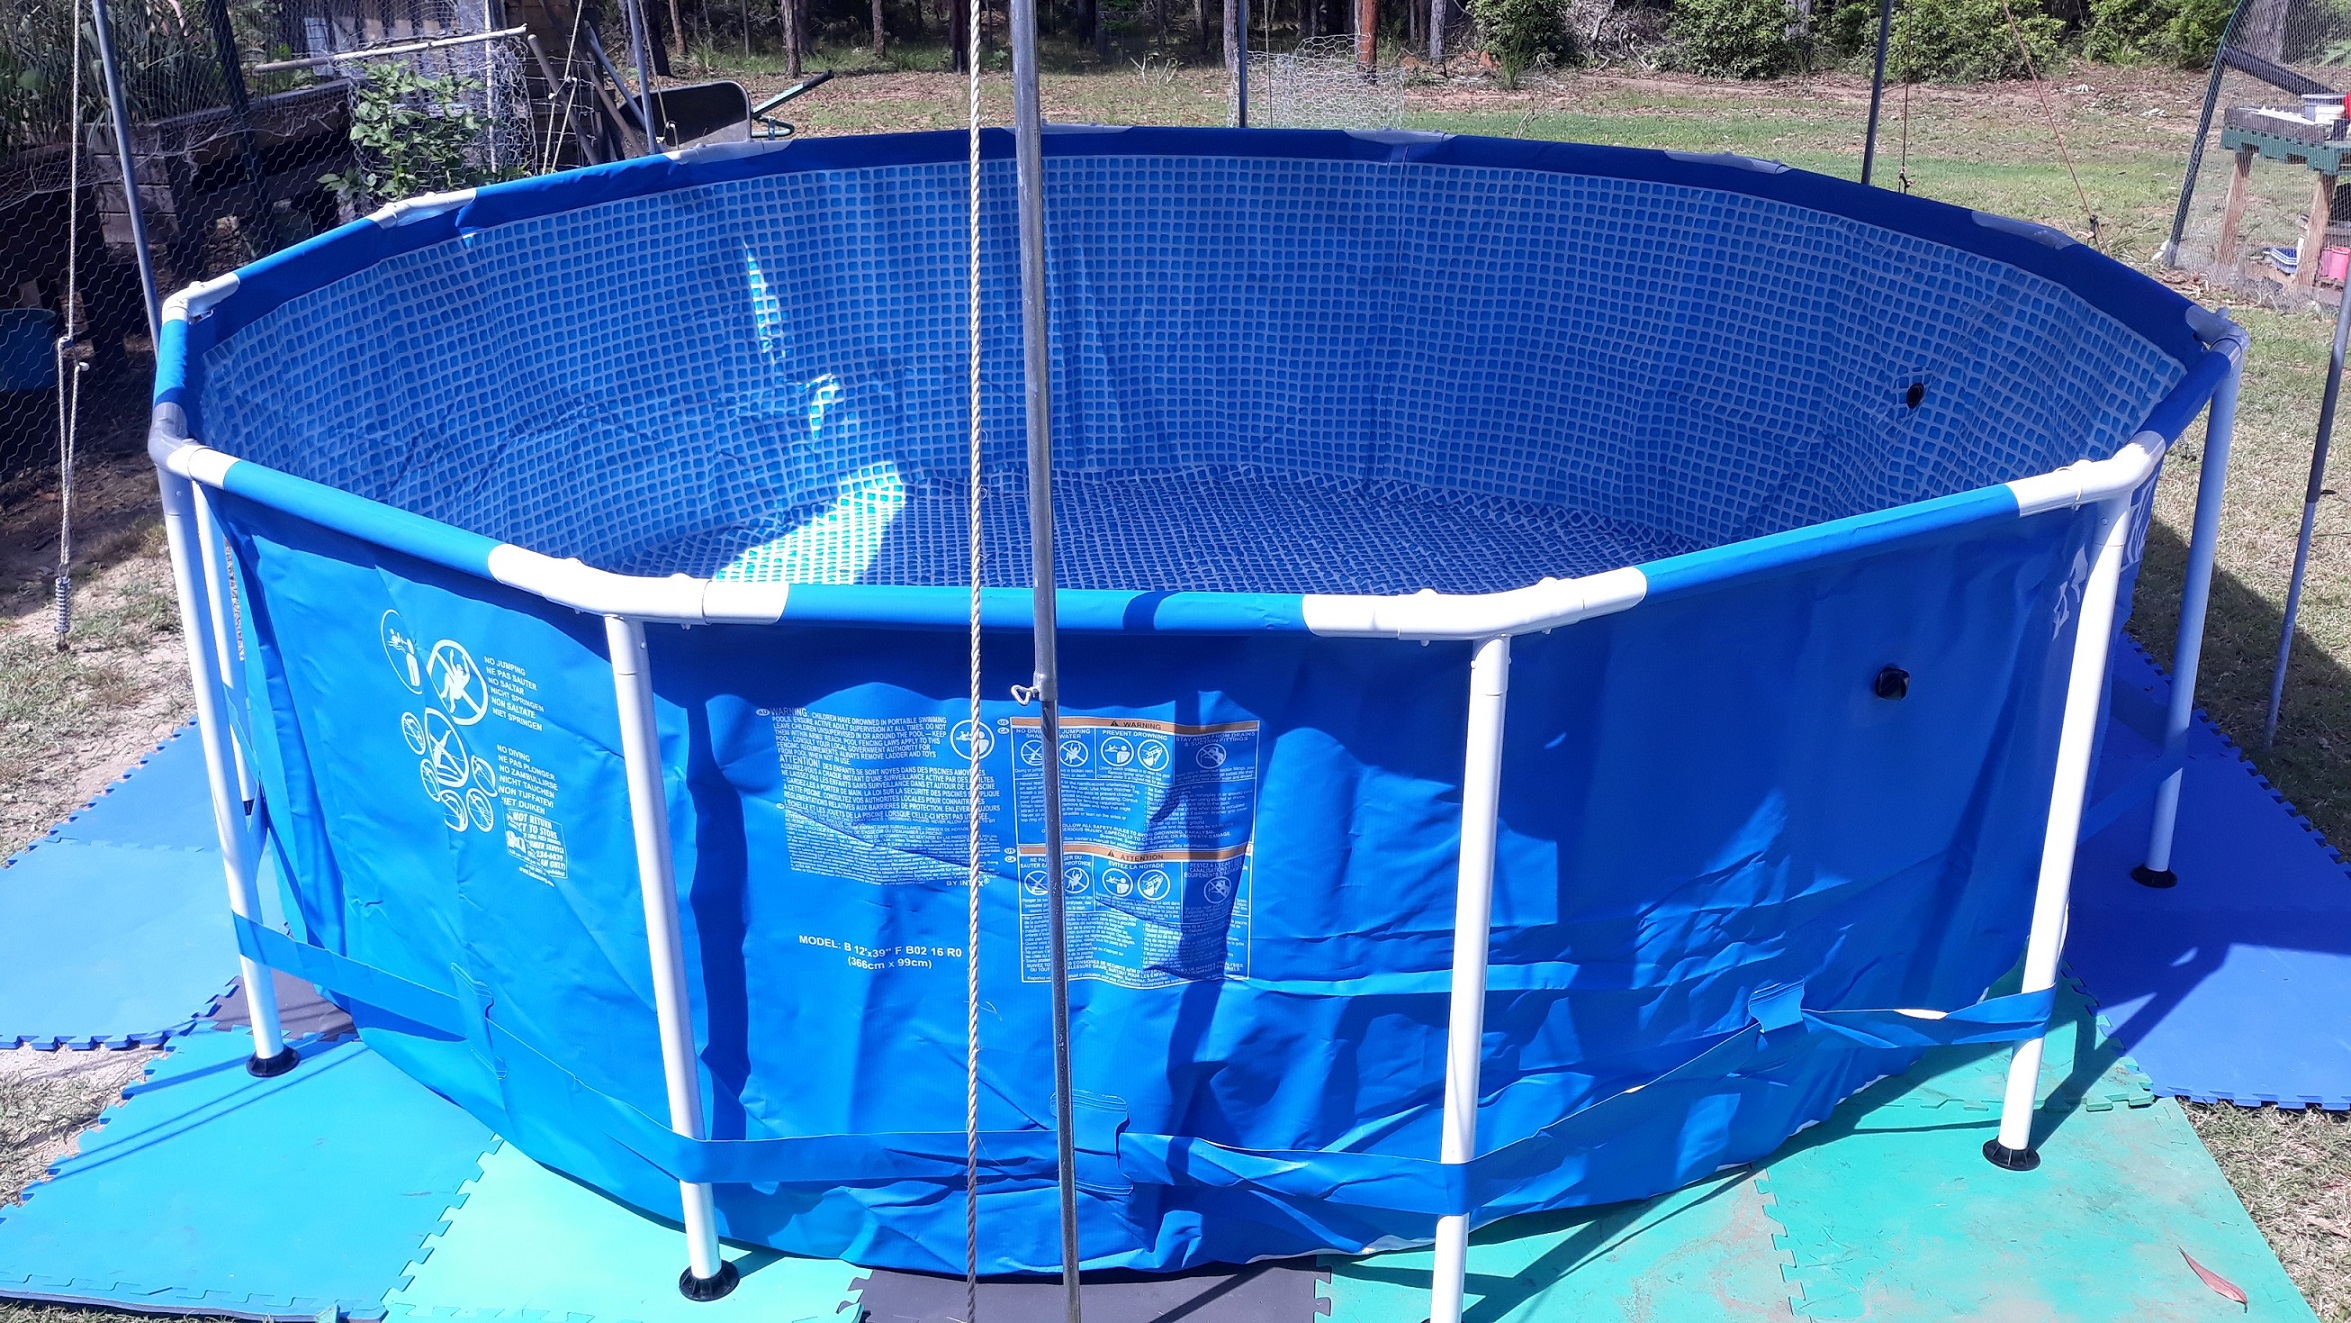
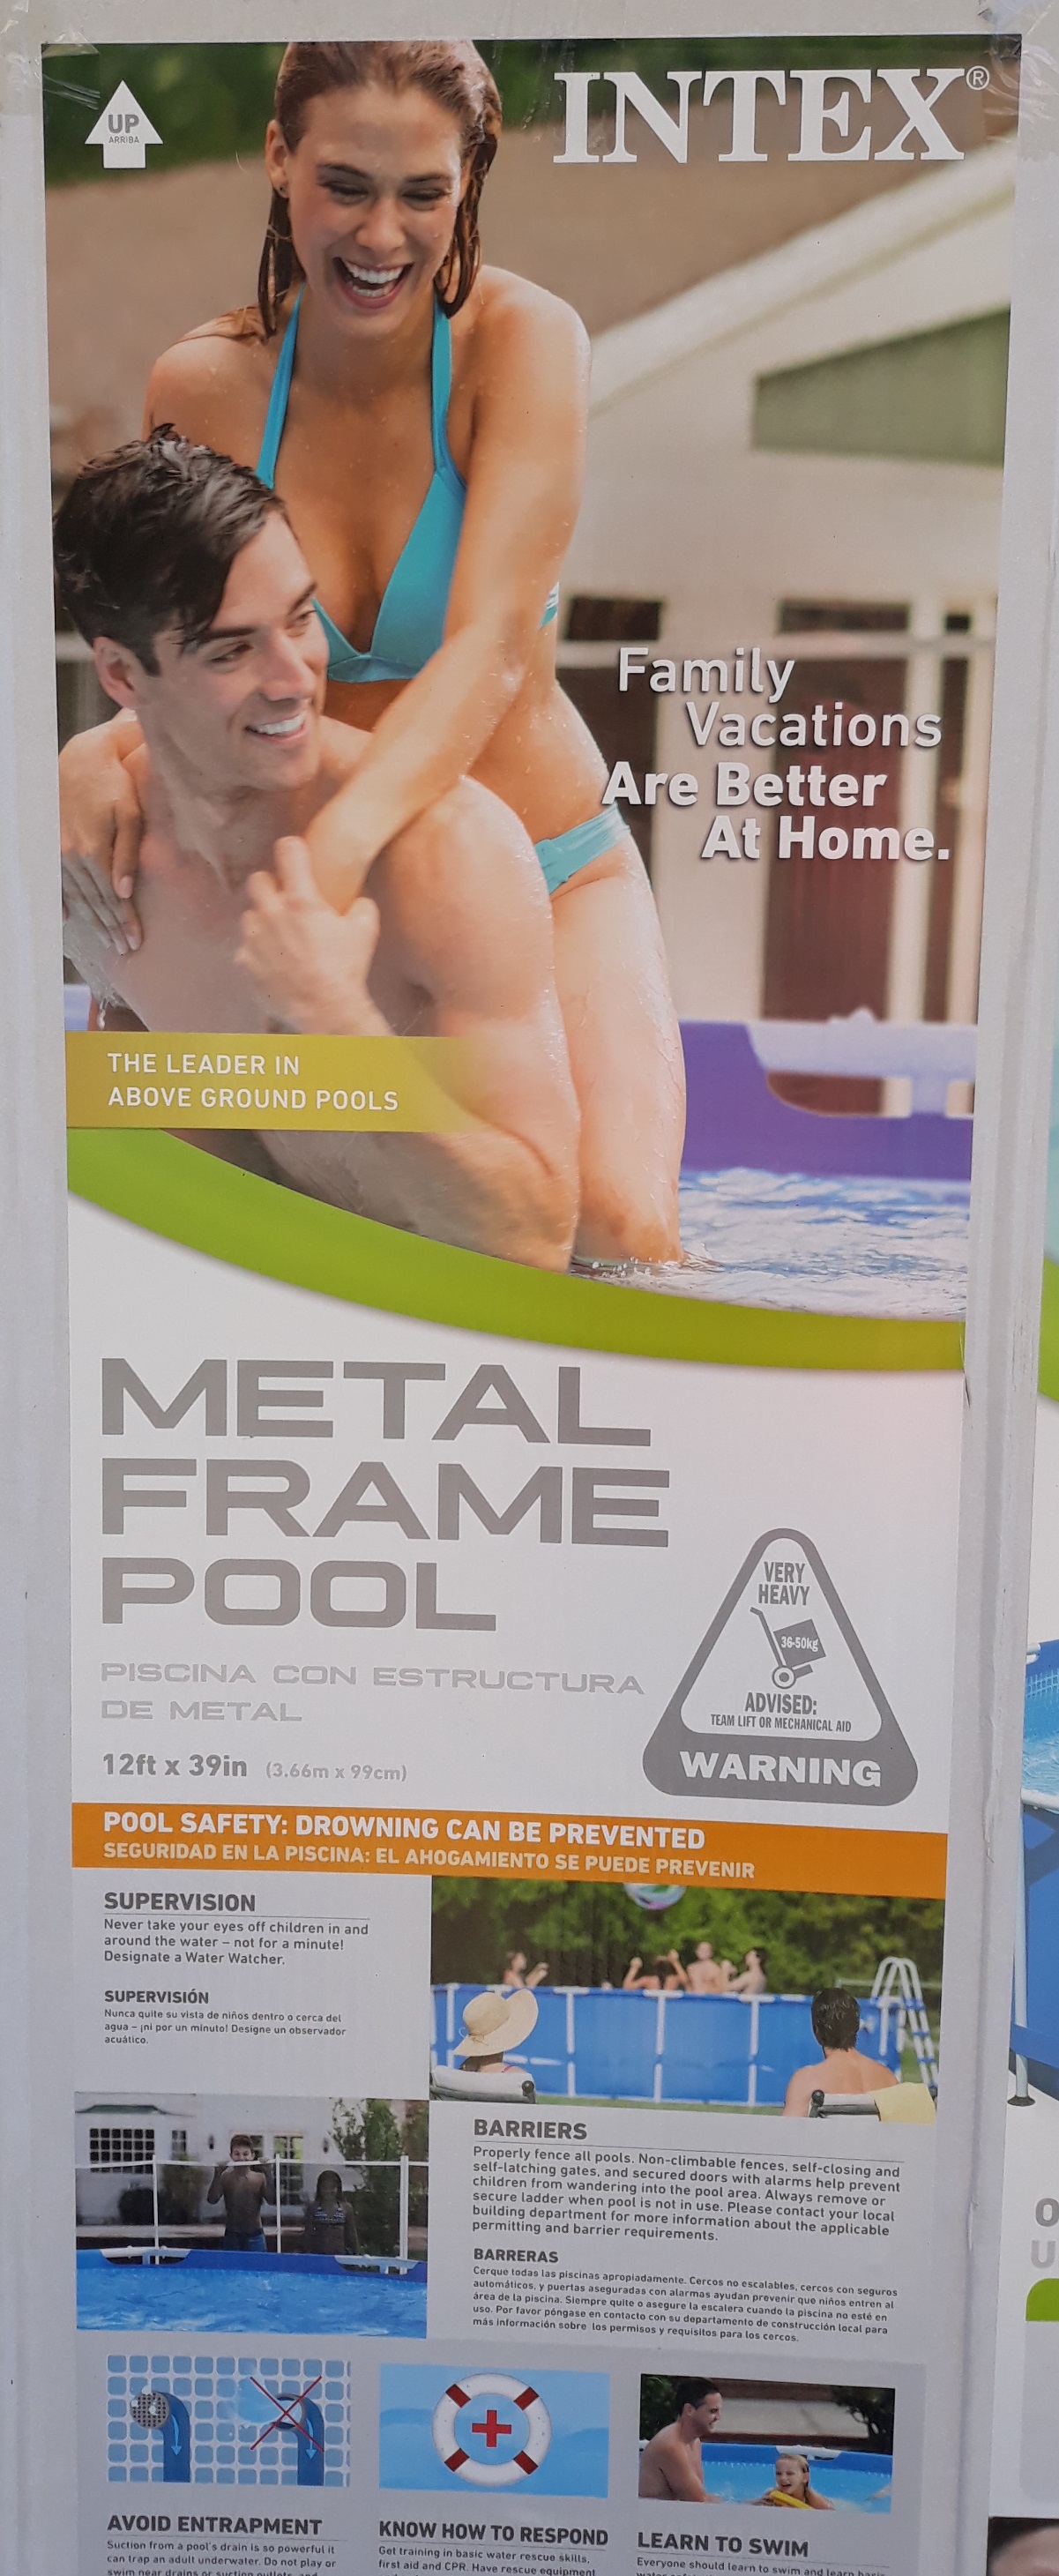
We bought this brand, as Intex Pools seemed to have the least negative feedback: a difficult exercise as you would know after reading the vitriolic takedowns of disgruntled owners who had outlayed hefty sums in the low hundreds. I do believe that most of the problems encountered from poor base prep, and reduced care in construction: but a cheap pool is a cheap pool. This intex swimming pool had a pool height of 99cm and a water height of about 80cm, and was purchased from Clark Rubber for $580.
 |
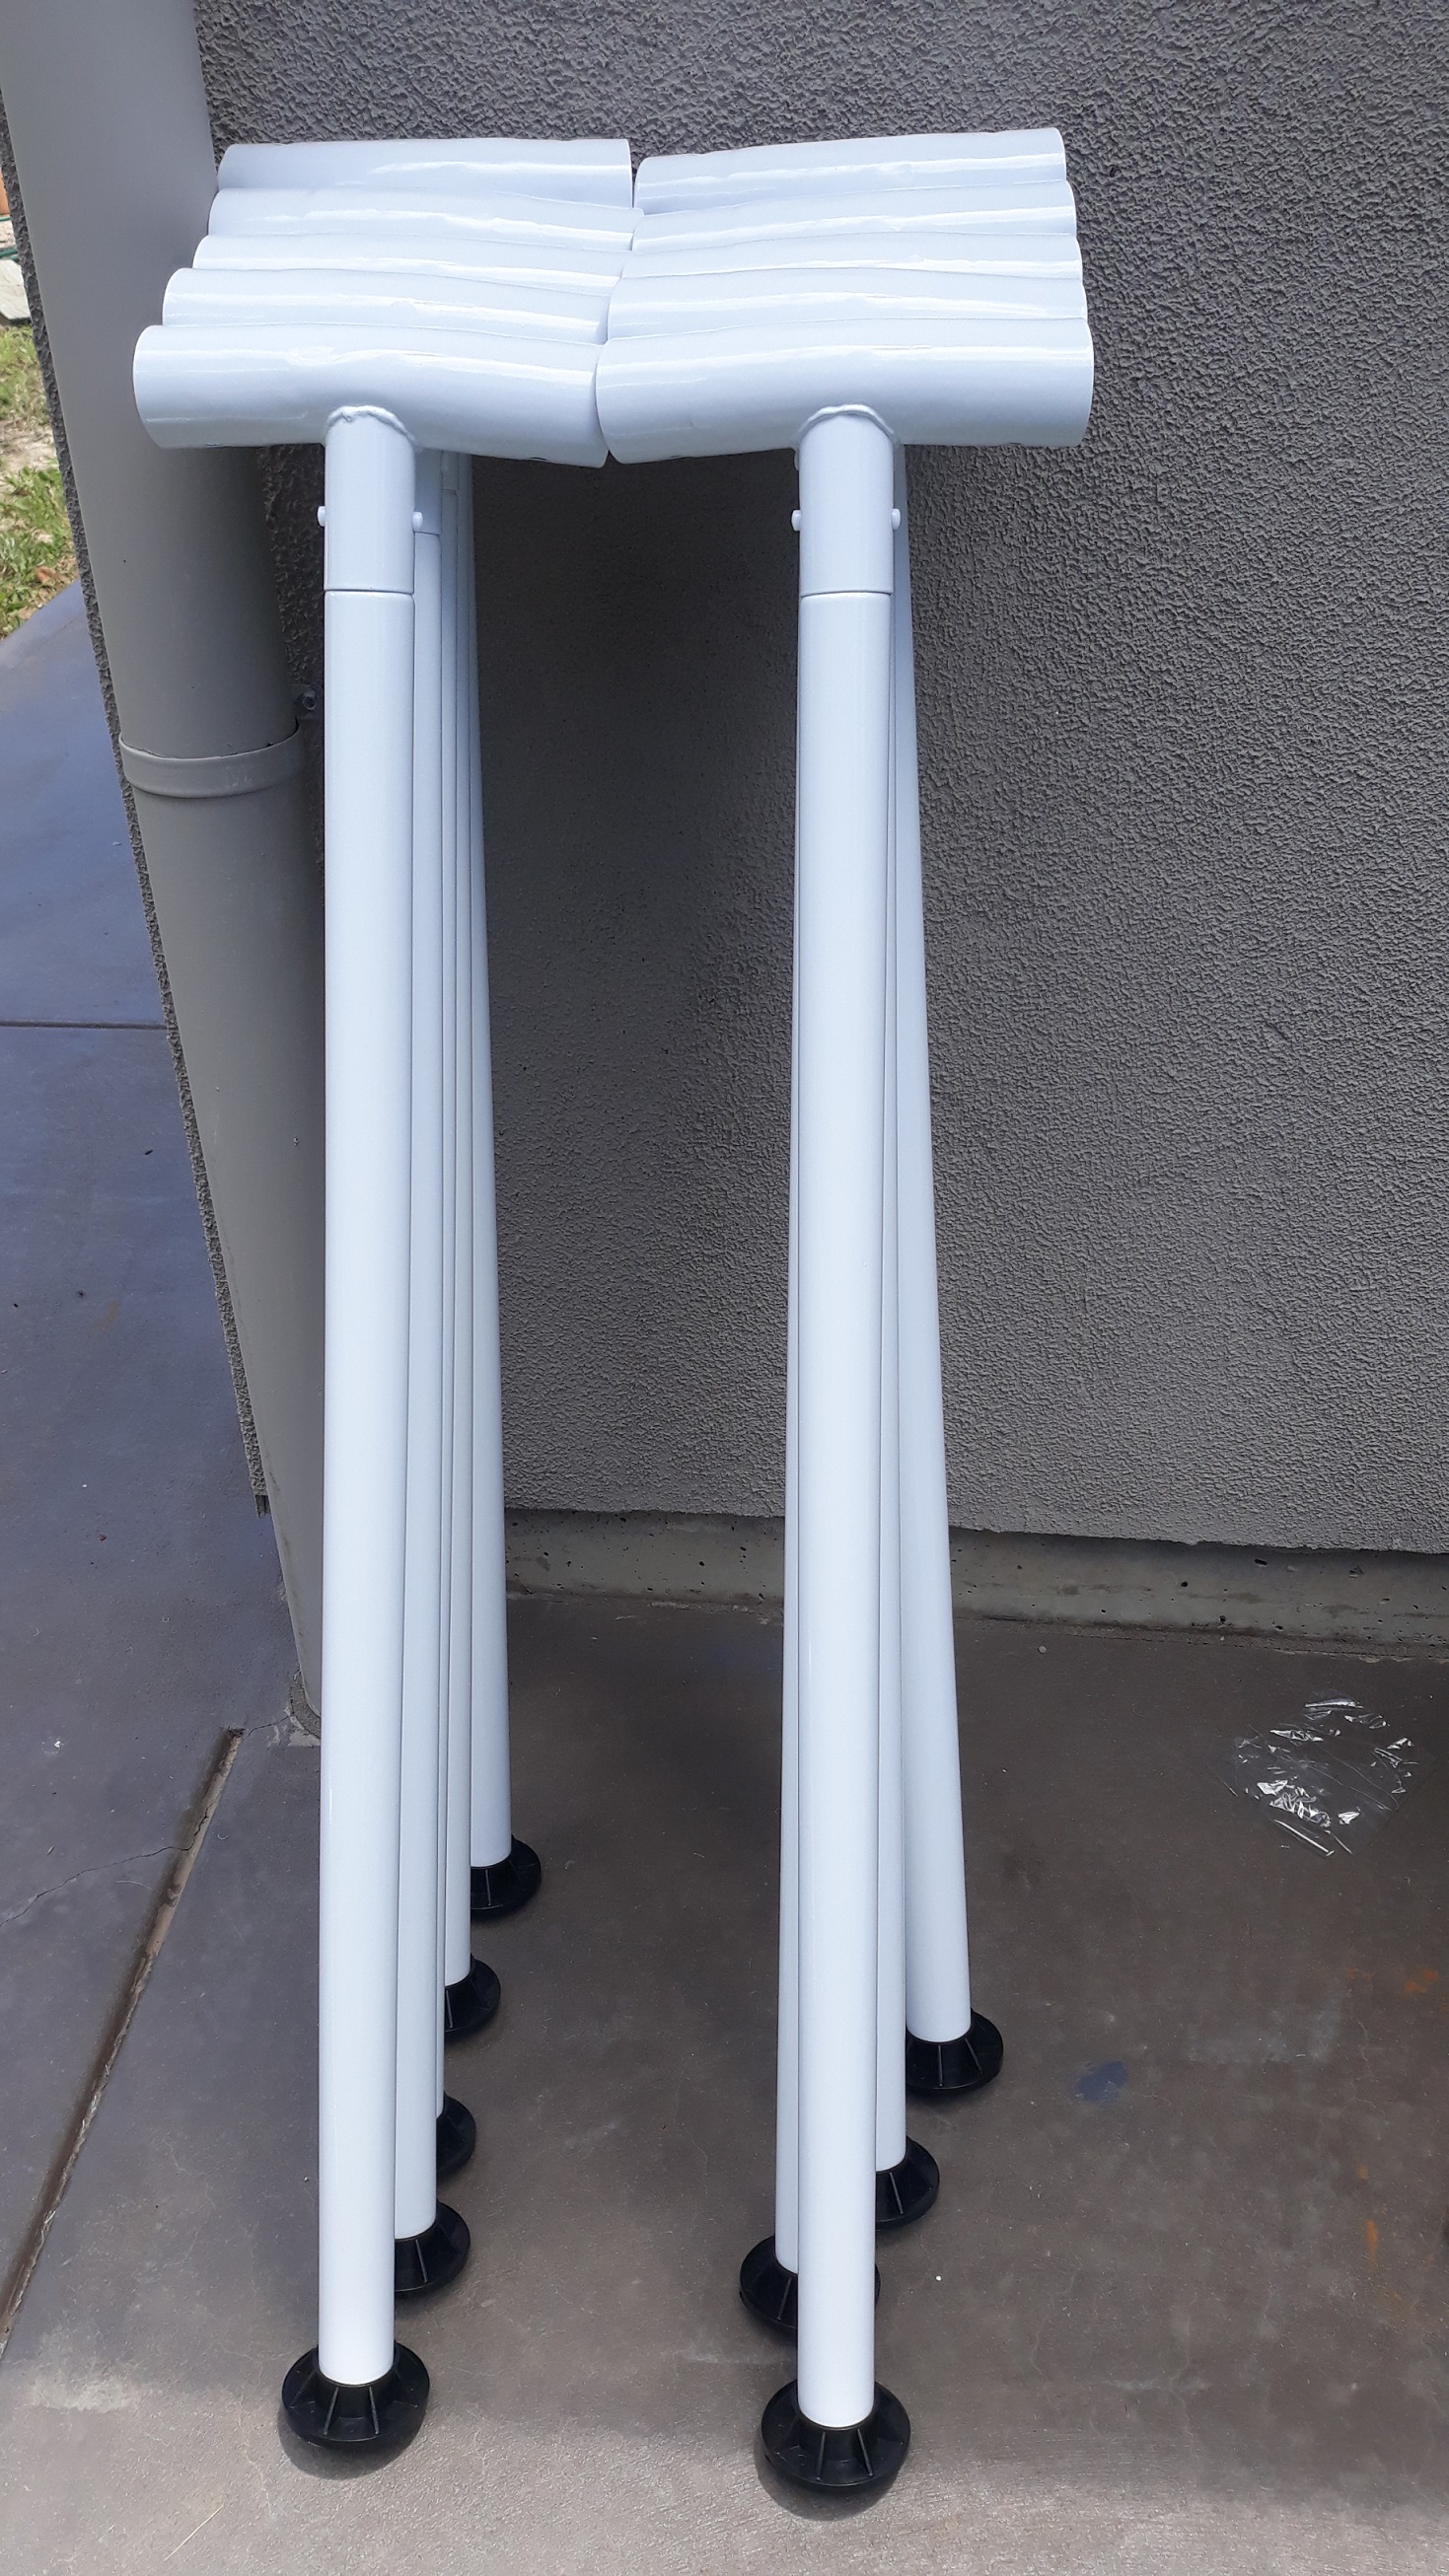 Upright t-bar assemblies Upright t-bar assemblies |
Intex pool base preparation
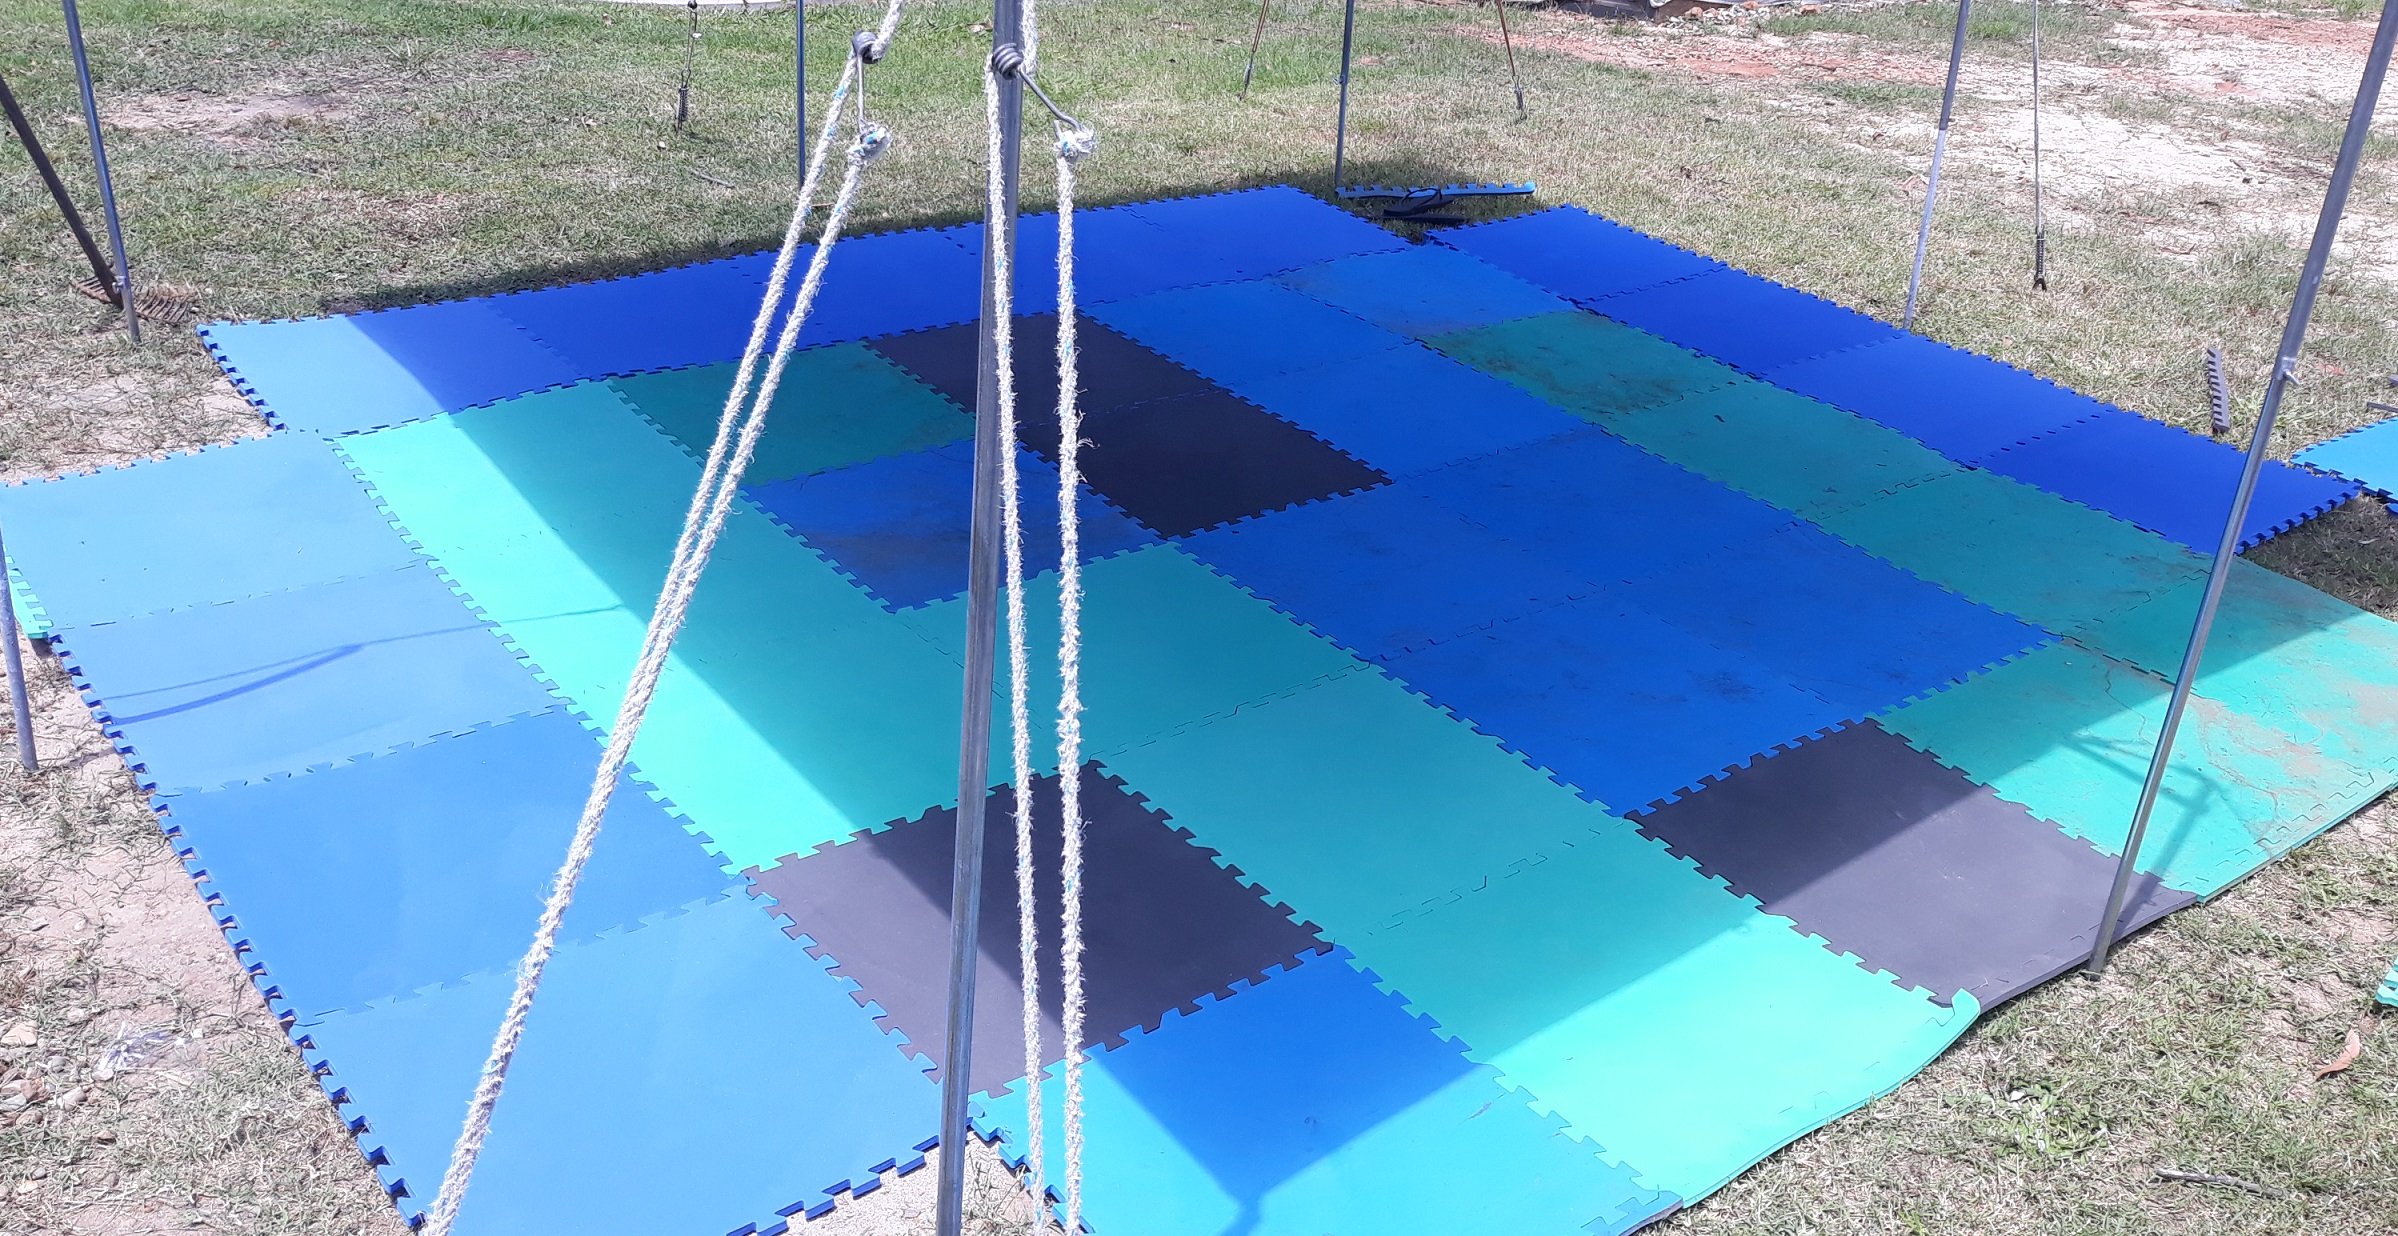
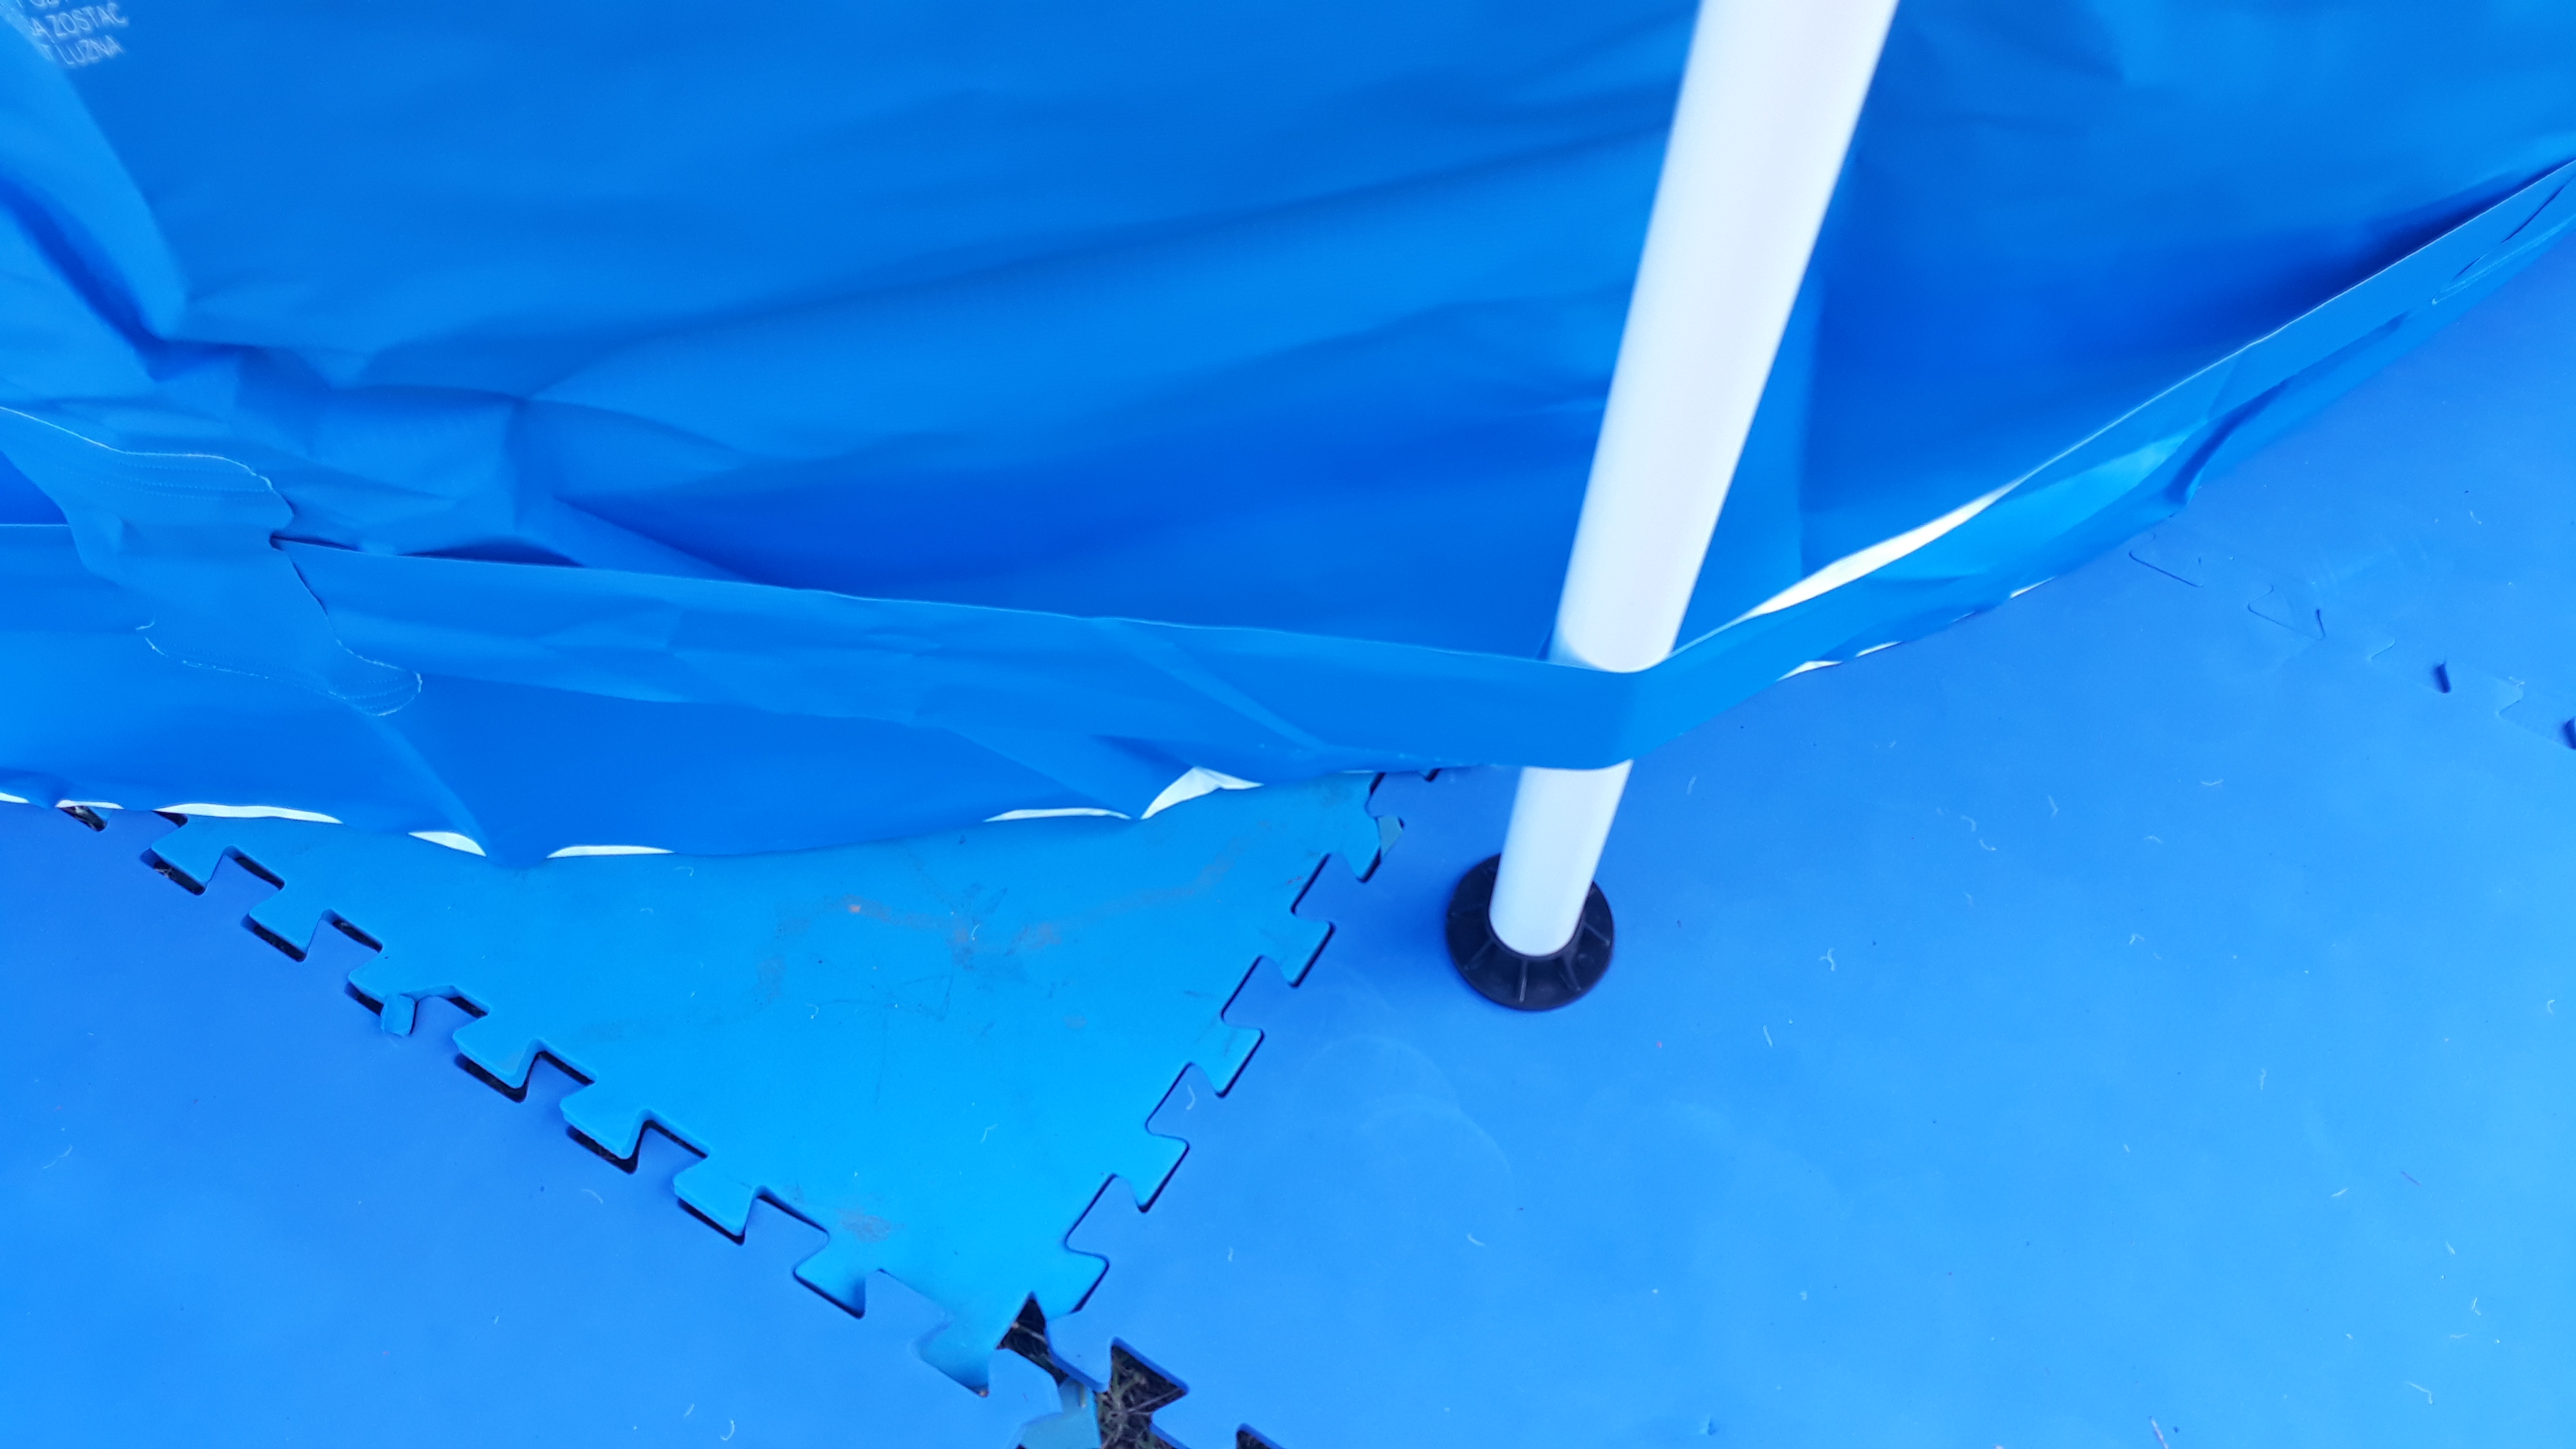
From the photos you will see we erected a shade cover before starting. The 3.66m diameter meant a reguar portable gazebo sat right over it. Ours was murdered in a storm so a more sturdy and sun deflecting arrangement was needed. A perfectly level site was needed with no rocks etc and we added some sand as well. We bought a few packets of interlocking foam mats to act as a soft and protective base to the liner.
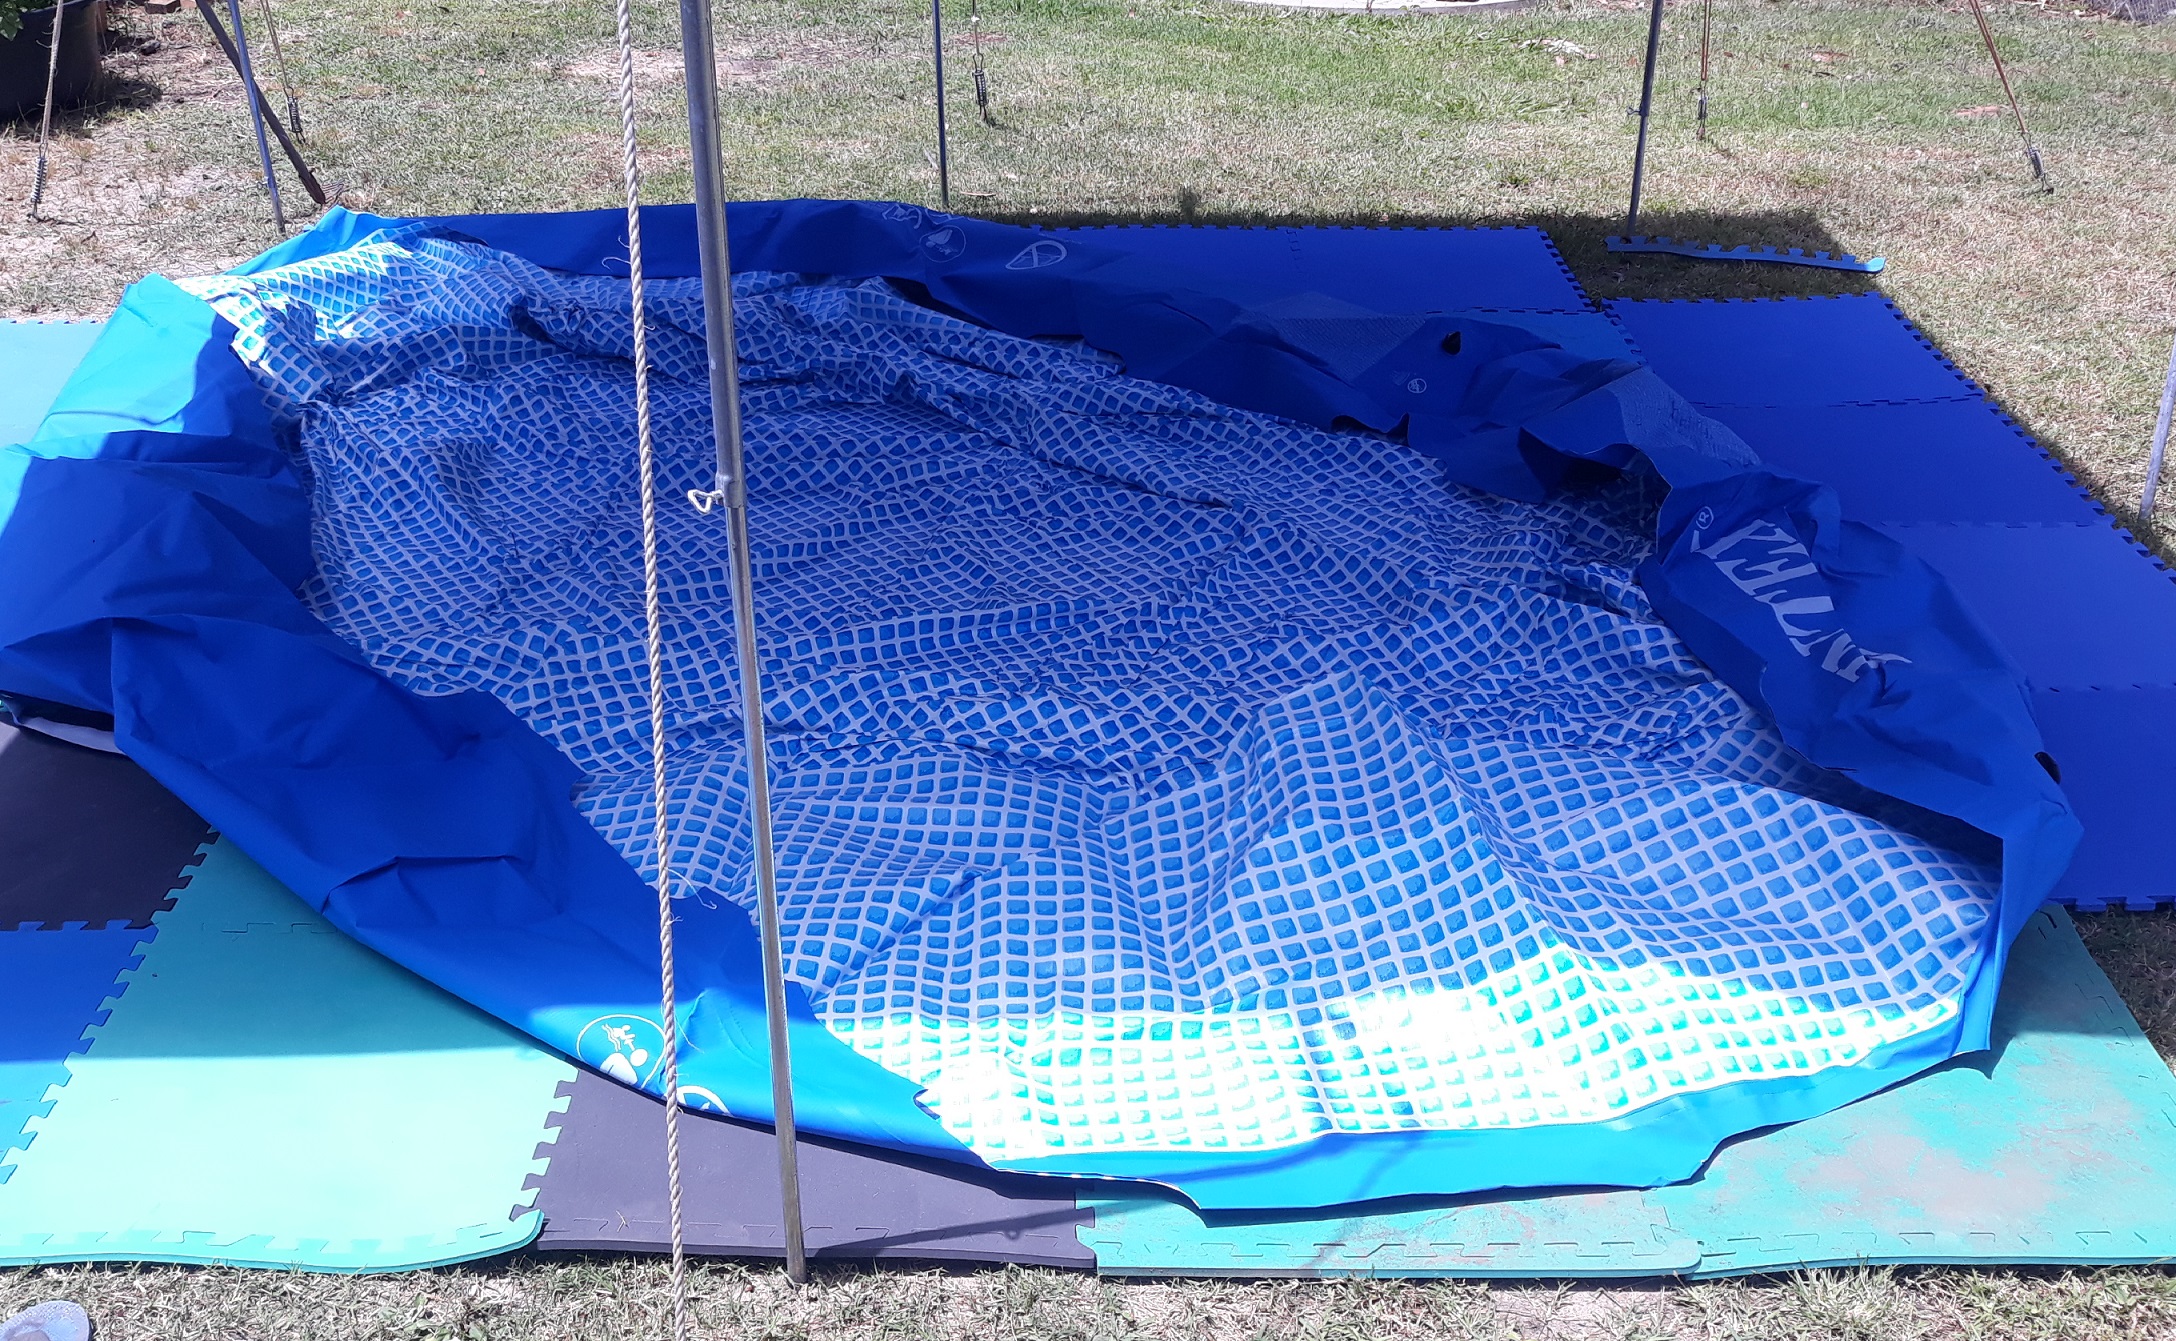
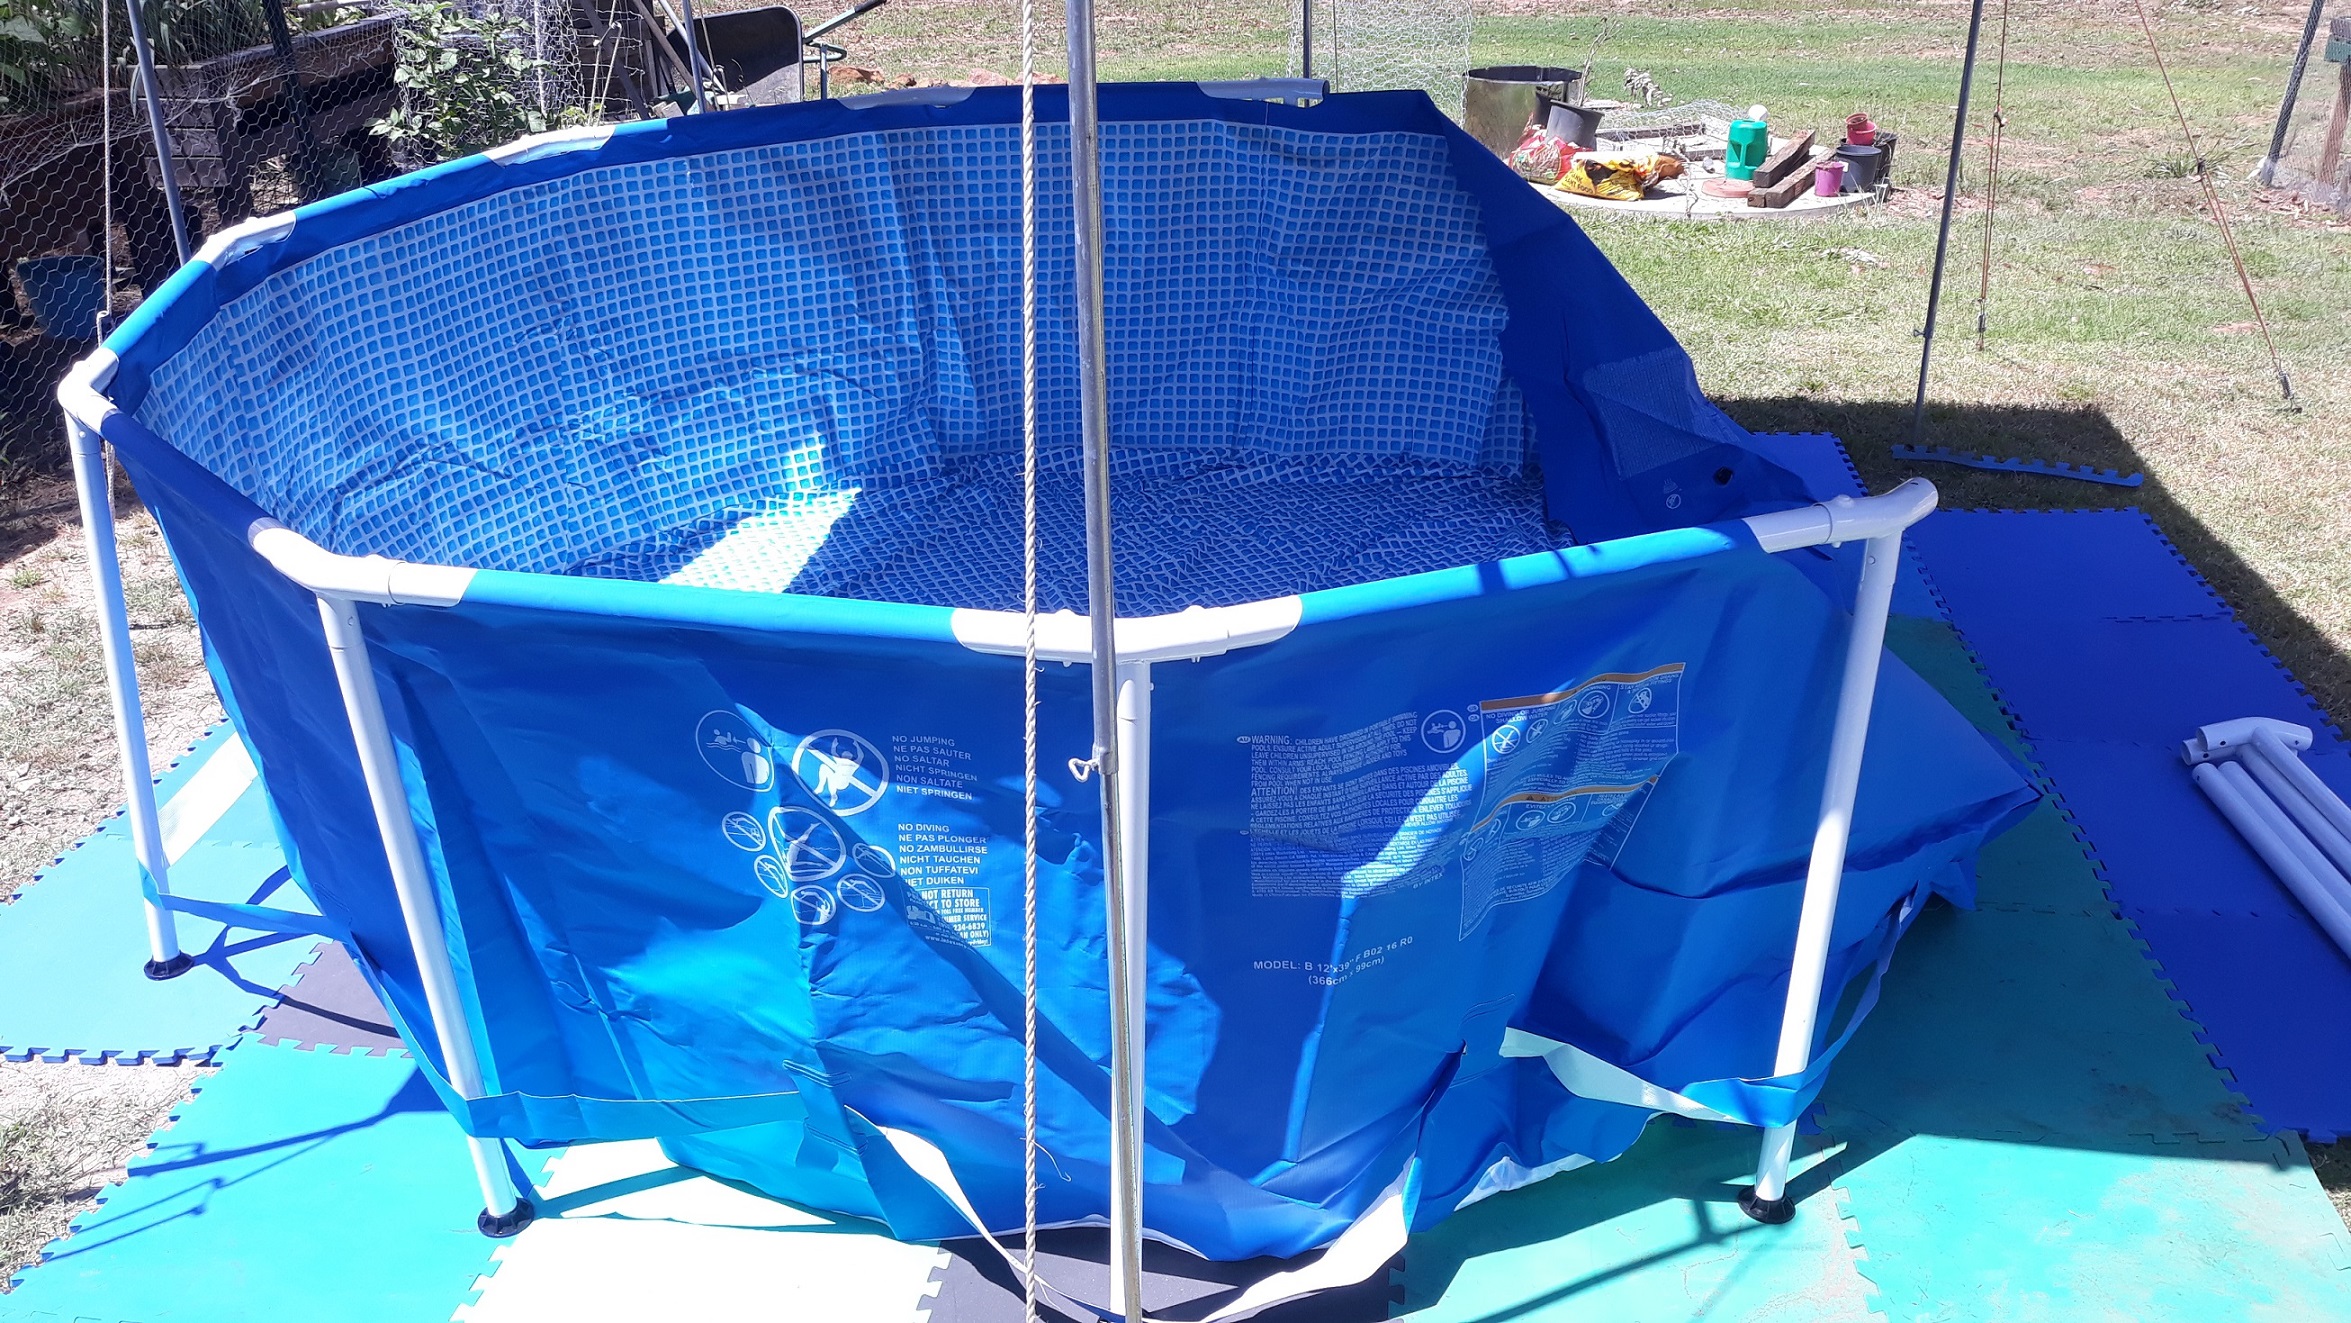
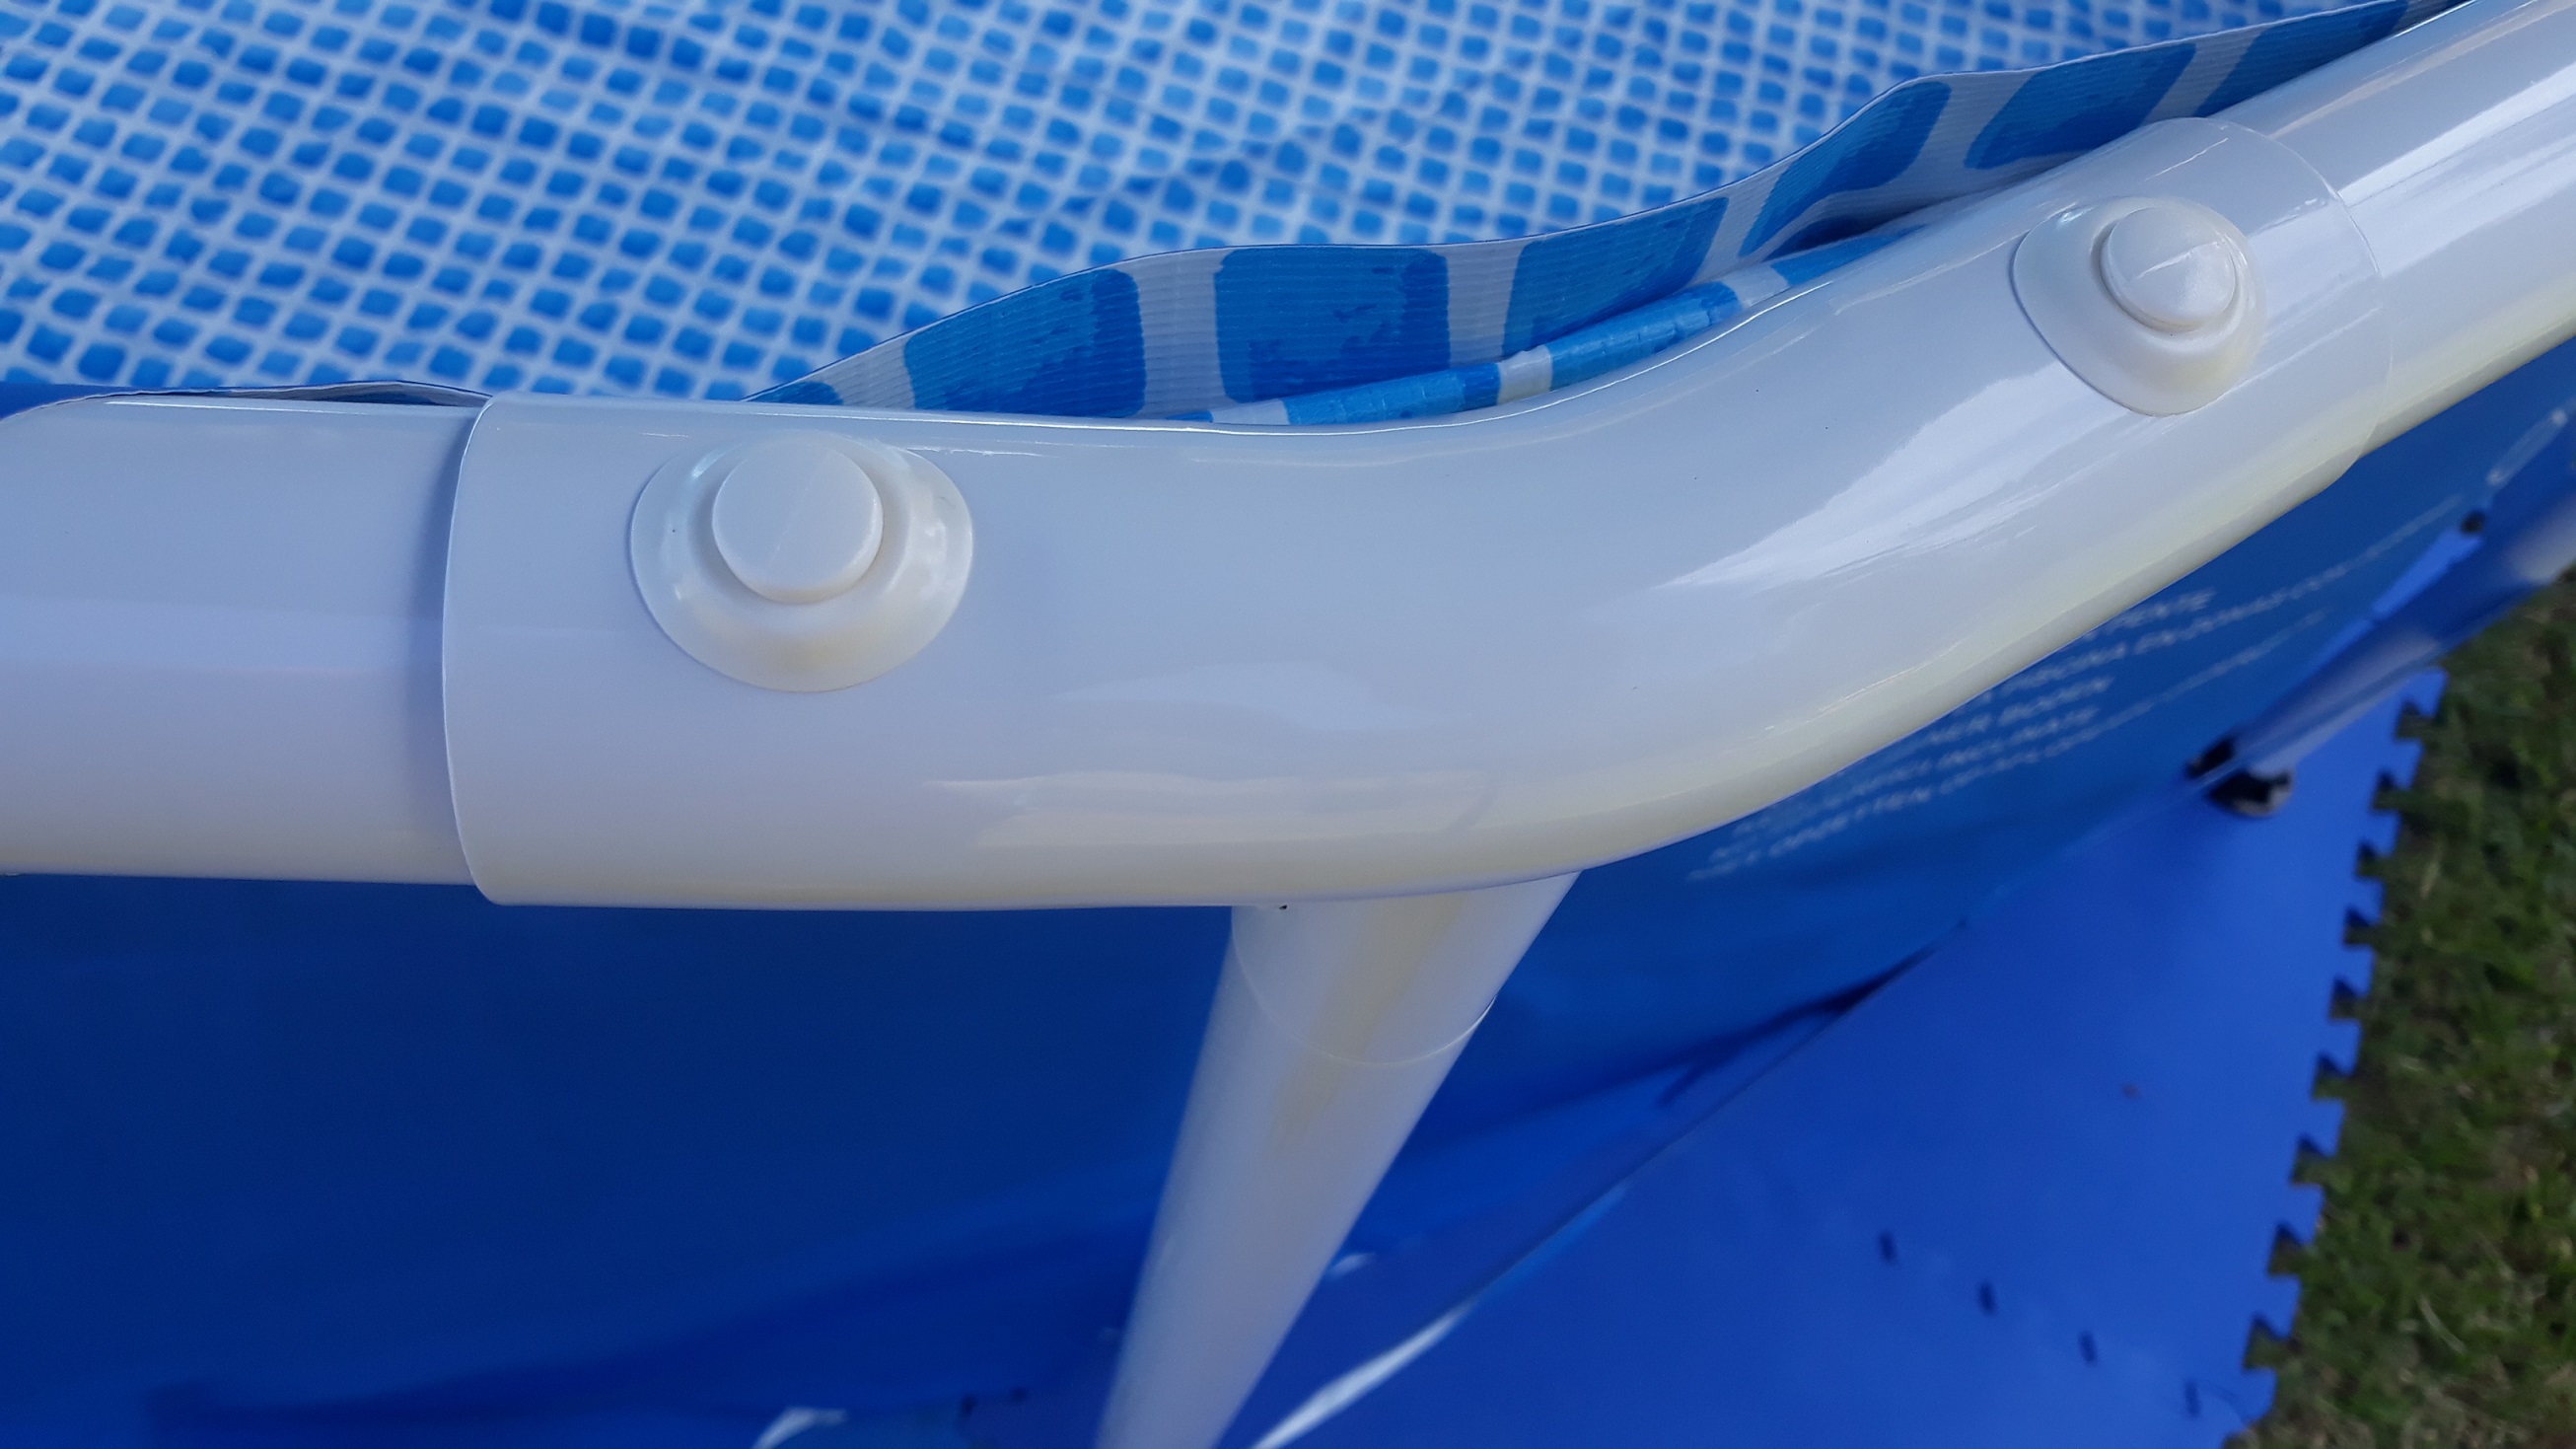
This process took two of us about 2 hours so the shade was useful. We put together the uprights into the t-bars first, added the feet, laid out the liner and made sure the water filter outlets were on the side where the electrical outlet was. We stood up the first t-bar upright, slid the cross beam through the sleeve and, making sure the beam was centred in the sleeve, used one of the pins to complete the connection. The upright also needs to go inside the band that goes around the outside of the liner. I found having all the pins in my pocket helped, but lining up the holes to slip the pins in was tedious. After a couple of t-bars and beams it held itself up so we could slowly proceed around the pool.
It was very important to keep the to horizontal beams centred in the sleeves
Once most of the construction was done, we moved our intex pool to where we wanted it and made our first attempt at the last connection. After a few choice words and failed attempts we worked out a way to do it. The directions said to raise the t-bar (without the upright connected) a few cms and connect from that point, then add the upright. It proved difficult. The last pins were also difficult to insert.
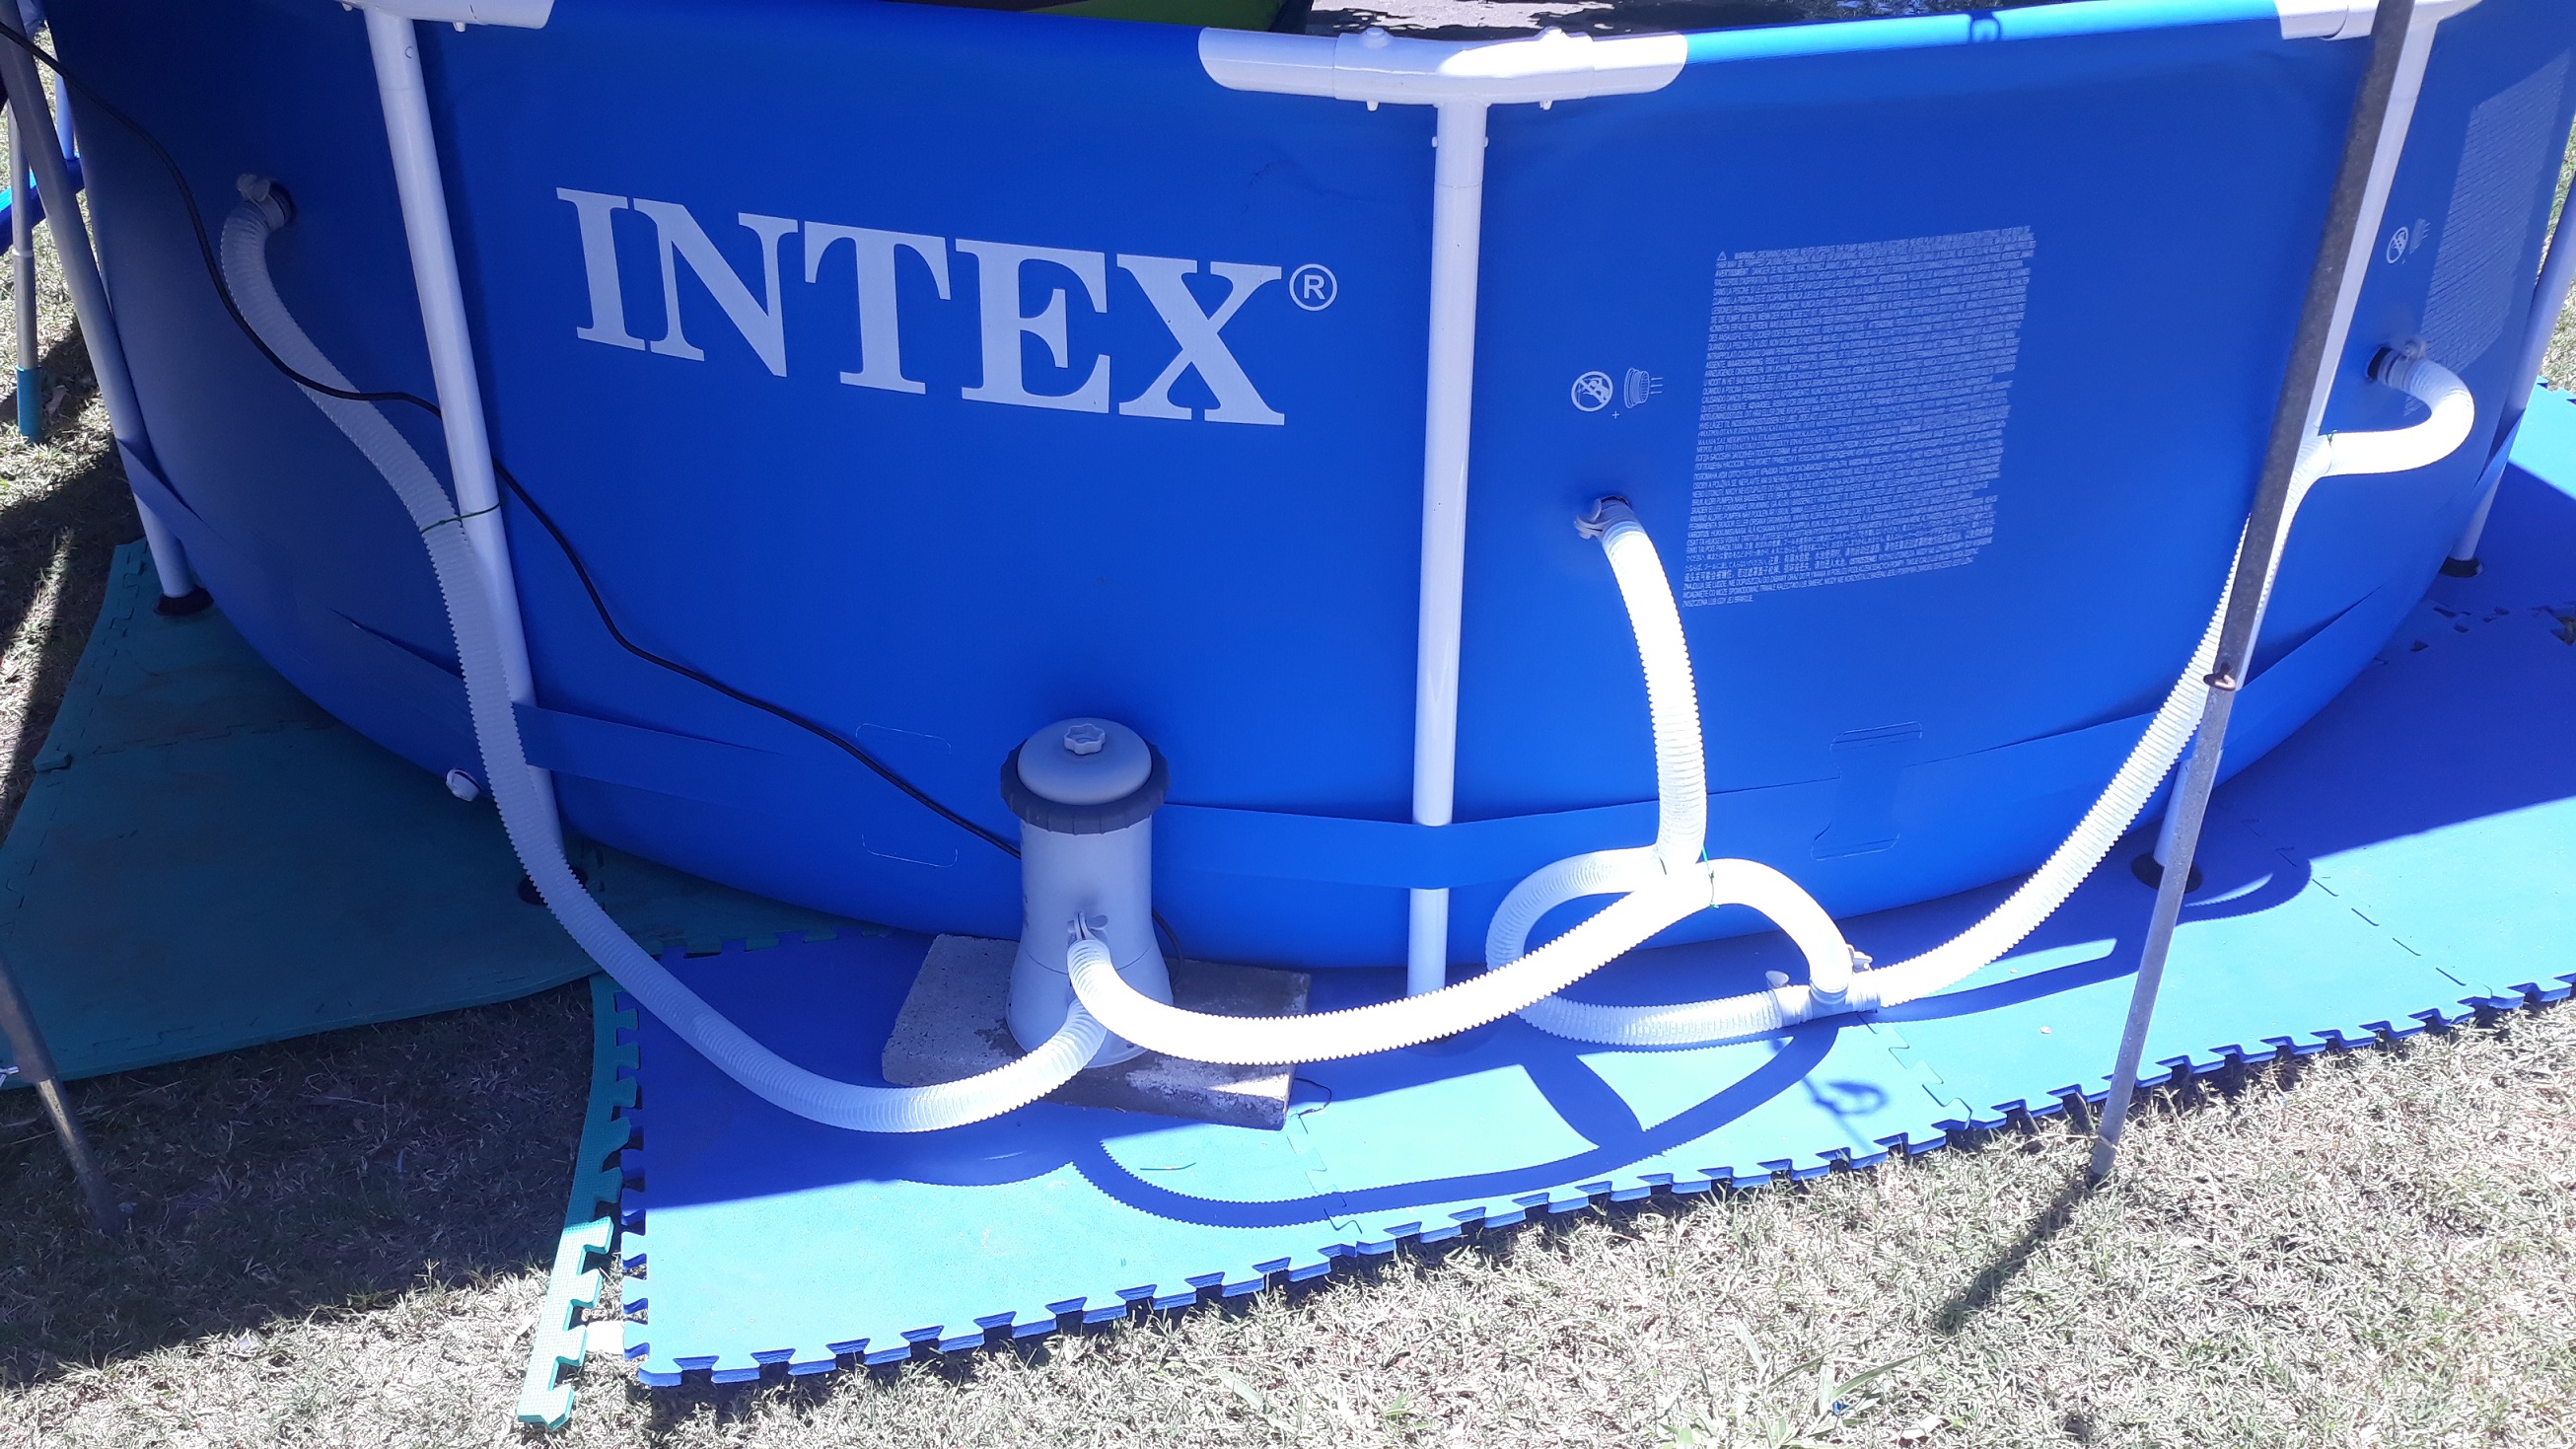
The intex pool filter and hoses were relatively easy to assemble.
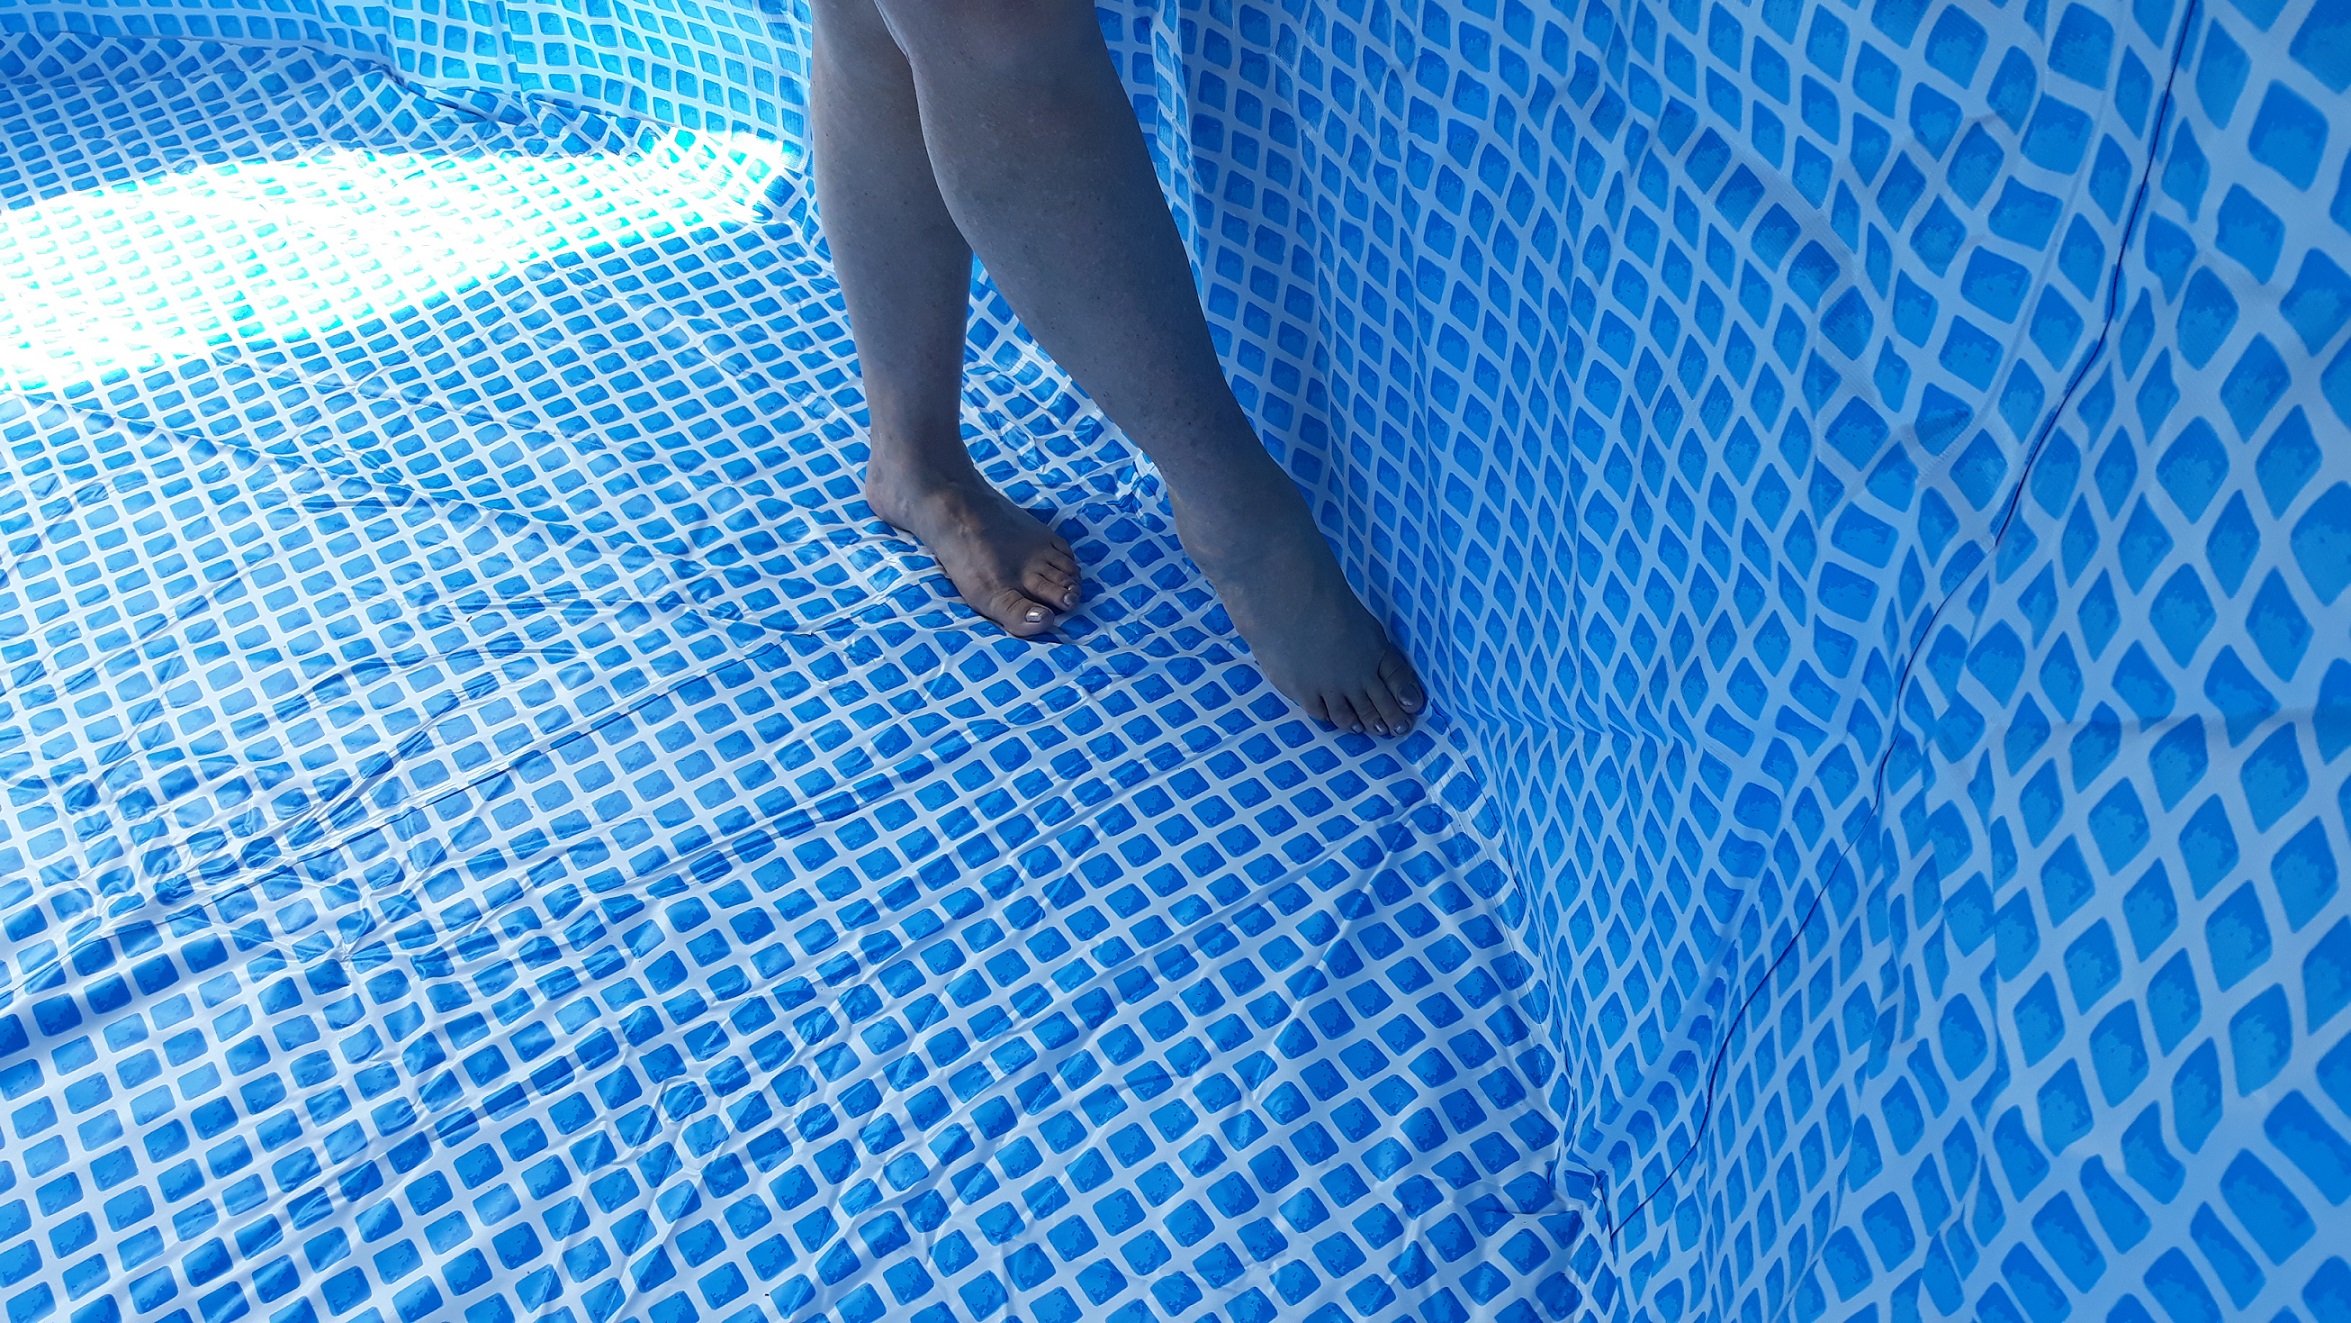
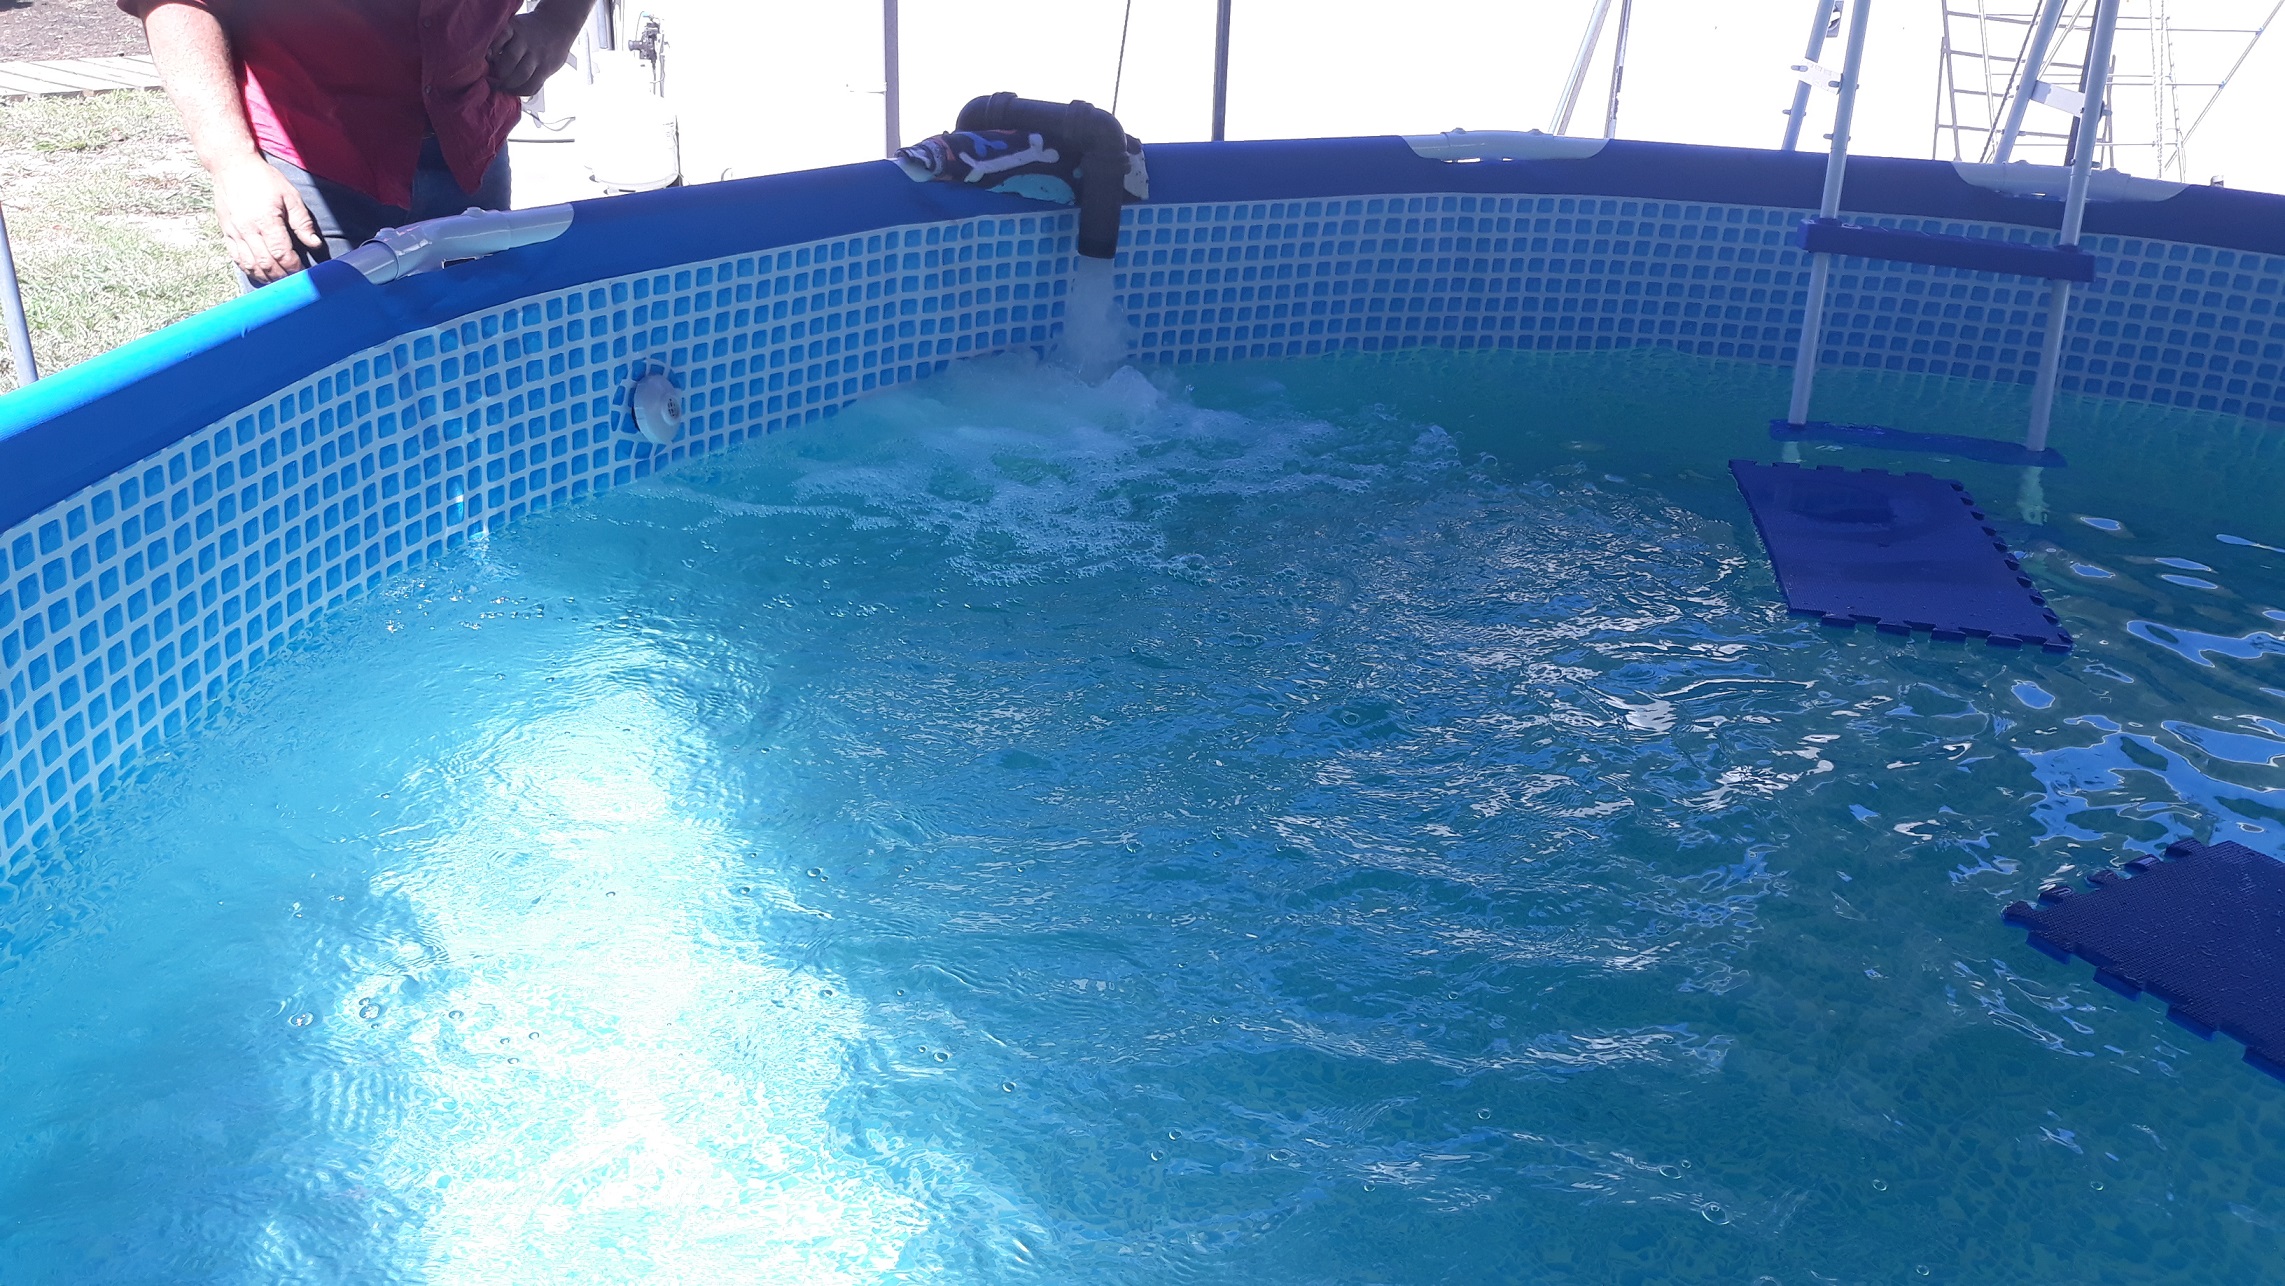
Filling the pool was easy with a water truck delivery, about 10,000 liters of (chlorinated) town-water was enough. As the initial water was added we walked around pushing the liner to the edge and smoothing out creases.
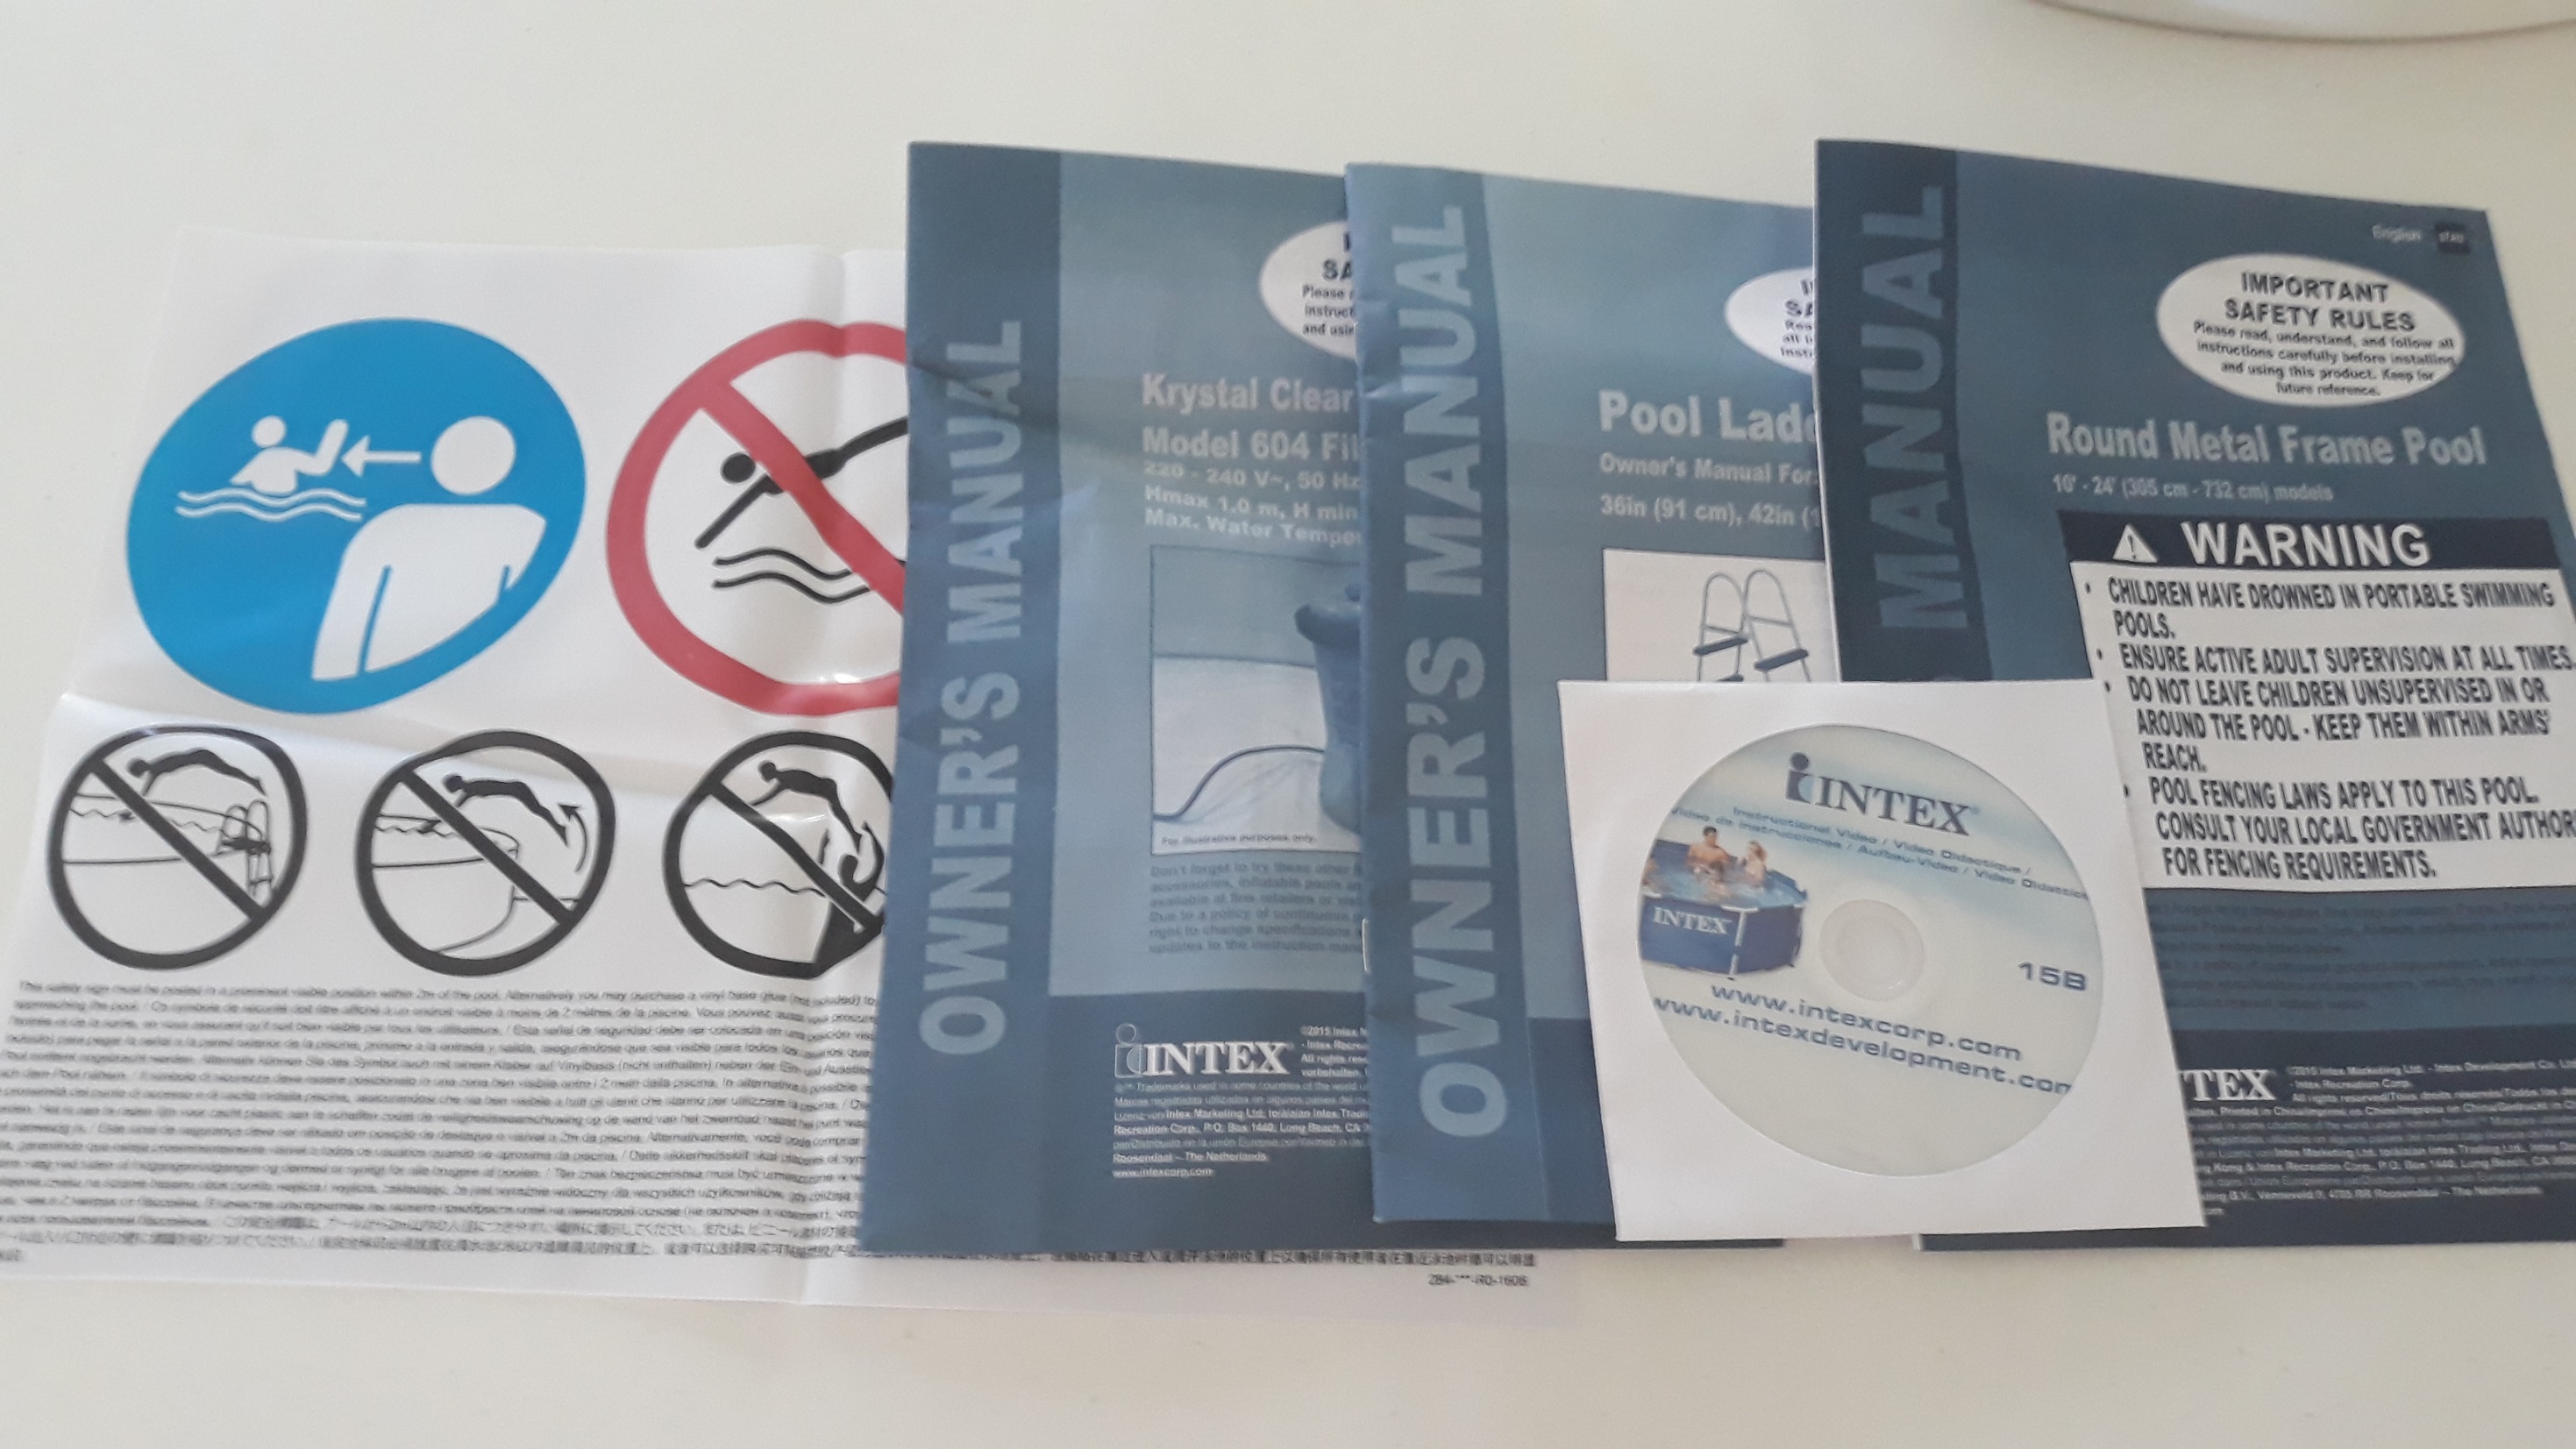
The intex pool ladder was included and was quick to erect. We bought a specific pool cover, but a tarp will do the job. Intex pools seem to come with more literature than others with separate pool construction, filter pump, and ladder manuals, and a DVD.
We have had this intex pool for a few months now and found the extra depth much better, and the larger pool to be of sturdier construction. I think the 120cm tall version would have been excellent but they couldn't supply it at the time. The liner seems thicker as well.
Here are a few pointers from above ground pool owners of some years now.
Above ground pool tips
- The base setup is the MOST important step
- Take your time with the construction
- Don't over-fill it
- Don't let children swim in it (only joking)
- Don't dive in, it will stretch and eventually collapse the pool
- Cover the filter and tubes with shade cloth to stop water heating
- Clean the filter every week (easy job)
- Use a water hose actuated pool cleaner to vacuum the floor (cheap)
- Use a pool cover and pool shade of some description
- Use a floating chlorine tablet dispenser
- Check your local council for legal requirements of pool ownership and fencing
Intex pools can be bought at places like this in Australia. I have no affilation with Intex or Clark Rubber.
Go back to DIY Projects or return to Kithomebasics home page
