Post and Beam Frame Installation
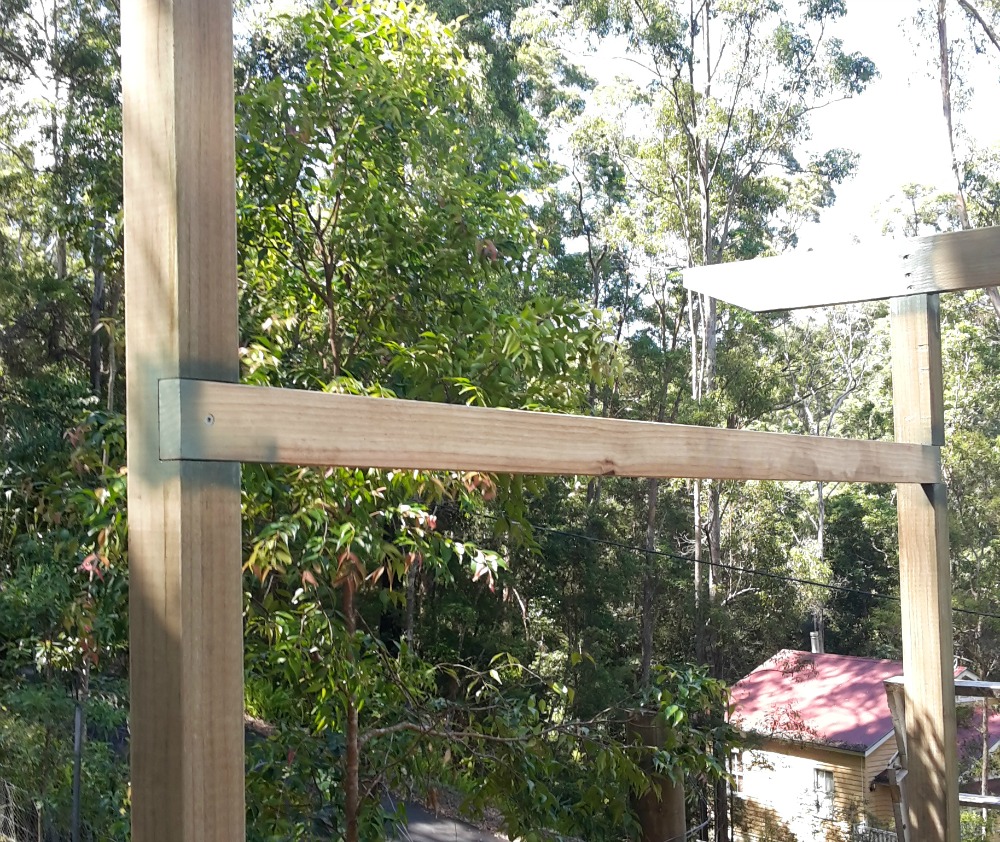
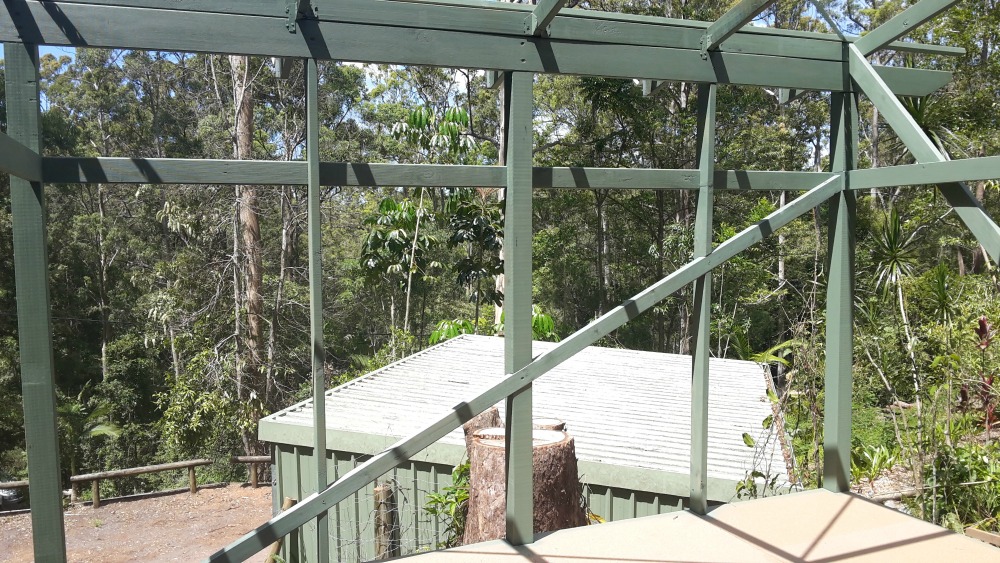
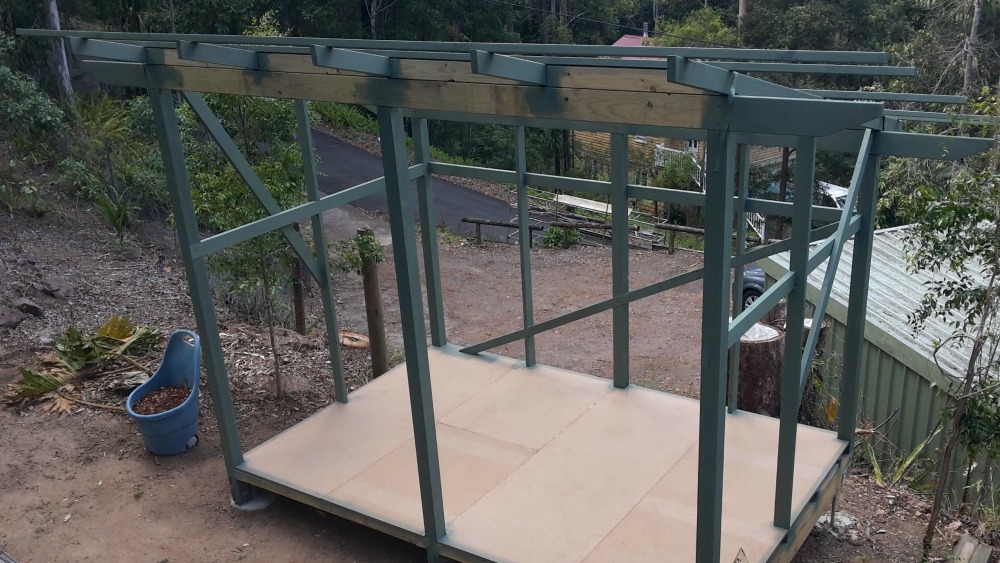
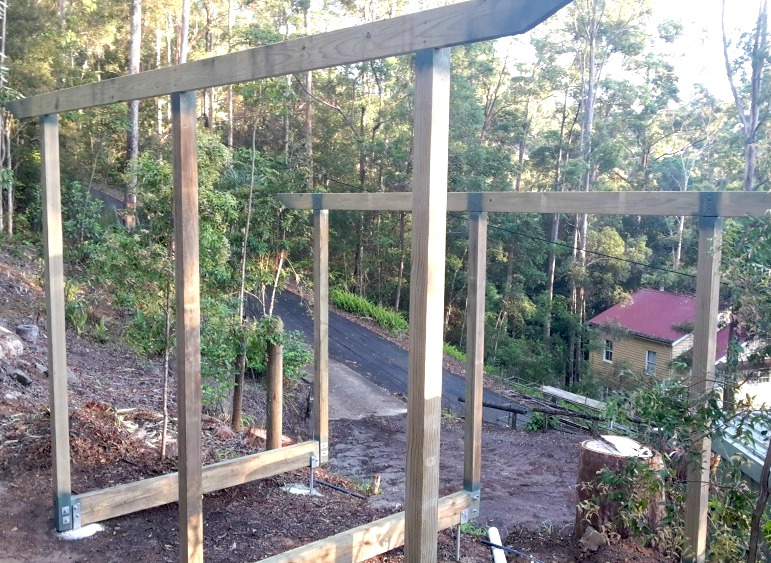
The post and beam frame for my small wooden shed needs additional side and rear rails as well as three cross braces to lock it in place. Some interesting framing carpentry is required, as I have opted to continue the post and beam theme by avoiding too many connectors and using traditional joints. The first rails to go up were the side rails, but I decided to add the rear rails to the side rail joints so it all sort of happened together.
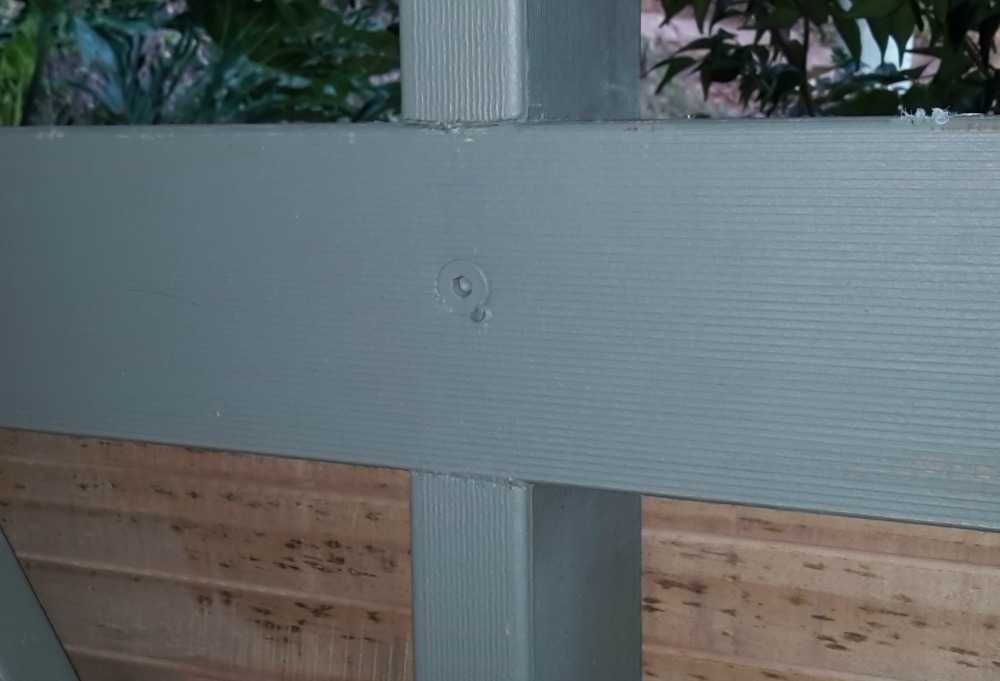
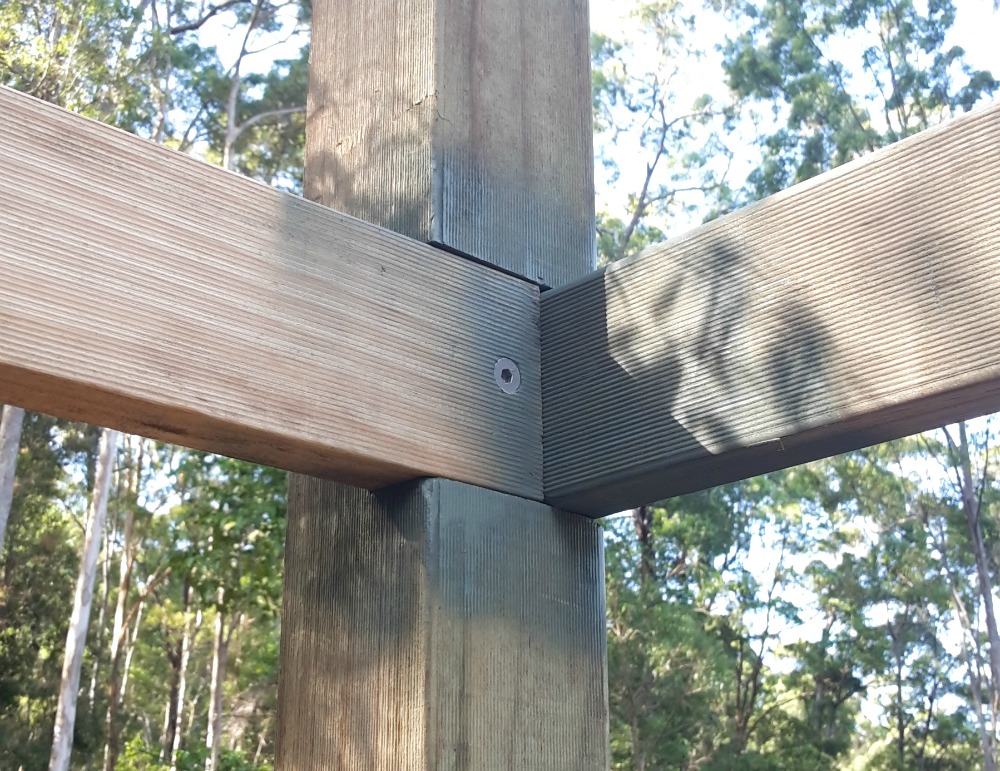
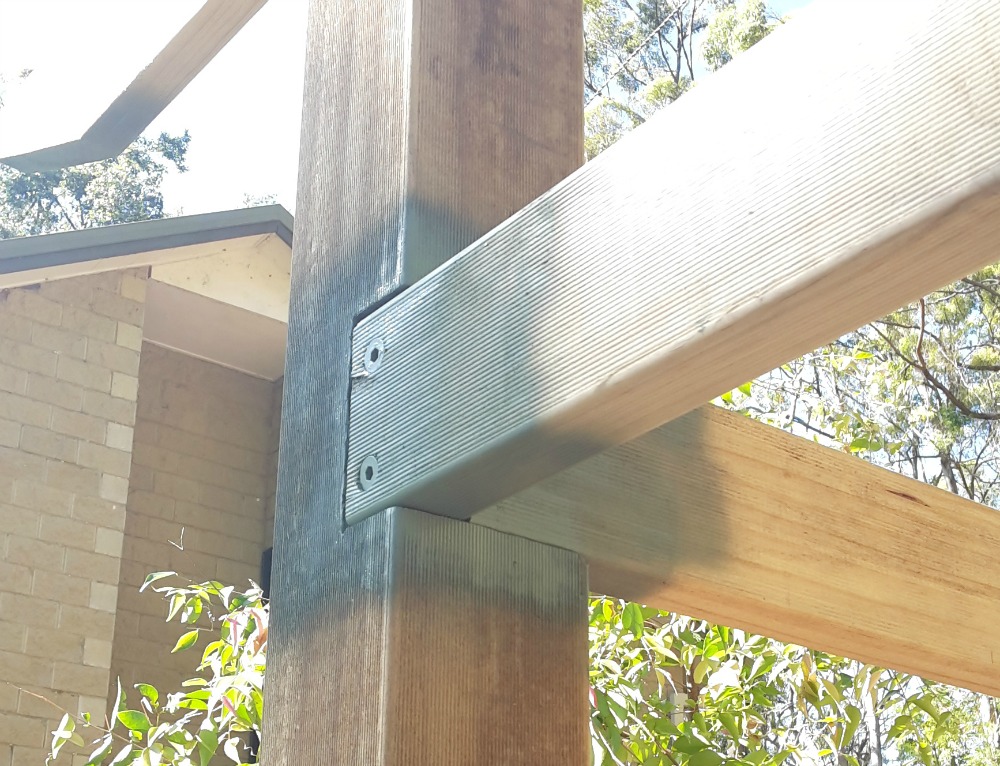
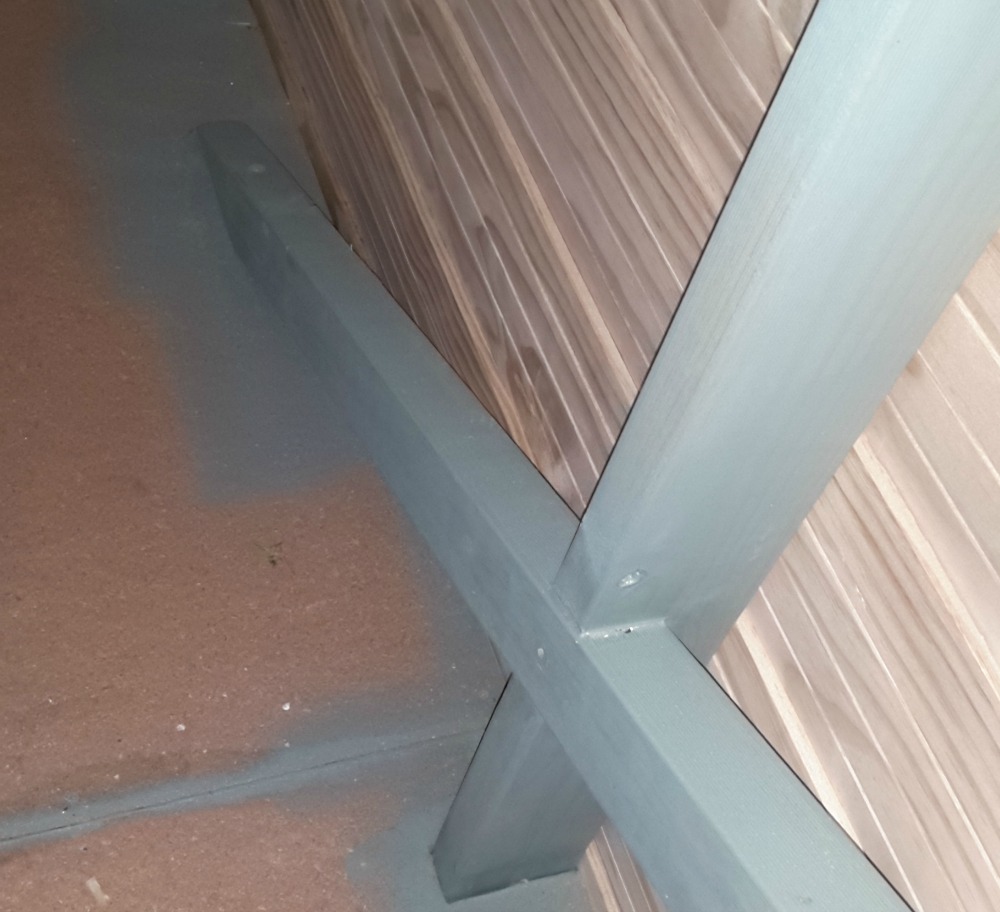
I used 90mm X 35mm (3.5" x 1.4") CCA dressed pine planks as my rails, these were cut to fit from the front post to 55mm into the rear post. This will leave the width of the rear rail: 35mm, to slot it in. So I then checked out the front and rear posts at 90mm wide and 35mm deep. I then gave them a quick paint seal before slotting the LHS rail home. Before fastening them I did the same to the RHS posts. I then cut a rear rail to slot into the centre post to create a corner lap joint.
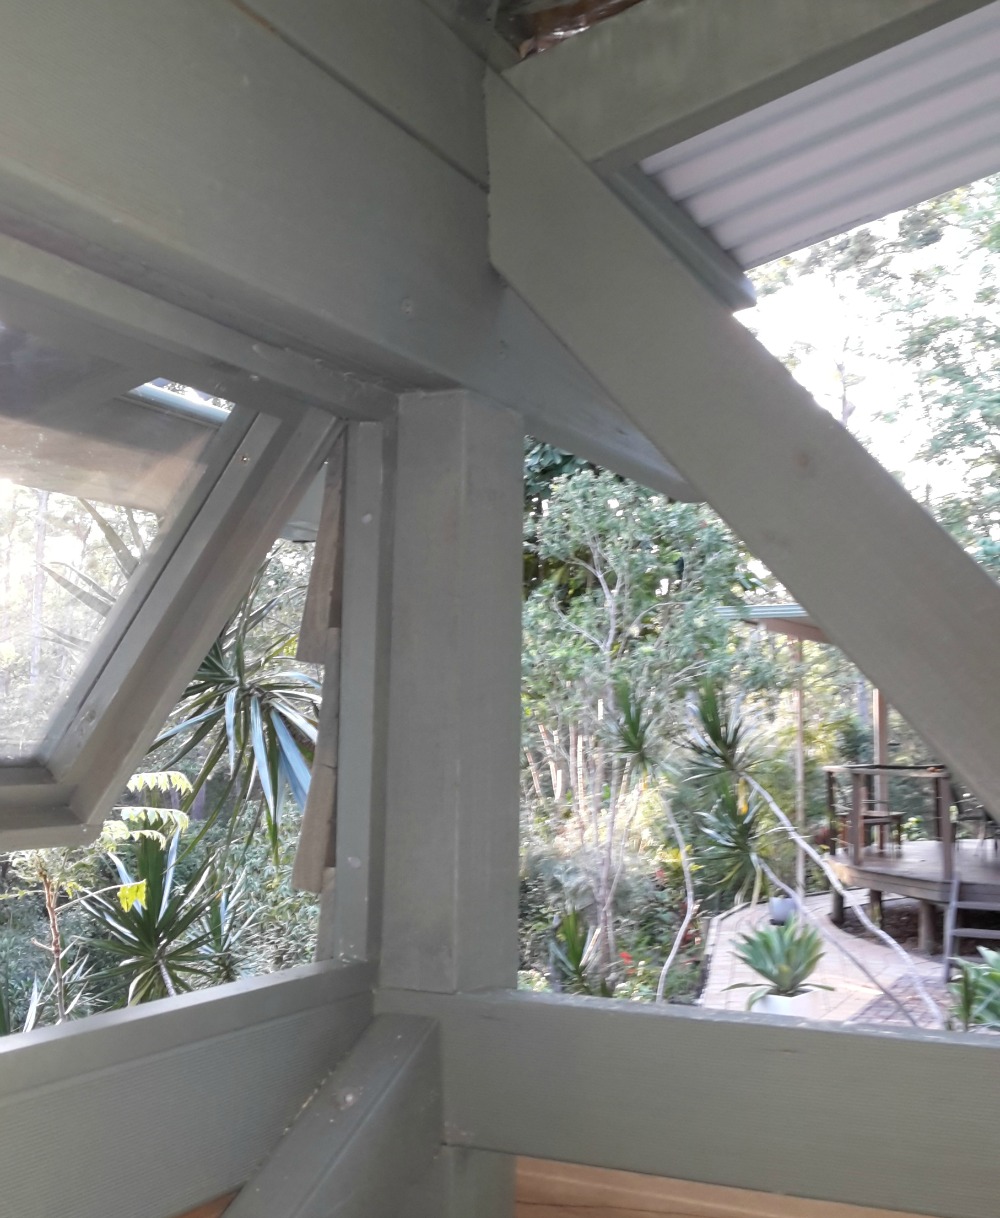
Next was the front rail under which will sit the doors and over which will sit a row of clerestory windows. I used a dado joint here, and sealed and fastened them the same way.
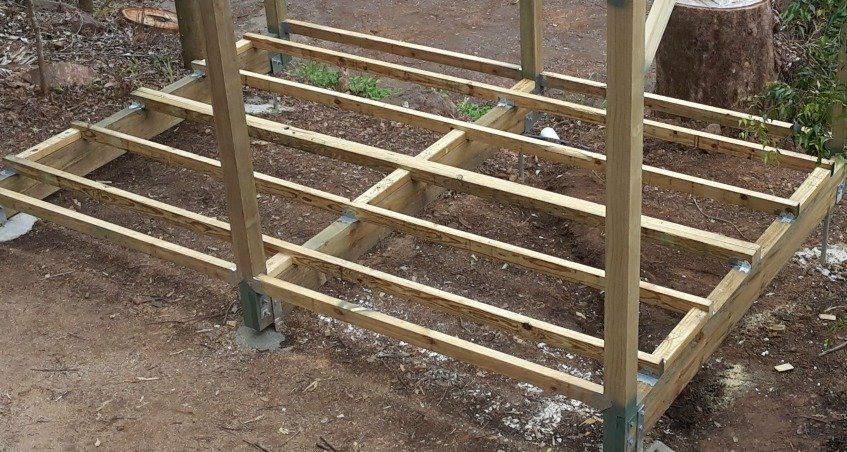
At this point I added some more uprights to aid the weatherboard installation: one on each side, and two on the rear, all cross lapped in and inserted through the flooring.
Post and Beam Frame: Cross Bracing
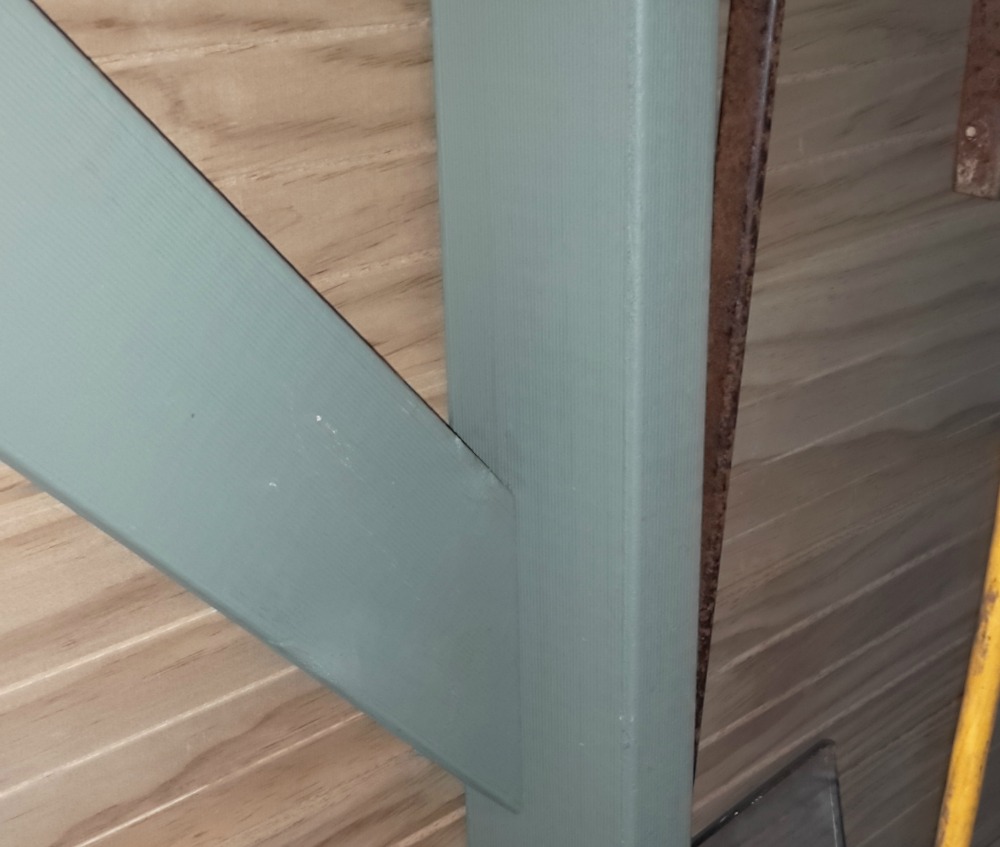
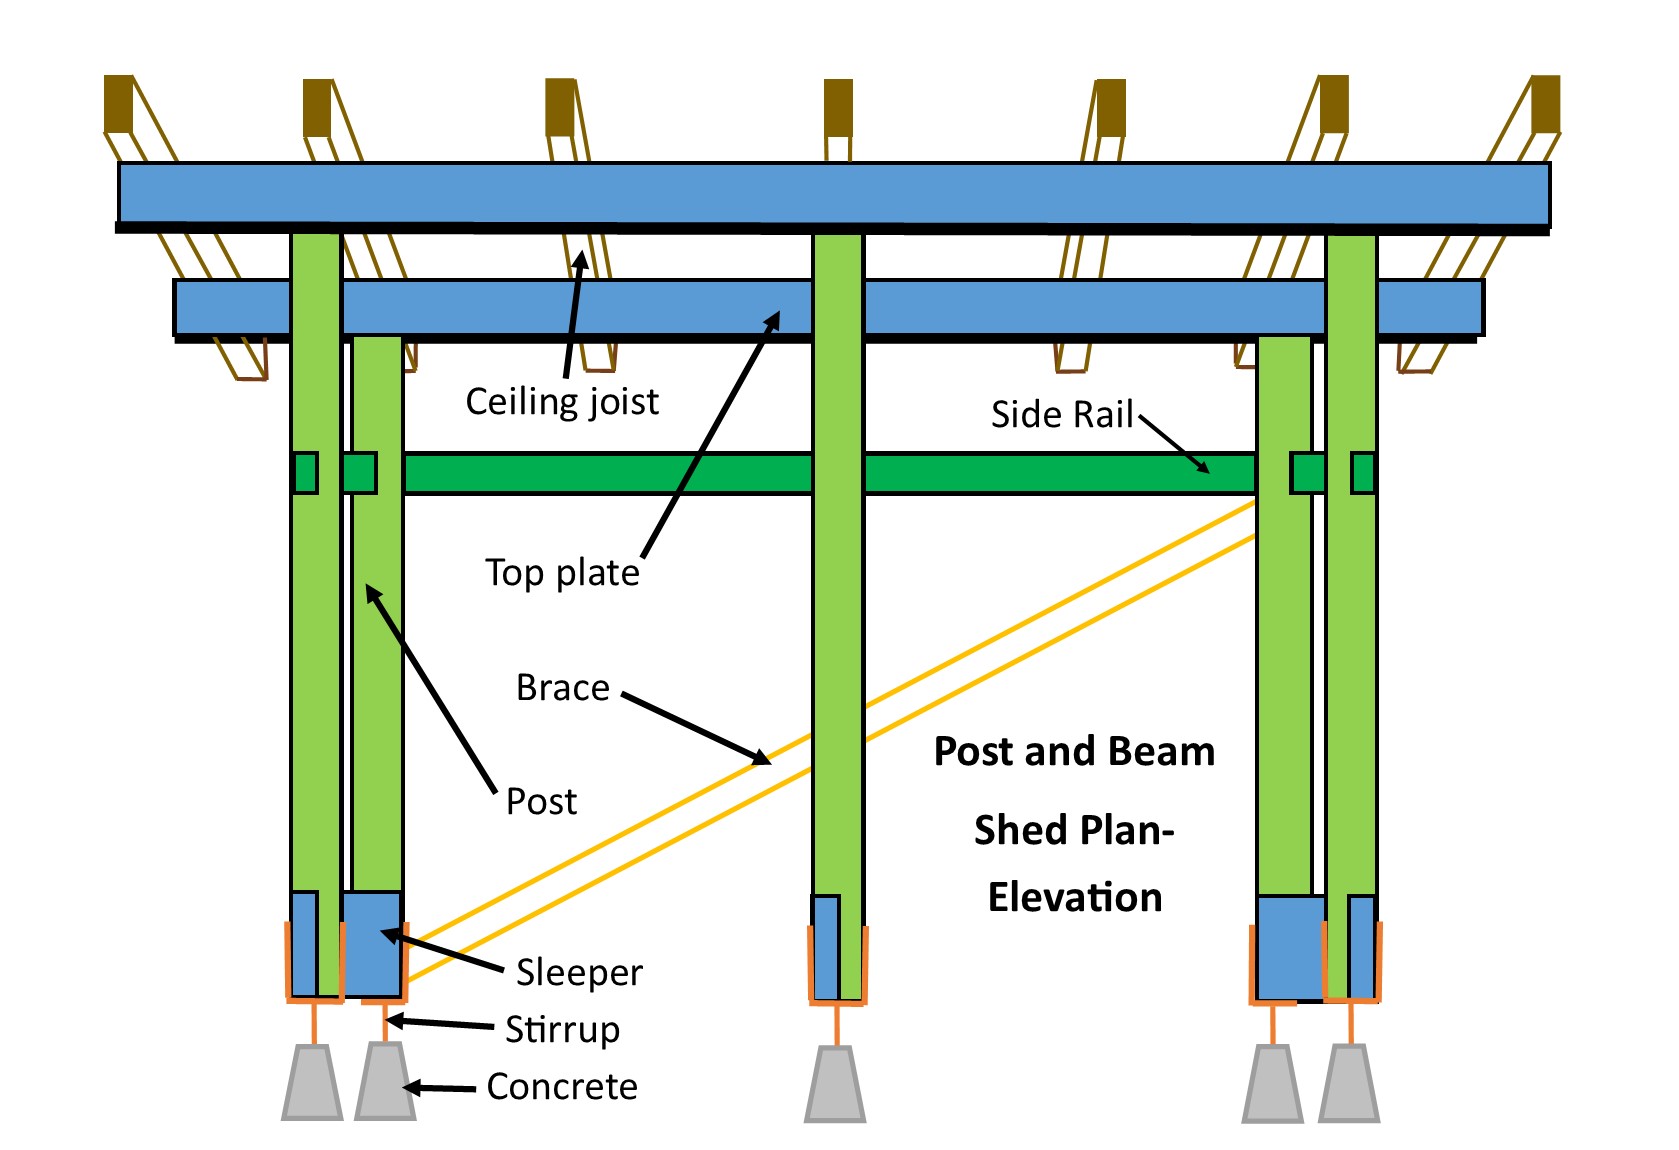
To build your own shed, you need to make sure it doesn't lean in the wind. So..my backyard shed needs cross braces. Now, depending on how you build it, and where you want windows, the cross braces may change position considerably. The rear, and largest one started below the rear rail on the RHS post and extended all the way across to the left and finished butting on the floor. This required the brace to be cut first: I used a 75mm x 50mm (3' x 2') H3 cut to sit against the post and on the floor at the other end. I clamped the brace in position and commenced scribing the cuts to be made into the centre post and two uprights. I used a circular saw to make the cuts and checked them out with my trusty chisel. I sealed and slotted it home and fastened it again with Bugles.
The side braces butted up against the posts near the top plates and crossed the horizontal rails and butted into the centre vertical uprights.
That's the post and beam frame complete. To follow this project further select Shed Roof below.
Return to DIY Projects or Kithomebasics home page
