Pouring Concrete Slabs
The basics
The tasks of pouring concrete and concrete finishing are the last in our section of foundation pages. So far we have covered:
Setting Out Plans
: helps you plot footings and slabs
Concrete Footing Details
: is our guide to slab & pier construction
DIY Concrete
: outlines tools, equipment and steps to slab building
Slab Formwork
: outlines formwork, rough in plumbing and reinforcing
Concrete Calculator
: assists in concrete estimation
Pouring concrete: tools and materials
This page describes the process of pouring concrete, screeding and slab concrete finishing. You will need the following equipment when pouring concrete:
• Short handle square mouth shovels
• Short and long screeds
• Planks
• Selection of hand floats and finishing trowels
• Bull float
• Hammer
• Rubber boots
• Supply of running water
Optional..
• Concrete vibrator
• Power trowel
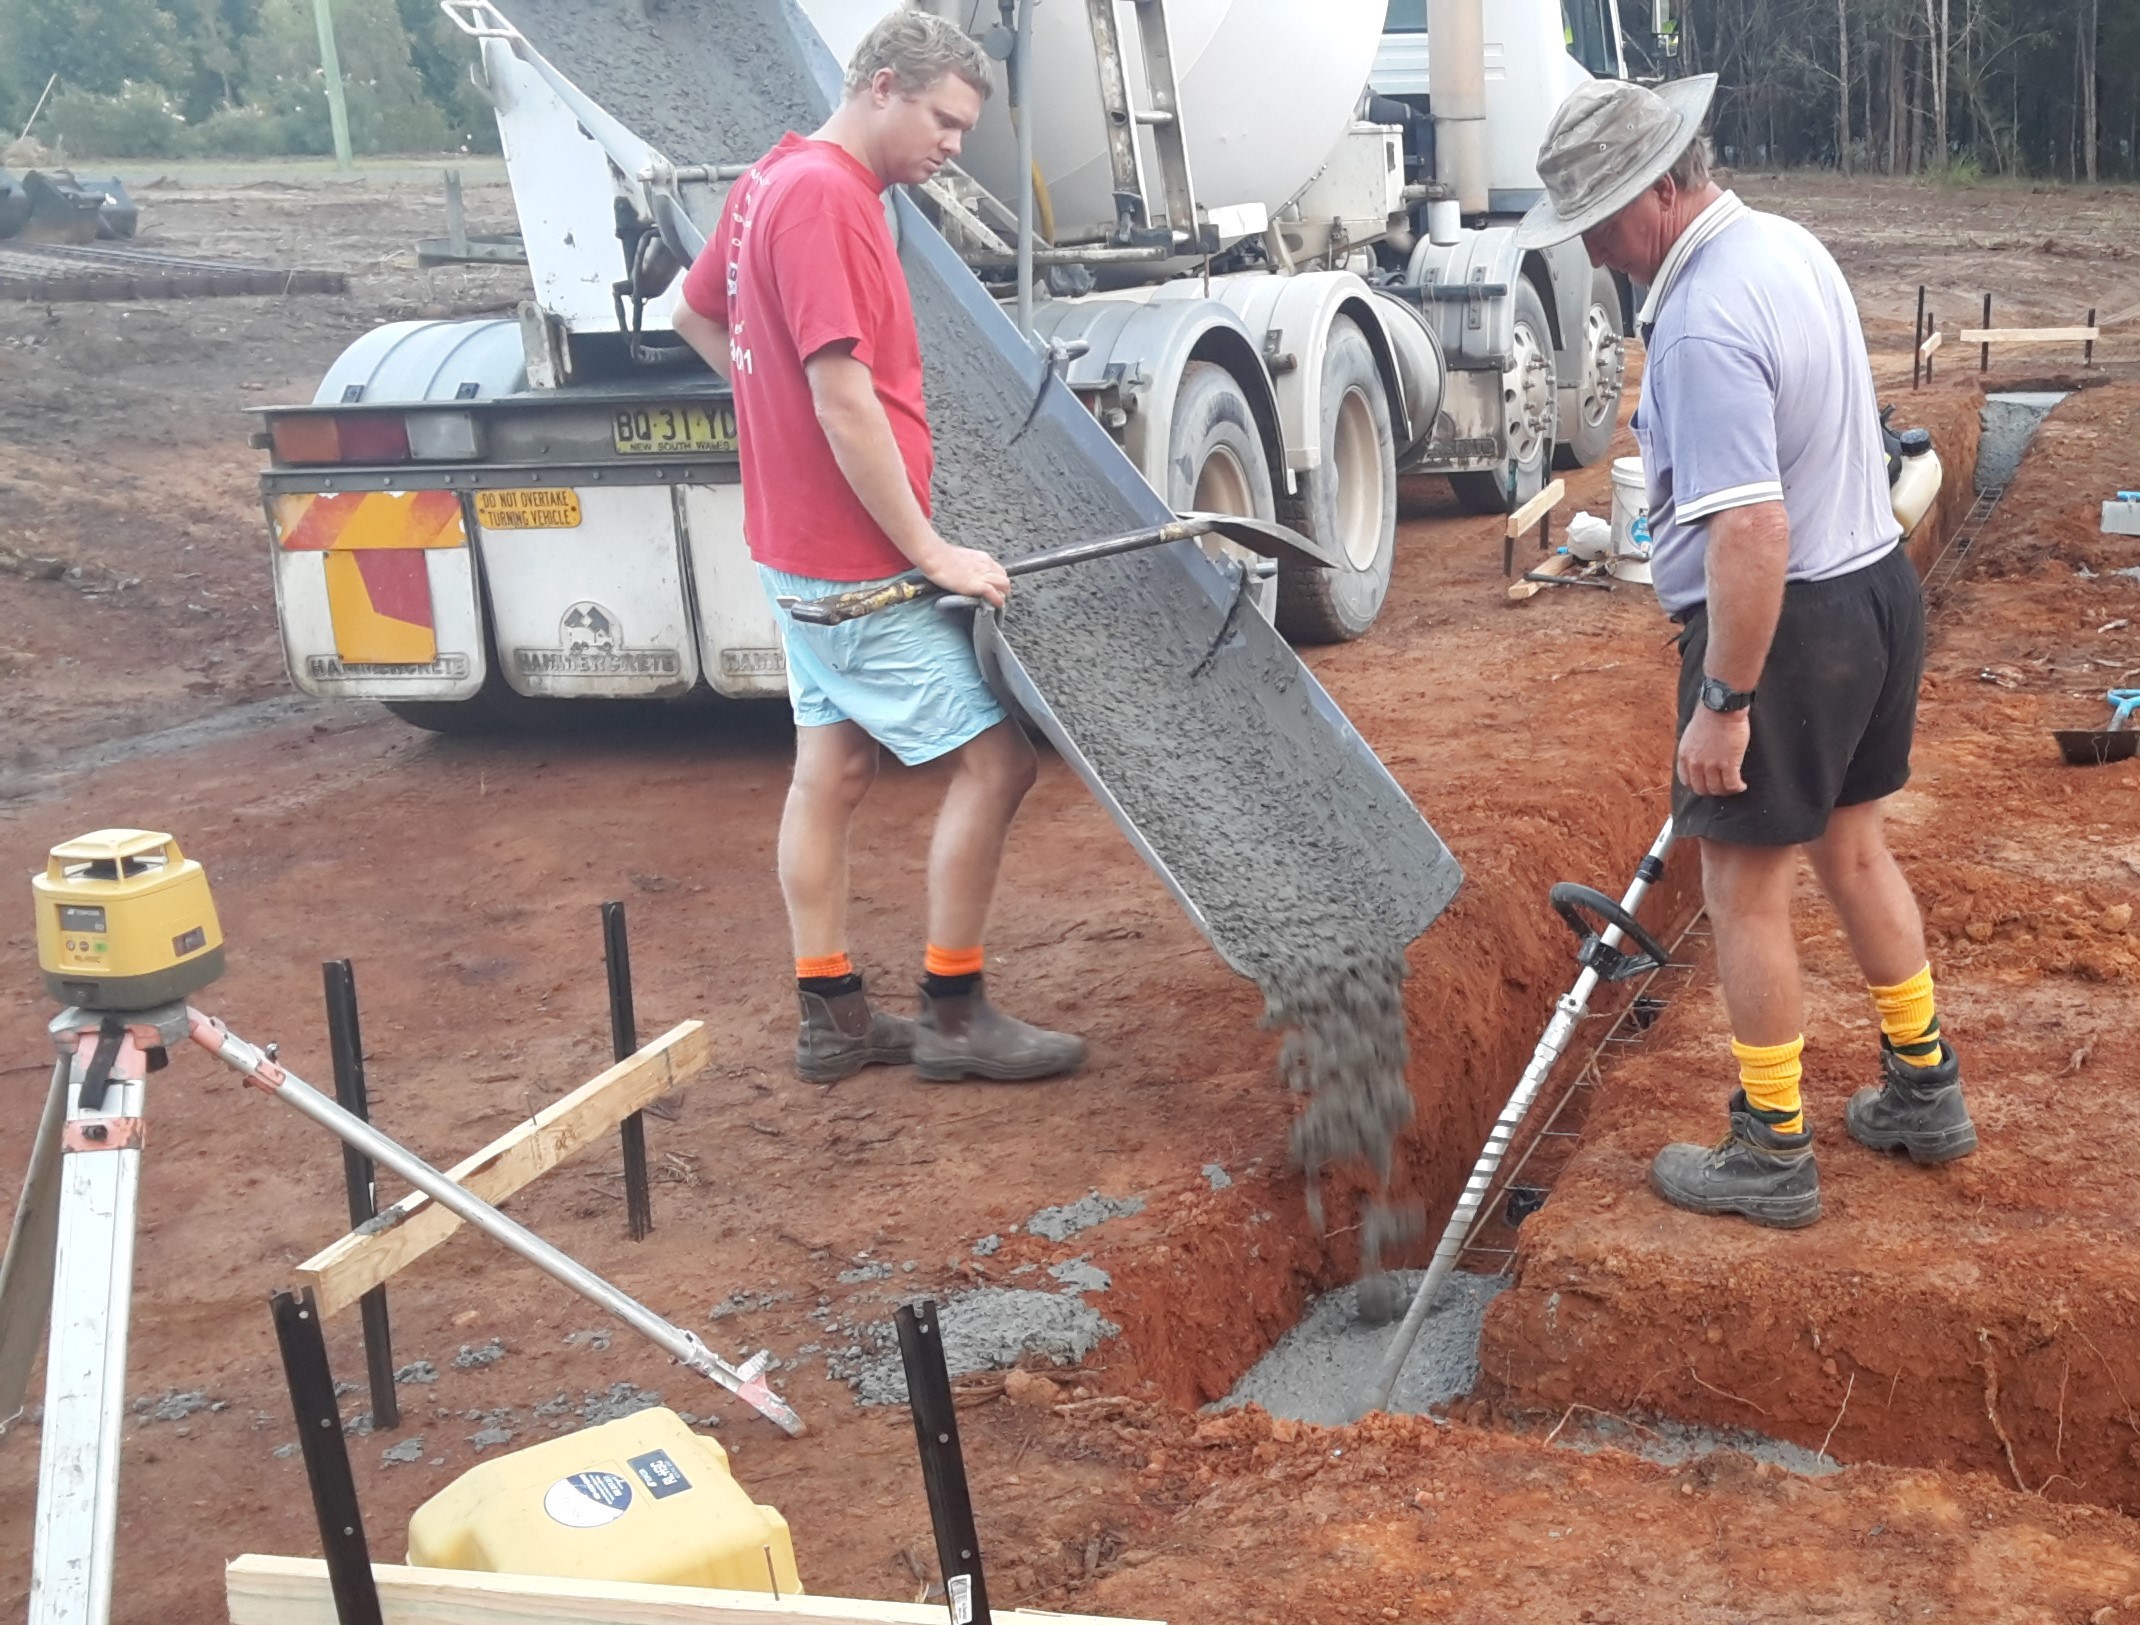
Direct the concrete truck driver as close as possible to the site to save barrowing and shoveling. Have lots of helpers: one to help push the concrete around, another to operate the concrete vibrator: see below for more info, and your best screed operator, which may be you!!
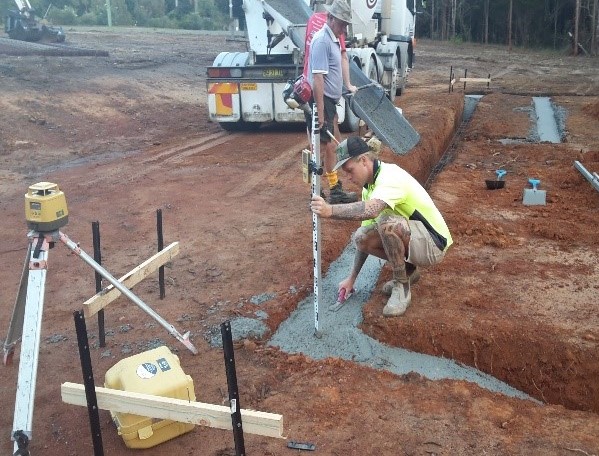
The driver will operate the machinery and guide the shute to where you want it dropped. Have him drop a half to one cubic meter at a time. Fill the footings first if possible then start pushing the mix around with flat mouth shovels. Leave it 'proud' by 50mm to ensure you have enough to fill the form. Vibrate the mix as you go.
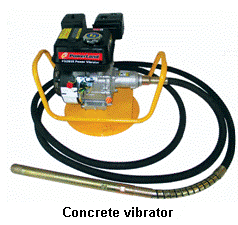
Concrete vibrators
There are many benefits to using a concrete
vibrator while pouring concrete and the most important is the gaining of maximum strength and
qualities designed in the mix. It does this allowing poured concrete to bond
properly with reinforcing, eliminating air pockets, eliminates pockets
of aggregate, and raising fine material to the surface giving a better
finish. Select the largest vibrator suitable for the job.
Tips for using a concrete vibrator
Use the concrete vibrator
vertically and allow it to sink to the desired depth by its own weight
without forcing it. Leave it in place for between 5 to 10 seconds
lifting it up slowly. Take the vibrator out quickly when it reaches the
surface. Move the vibrator 200mm sideways and repeat. Ensure the
concrete around formwork is adequately vibrated. Place the concrete
vibrator in the center of mounds to knock them down. You will know when
to withdraw as the aggregate disappears from the surface.
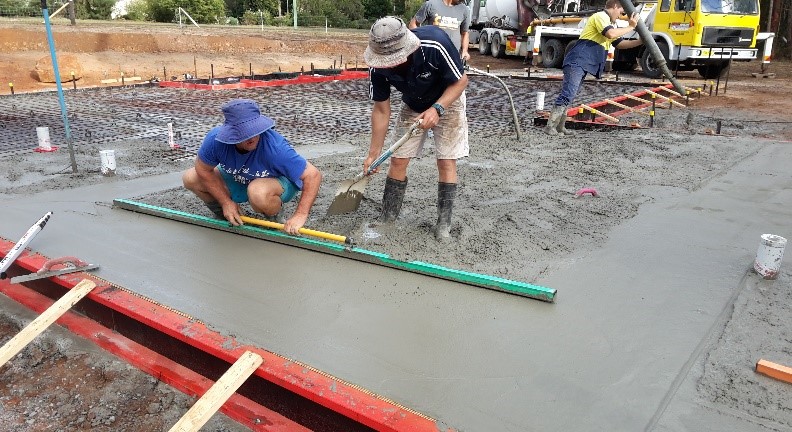
Once you have poured three quarters of the mix, break away from the pour and start the first screed with a long handled aluminium screed. Use the screen in a left to right sliding action while drawing the mix towards yourself, filling voids or removing excess as you proceed. Have a second helper break away to do some hand troweling around the edges. You will require raised planks for hard to reach areas and floating around pipes.
Pouring concrete: finishing
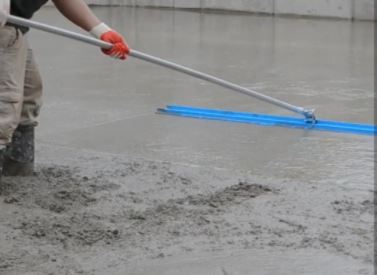
When the initial screed is done, use a wide bull float to begin the concrete finishing process. This will help smooth and bring the water to the surface. At this point there is some lag time, perhaps 30-60 minutes depending on the humidity and heat, but another truck-load is backing up..right? So no rest yet mate. As the slab 'goes off' it will leak water, this is good, so get your bull float out and push it around so it dries evenly and not in puddles. When the water is gone, start finishing with your largest hand floats in wide arching movements. This may be done a number of times to get it done, or you could use a power trowel. Use pointed and edging trowels to go where the large trowels can't get to.
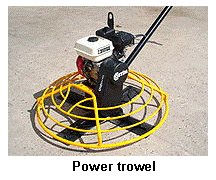
Power trowel
Sometimes called a power float, helicopter or
trowel machine, the power trowel is used in concrete finishing to get a
smooth deck on top of the slab. The power trowel is glided over the
surface at different periods during the concrete 'set', starting with a
flat disc or 'pan' that fits over the rotor blades, which brings up the
'fat' of the concrete while filling depressions and removing high spots.
Later the power trowel blades are used at an increasingly sharp angle until the surface is hard, flat, and starts shine. They are easy to operate, just fire it up release the clutch and lift or raise the handle to go forwards or backwards. Get a run down from the equipment hire salesperson if in doubt.
The next step in our Kit Home is to erect the frames . Or you can go back to Setting Out Plans or to Kit Home Basics home page
