Owner Builder Steps to Building a House
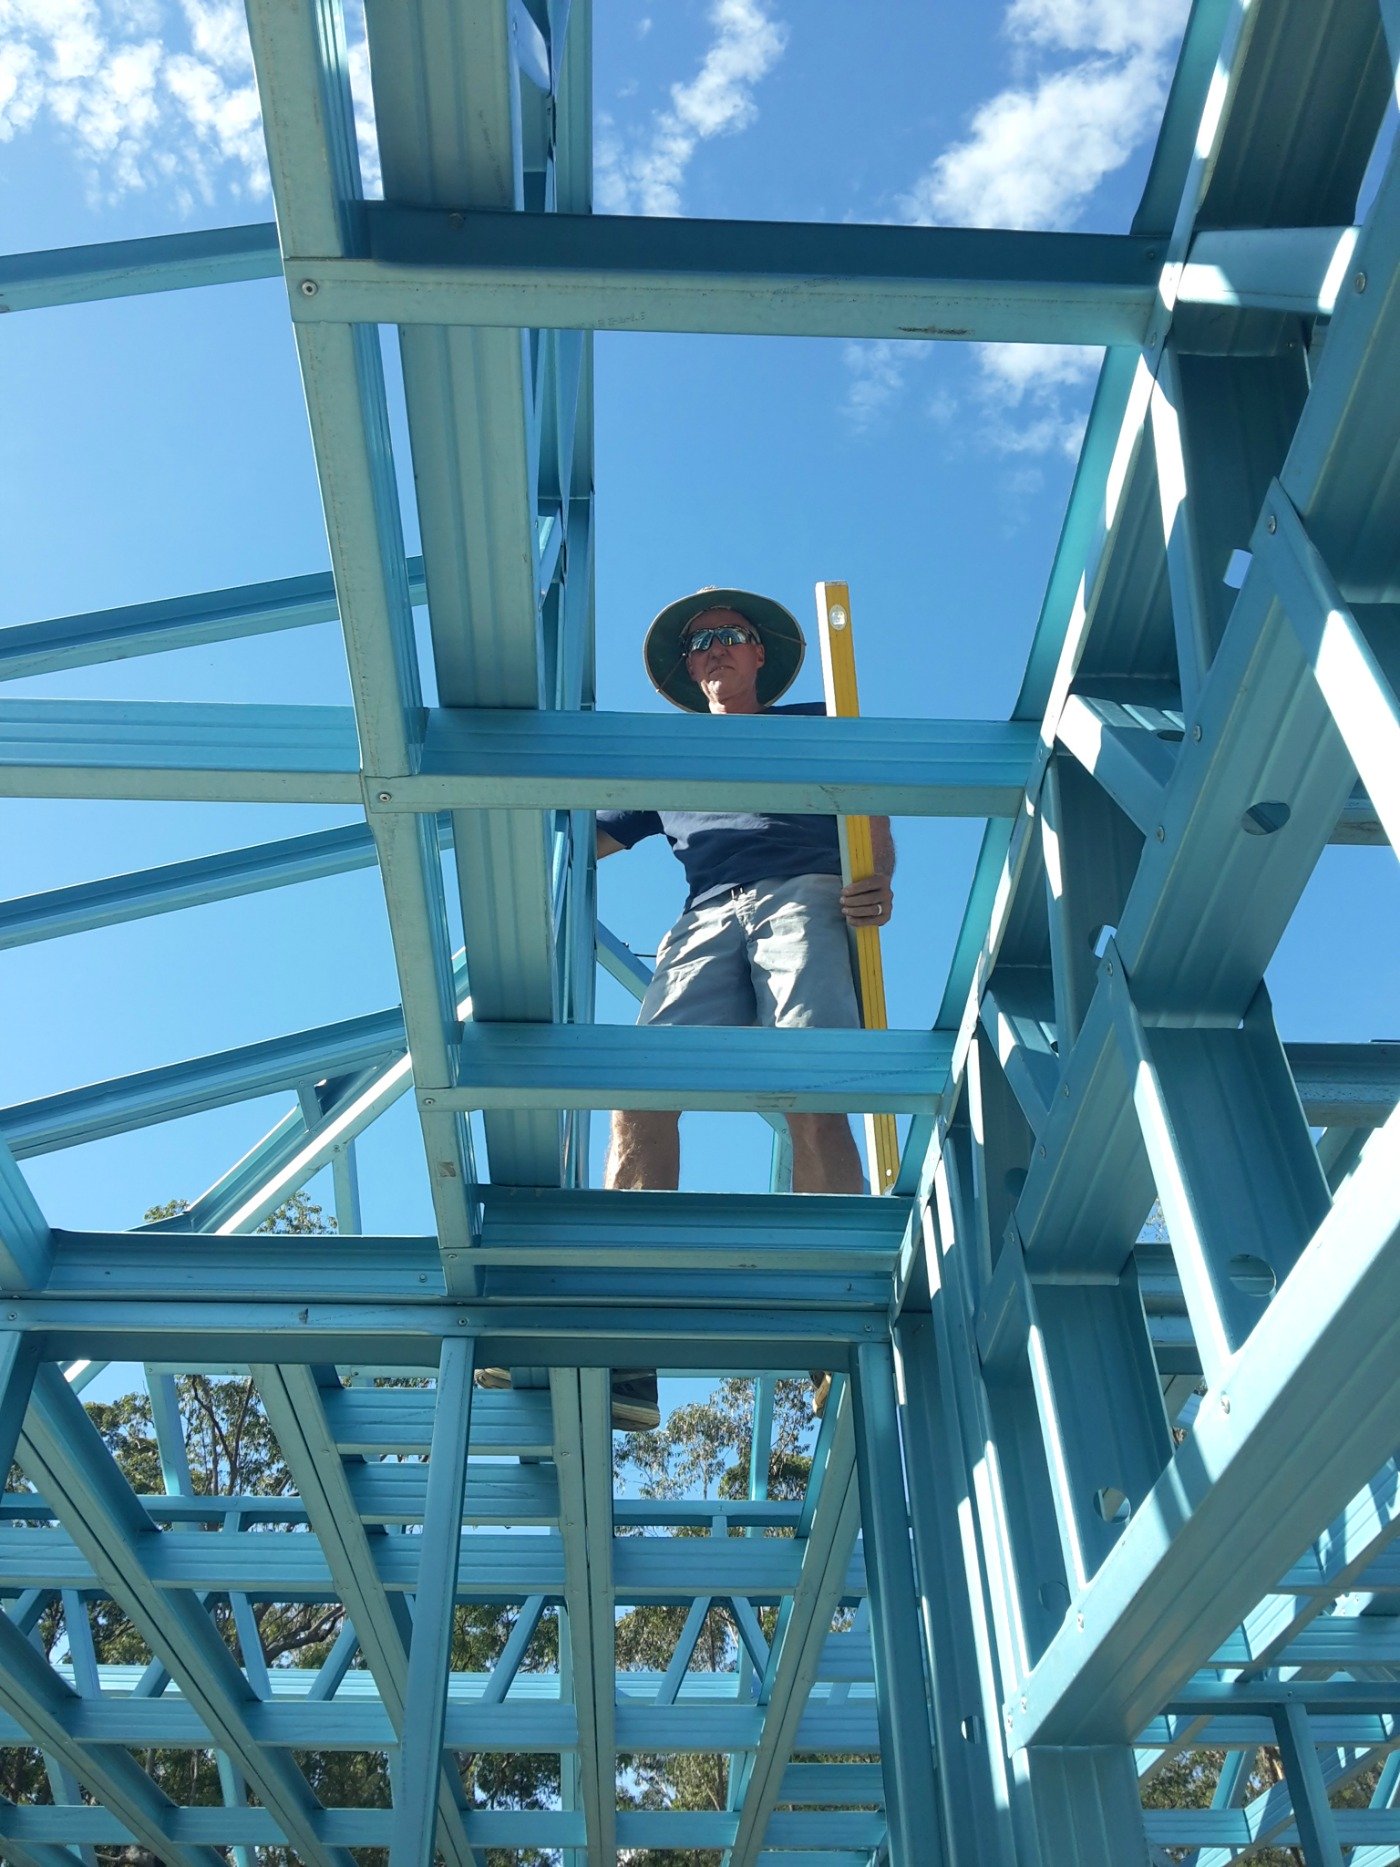
As an owner builder, the steps to building a house has its complexities. However, with the right planning, taking these steps can make the process feel more organised and manageable. It's more than just a construction project; it's a realisation of your dream home. Most importantly, this journey equips you with increased knowledge and confidence that you can apply to future.
As an owner builder, the first of the steps in building a house is acquiring suitable land. You have to consider location, size, and view; but remember, good land acquisition involves much more. How's the drainage? Are there utilities nearby? Are there restrictive covenants or zoning laws? Are you near commercial or farming areas? Due diligence will reap rewards in this first crucial step.
Early steps must include creating a project budget. Although you may have had a ballpark number that was available, finding the real cost early on can alter your goals considerably. Firstly there are easily priced items on the project: land, kit home, council fees, insurance, survey, pest control, phone connection, shed, water tank etc. But the real variances come with finding quotes on a slab, roofing install, electrical, plumbing, waterproofing, plastering etc. Start early as this is one of the most important steps to building a house.

Once you’ve secured your land, selecting a kit home and provider is next. Every kit home has different designs, costs, and quality. As an owner builder, your decision must reflect a perfect blend of your budget, practicality, and style. Seek customizable designs and reputable providers.
The next step is gaining an Owner Builder License. Having such a license can lead to significant cost-savings, and even more it helps to increase your knowledge and confidence. However, it does come with responsibilities. Your duties range from managing tradespeople to ensuring construction complies with Australian codes. Importantly, workplace site safety is a large part of the licence attainment.
Have you thought about what's beneath the surface of your land? A soil test can provide this insight. Expert geotechnical engineers use this method to examine the soil's ability to support structures, determining the type of foundation your house will need.
Following the soil test, a land and contour survey should be carried out. Hiring a land surveyor will help locate property boundaries, potential site issues, and generate critical data. The information gathered assists in designing an appropriate house plan that meets local building codes.
With the gathered information, you can now submit a Development Application to your local council. They will assess your proposed construction based on zoning laws, environmental factors, and design suitability. Plan for this, as the process may take a while depending on the complexity of your design.
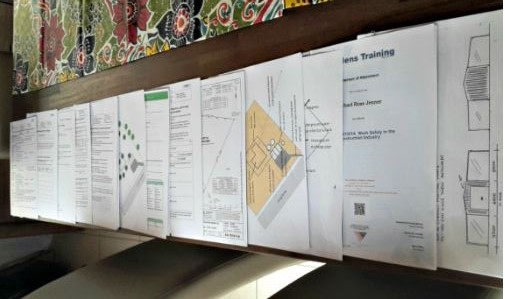 Development Application documents can be extensive
Next, organise building inspections. Ensuring compliance with the National Construction Code (NCC) and necessary quality control is vital. Some inspections may be required during construction, such as the frame and final occupancy inspection.
 House pad leveling
The real steps to building a house..at last
Upon approval from the council authority, clearing the land and developing a house pad follows. Here, the land is prepared for your specific house footprint. It can involve the removal of trees, levelling and compacting the soil. Creating a safe, level construction area is fundamental for your kit home.
Though often overlooked, setting up security fencing is essential for guarding your site materials and equipment from theft and damage. It also boosts safety by preventing unauthorized entry. Owner builder and worksite danger signage is usually required.
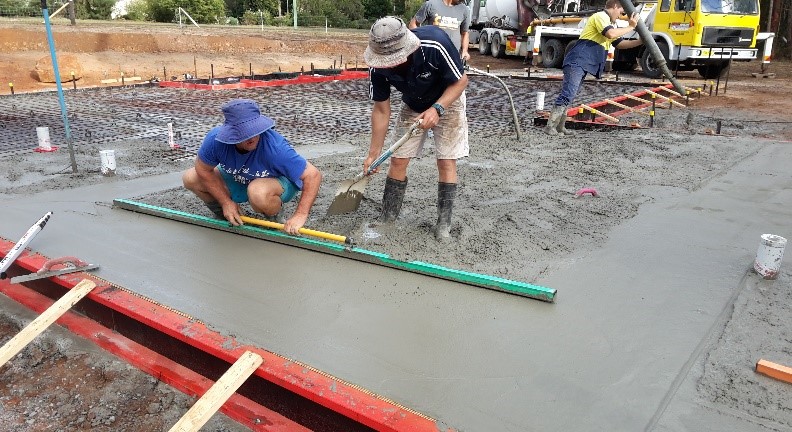
The foundation of your building is up next: the concrete slab (or piers). It provides stability, preventing sinking, and is crucial for areas prone to termite activity. Specialists are required to ensure it's level, cured and reinforced to carry your kit home's weight. This process will take a number of days and starts with the Set Out, footing excavation, slab formwork, plastic moisture layer installation, steel reinforcement, and finally concrete pouring, screeding and final finishing.
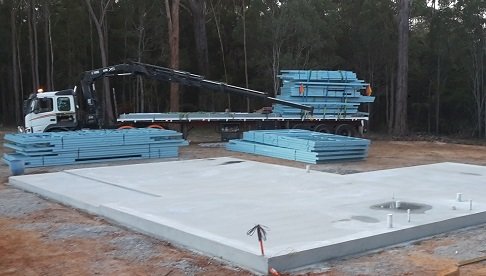
With a solid foundation, you can now receive delivery of kit home frames. Your design begins to take shape as the frames outline rooms and spaces. Double-check the delivery for any missing or damaged pieces. Have a good wide entry point for the deleivery vehicle and a level area for the driver to place the frames.
Now, it's time for action! Erect the frames on the slab. This process is all about good project management. You'll need a team who can coordinate, adhere strictly to the house plans, ensure the frames are level and reinforced properly. This is a process an owner builder can complete themselves, but you will usually need a bit of help.
The roof goes up next, serving as the first defense against the elements. Professional roofers will install the roof frames, battens and insulation before laying the roofing material. This process involves several skills, from carpentry to handling roofing material.
The delivery of windows, doors, and linings is one of the more exciting steps to building a house. These accessories will begin to seal your house from external conditions, indicate room demarcations and add to the external aesthetic of your building.
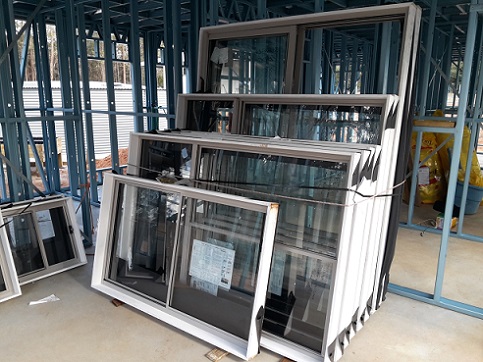
The installation of windows and exterior doors is a meticulous process that needs precision and knowledge. Care should be taken during fitting, to avoid future complications with opening and closing mechanisms and water egress..
Installing external cladding comes next, providing your house with protection from the elements. It also contributes to the house's overall aesthetic design and insulation. There are numerous cladding options, so choose based on your stylistic desires, climate, and maintenance preference.
With the exterior of the house sealed up (Lockup), you can have electrical cabling installed. This requires an electrician to wire power points, lighting circuits, and electrical fixtures as per your plan. They ensure all electrical works are appropriately insulated, grounded, and meet safety codes.
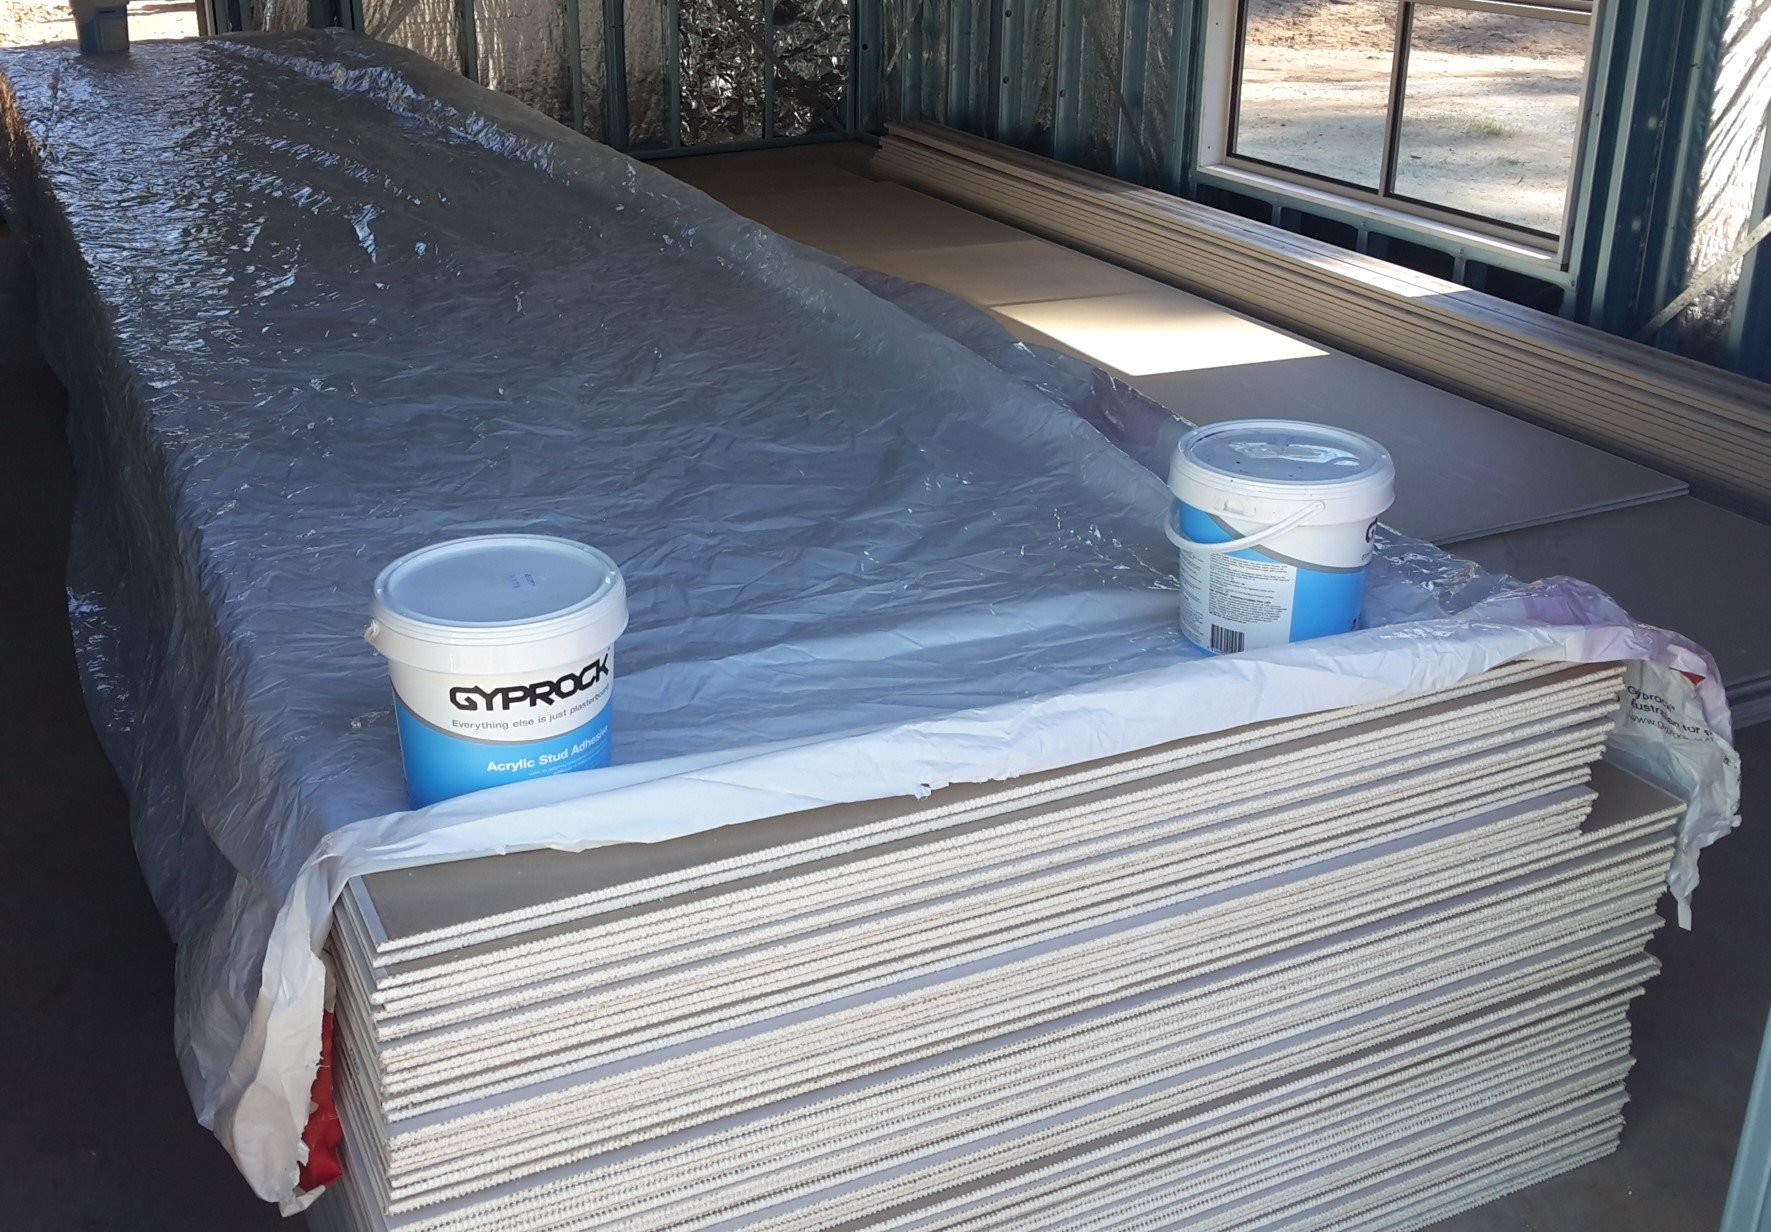 Stack of Gyprock deleivered
Get your interior plumbing pipes installed. A plumber will place water pipes, gas pipes, and sewer lines within the walls and under the floors as planned. This step is key to ensuring seamless water flow and gas supply in your house.
To complete your interior wall linings need to be installed. These help insulate the house, provide a smooth finish for painting and provide some fire resistance. You could choose between plasterboard, plywood, fibre cement or timber, each with their pros and cons.
With the interior taking shape, doors and trim get installed. Skilled carpenters do this job, ensuring the doors fit correctly and do not bind when opened or closed. Trims and mouldings give a finished, harmonious look to windows, doors and baseboards.
Another vital step in the building process is wet area waterproofing. Regular exposure to water might lead to devastating problems like mould, decay and structural damage. Engage a professional to waterproof bathrooms, kitchens and laundries to avert future issues. Get certificates of installation.
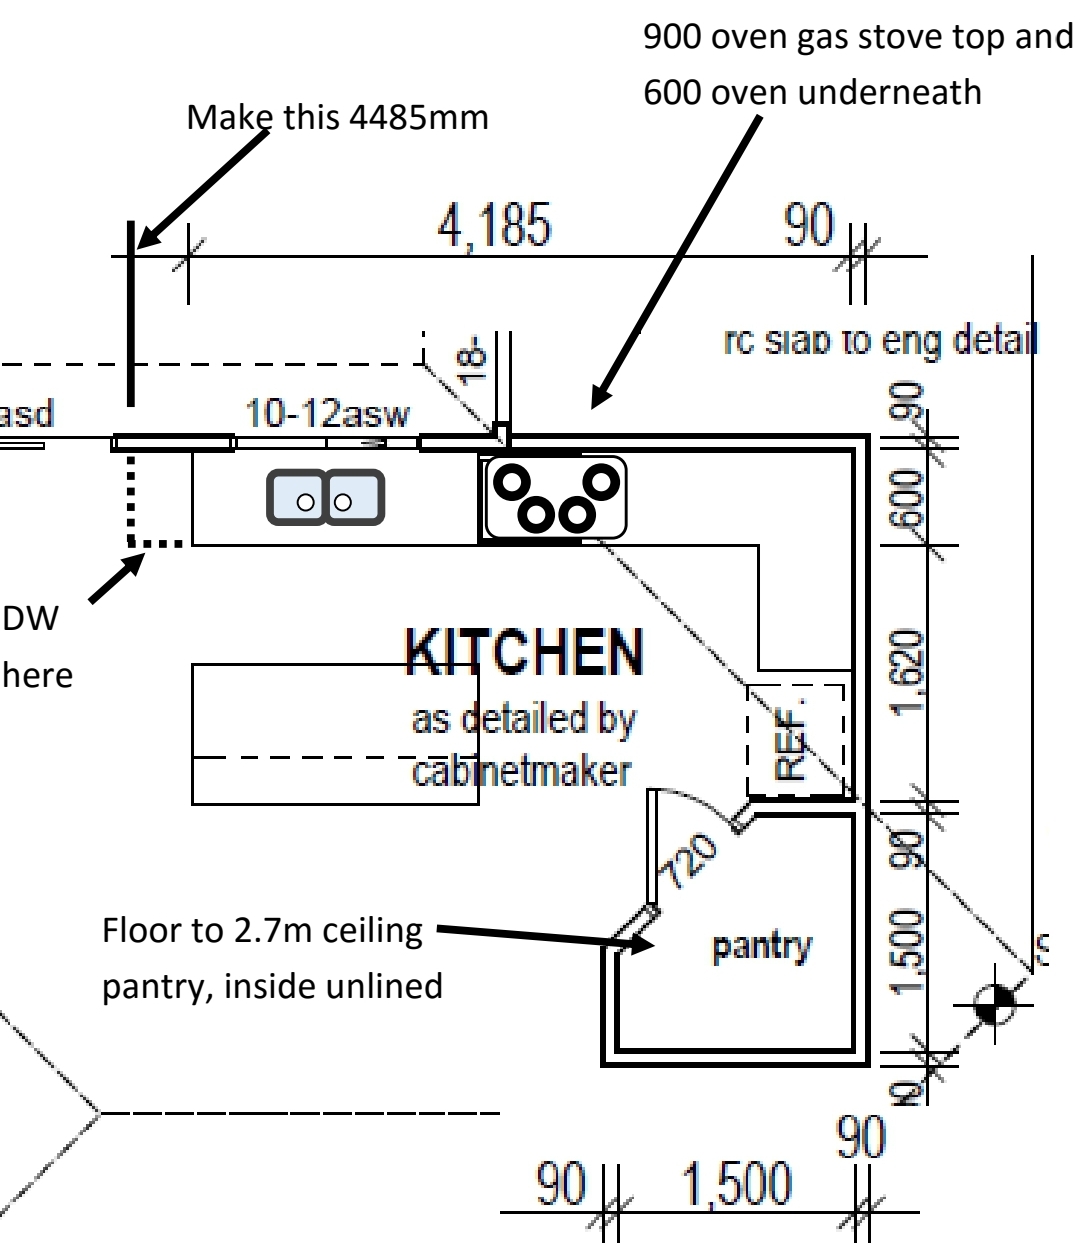 Kitchen planning
Now for some colours. Interior painting is not just about aesthetics, but also protection. Quality paint seals your wall from moisture and aids in easy cleaning. Choose your colour scheme wisely, as it significantly contributes to the mood of the room.
Flooring installations and tiling come next. Whether you opt for ceramic tiles, wood floors, or carpet, the flooring you choose should complement the overall interior design, be easy to maintain and withstand the wear and tear of your household's activities.
The kitchen involves the most complex installation in house-building. Appliances, counters, cabinets, and plumbing fixtures all get installed here. Carefully consider this step, as a well-designed kitchen not only enhances home value but also contributes to enjoyable cooking and dining experiences.
Now, it's time for the interior plumbing fit-off. From your kitchen and toilets to your laundry area, plumbers will be installing faucets, showers, toilets, sinks, and other fixtures. All these installations contribute to your home's functionality and comfort.
Your electricity and lighting installations culminate now. Certified electricians will install outlets, switches, lights, ceiling fans and power up appliances. The selection and placement of light fixtures are important for creating the right ambiance and enhancing room functionality.
With your home's interior complete, exterior paint comes next. This not only beautifies your home but also provides an additional layer of protection against weather conditions. Much like the interior, quality painting with UV-resistant paint can make your home stand the test of time.
Your house is now standing beautiful! However, it needs a driveway. From concrete to asphalt or even gravel, selecting a material complementing the exterior of your home is key. Professional construction ensures adequate drainage and a long-lasting, aesthetically pleasing driveway.
Finally, landscaping and fencing crown your masterpiece. Landscaping your yard adds curb appeal and contributes to a healthier home environment. High-quality fencing protects your property and adds an extra layer of privacy. Use this final step to reflect your home's character and improve its resale value.
Return to Owner Builder FAQ or go Home.


