Installing Blaze wood heaters
Wood heaters are becoming commonplace heating setups for sustainable homes trying to limit their power use. As I built my kit home on 5 acres of bushland, there was plenty of wood to forage as well as the tree poles stacked for future wood. I had purchased a 7 tonne electric log splitter a few years ago, so my costs would be zero ongoing, apart from chainsaw fuel. My recently built steel garden shed was happily drying split wood under the extended eve so I was ready to get a heater installed.
Wood heaters: Fireplace hearth install
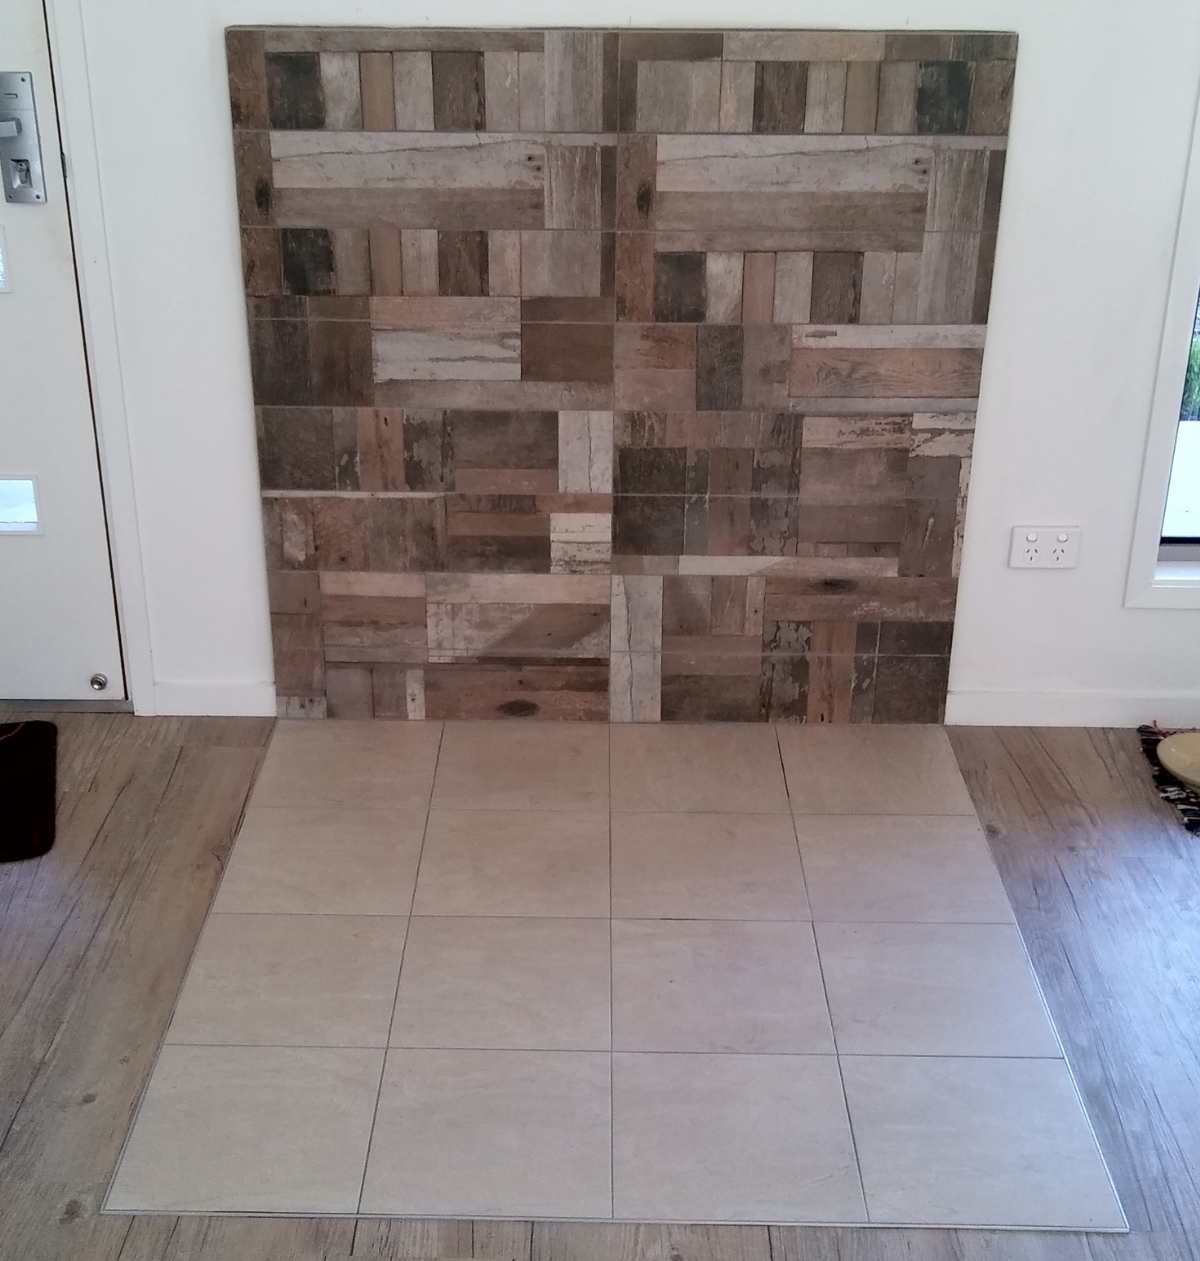
Building a fireplace hearth was the beginning of this project. Although rear wall protection was not mandatory, I wanted the heater back close to the wall so I sourced some thick 5 mm 'wood look' 600 x 200 mm tiles to stack on a sheet of fibro screwed to the steel frame studs. This heater threw negligible heat backwards so an airgap behind the tiles was not required. I measured up our preferred space and made sure a roof member was not directly above it. I pre-positioned the 300 x 300 mm floor tiles to set up a 1200 mm2 hearth to give space in front of the heater. I scribed lines on the vinyl tiles and carefully cut the section out.
I laid the rear wall tiles first to a height of 1200 mm on the pre-secured fibro. Then I cut some chrome tile edging and glued it down before laying the tiles. Lastly I grouted up the tiles and did a quick edge paint on the rear wall to finish it. Fireplace hearth done.
Installing Blaze wood heaters
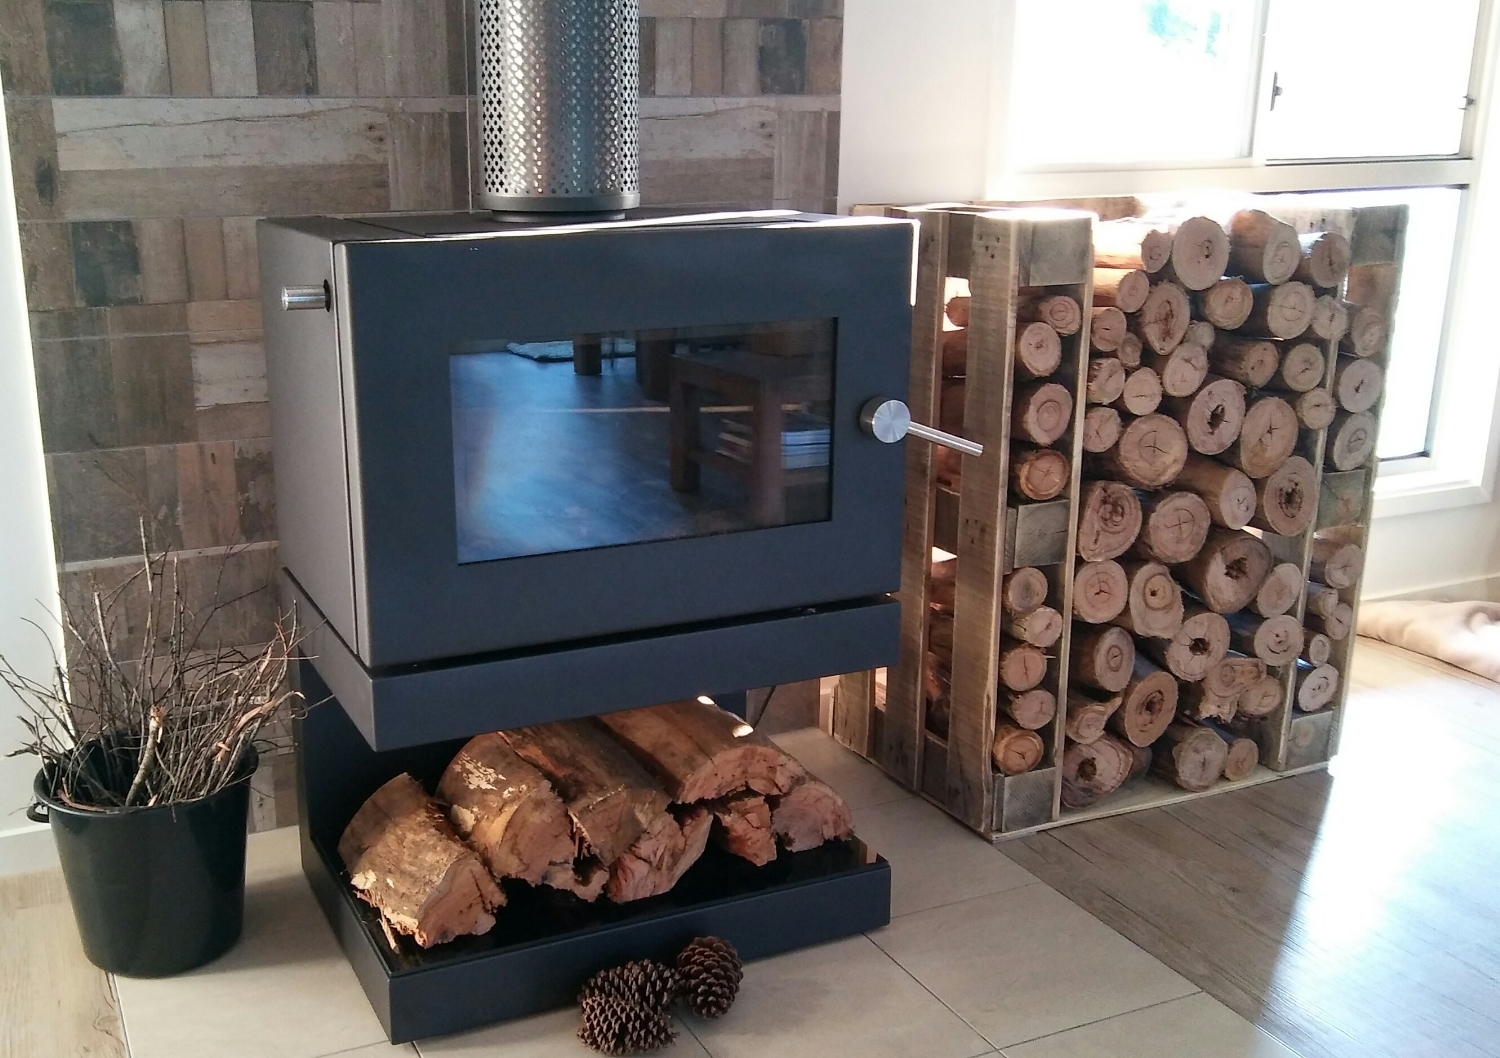
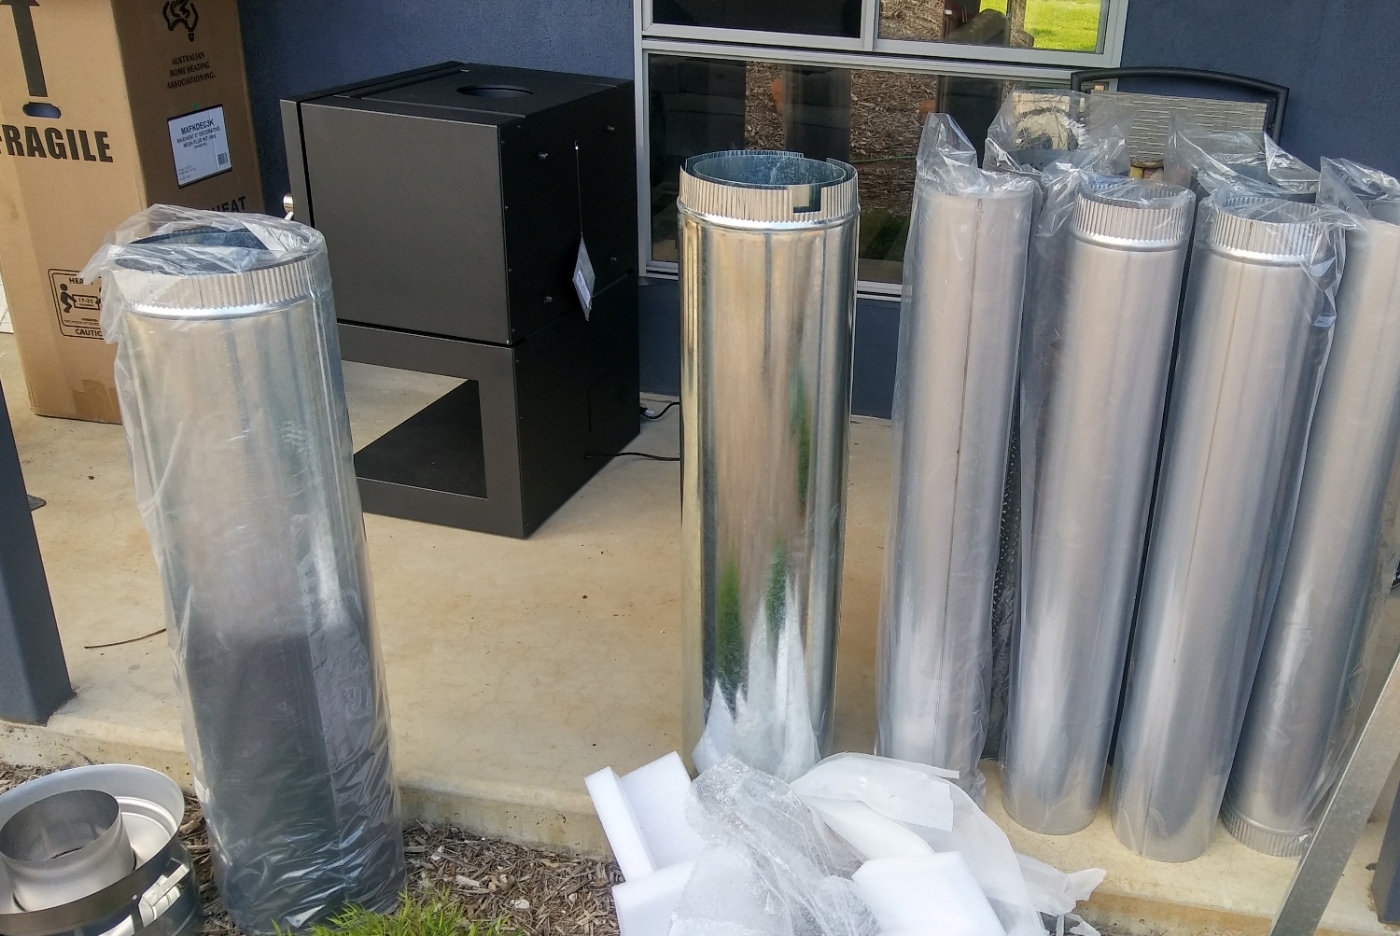
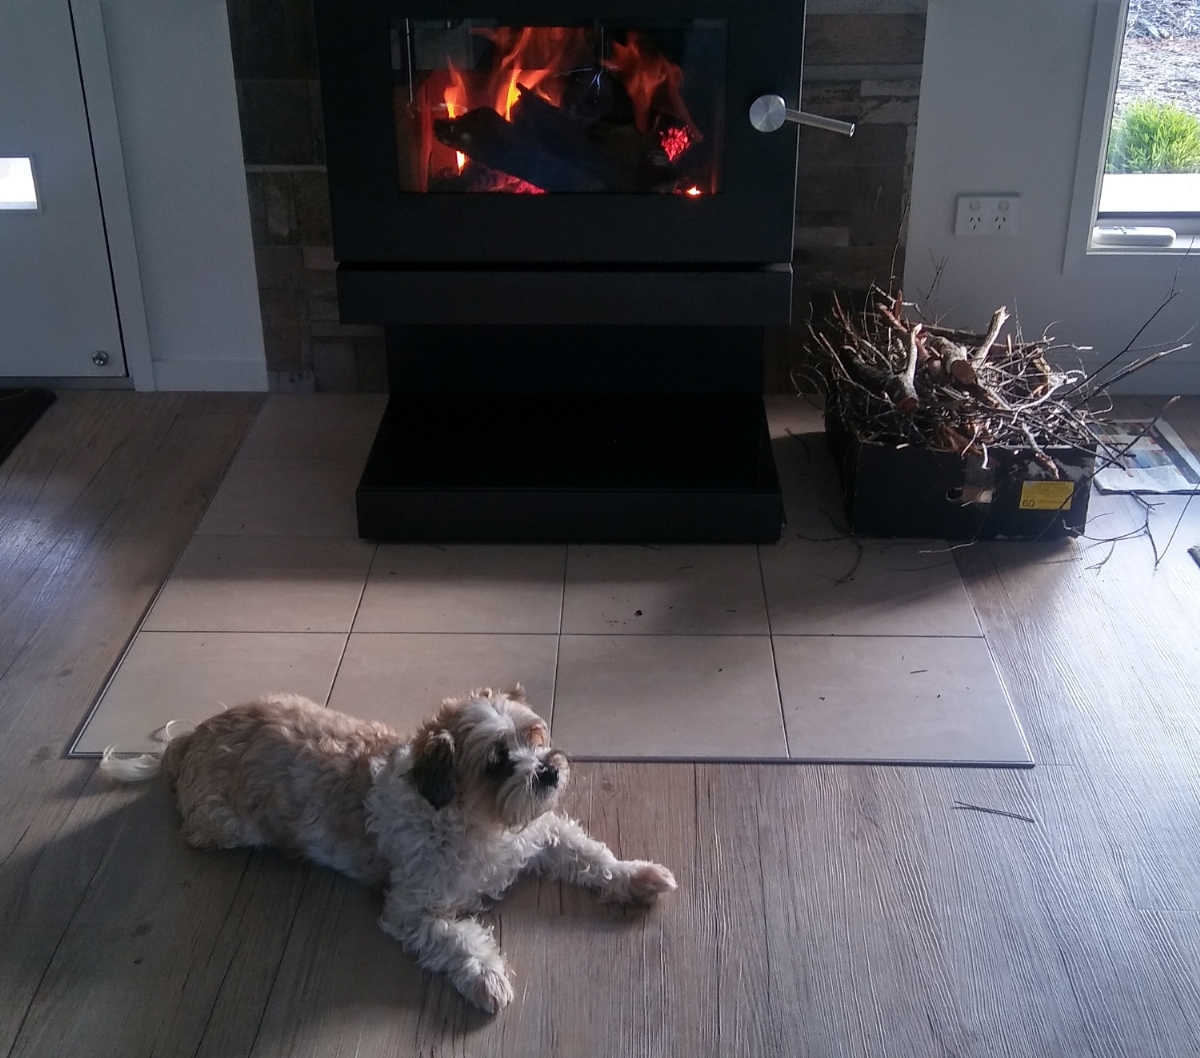
We chose the Blaze B600 freestanding convection wood heater (go here for their product page) which sat on a raised platform to allow a wood stack underneath. It boosted a 6 mm steel baffle, fire-bricked lining, 6 mm firebox construction, 3 speed fan with remote, an 87% peak efficiency rating and apparently could heat up to 190 m2. We had it delivered and dropped outside the door with the flue kit, steel roof flashing and chimney top cowl.
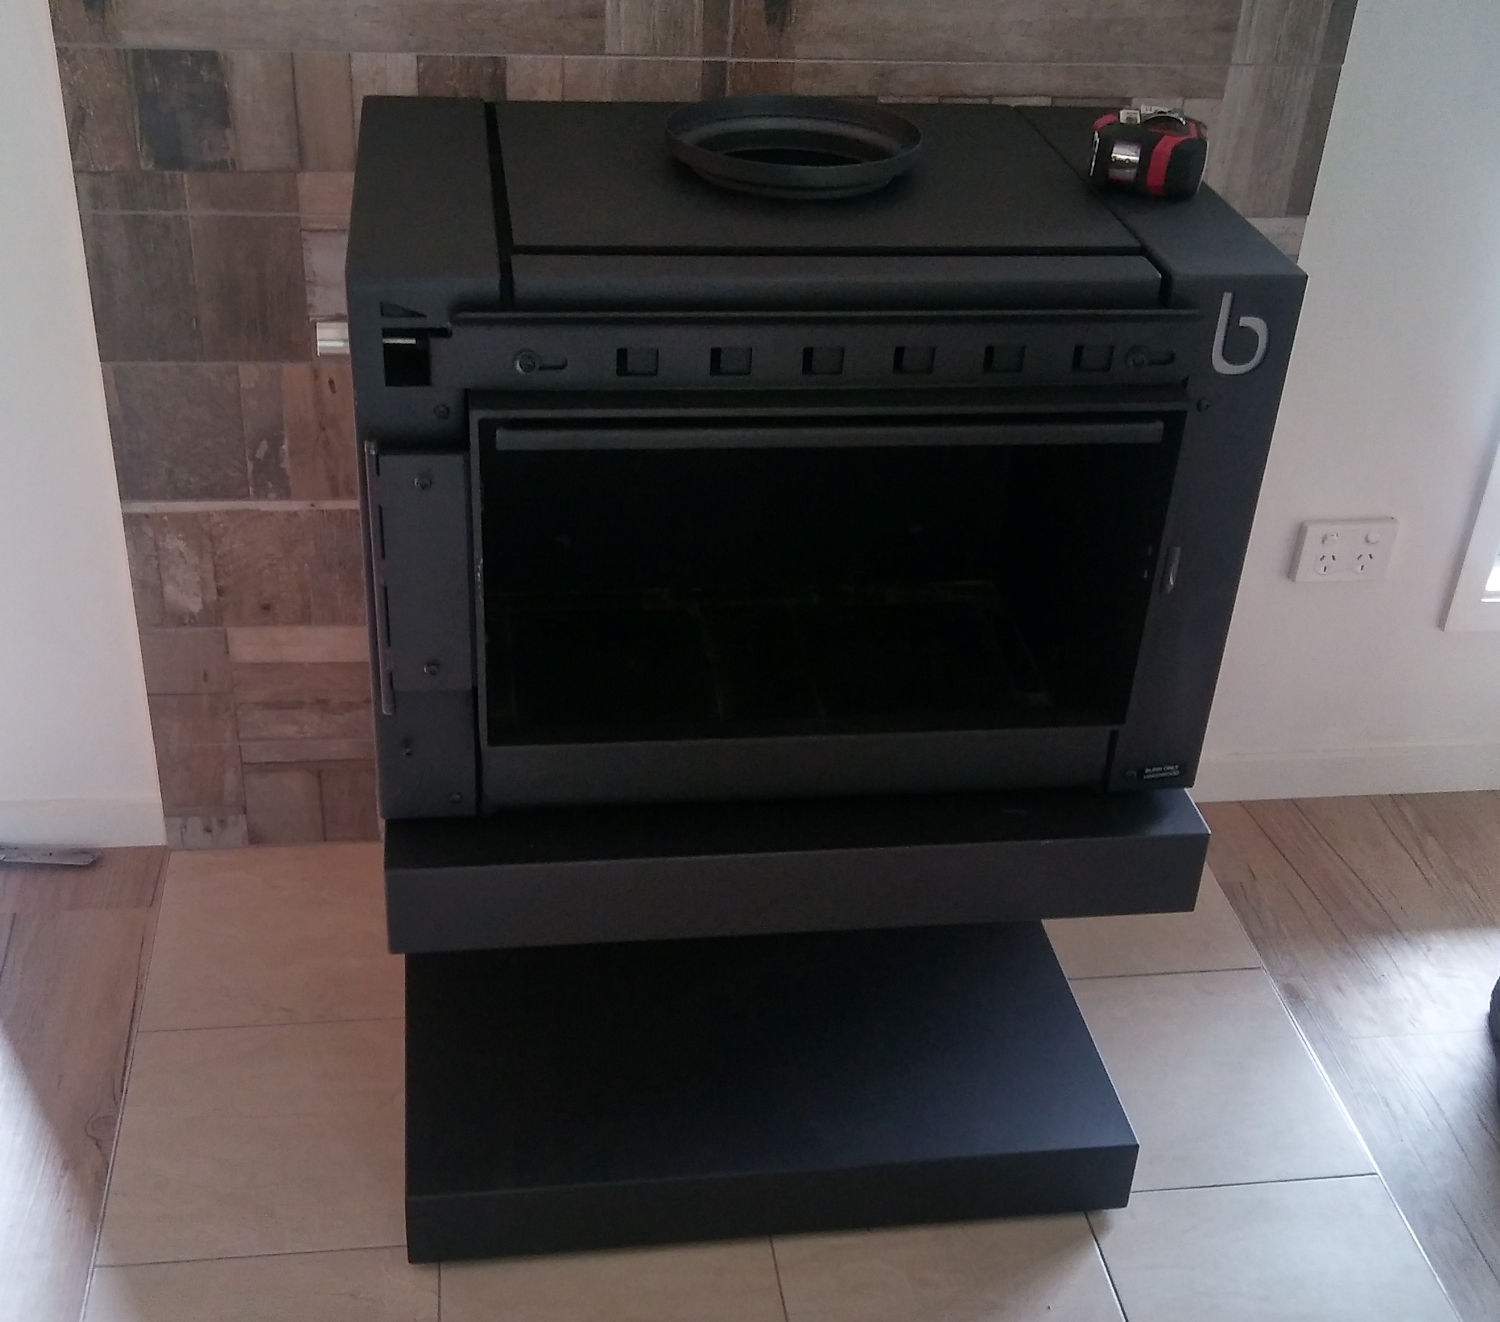
I needed a professional who installed wood heaters and flue systems and most were roof plumbers. The installer suggested we unload the 150 kg unit of weight so it could be manouvered easier, so I took out the firebricks and retainer, the baffle, and pulled off the door. Between us we were able to easily shift it into place and position it 100 mm from the tiled wall.
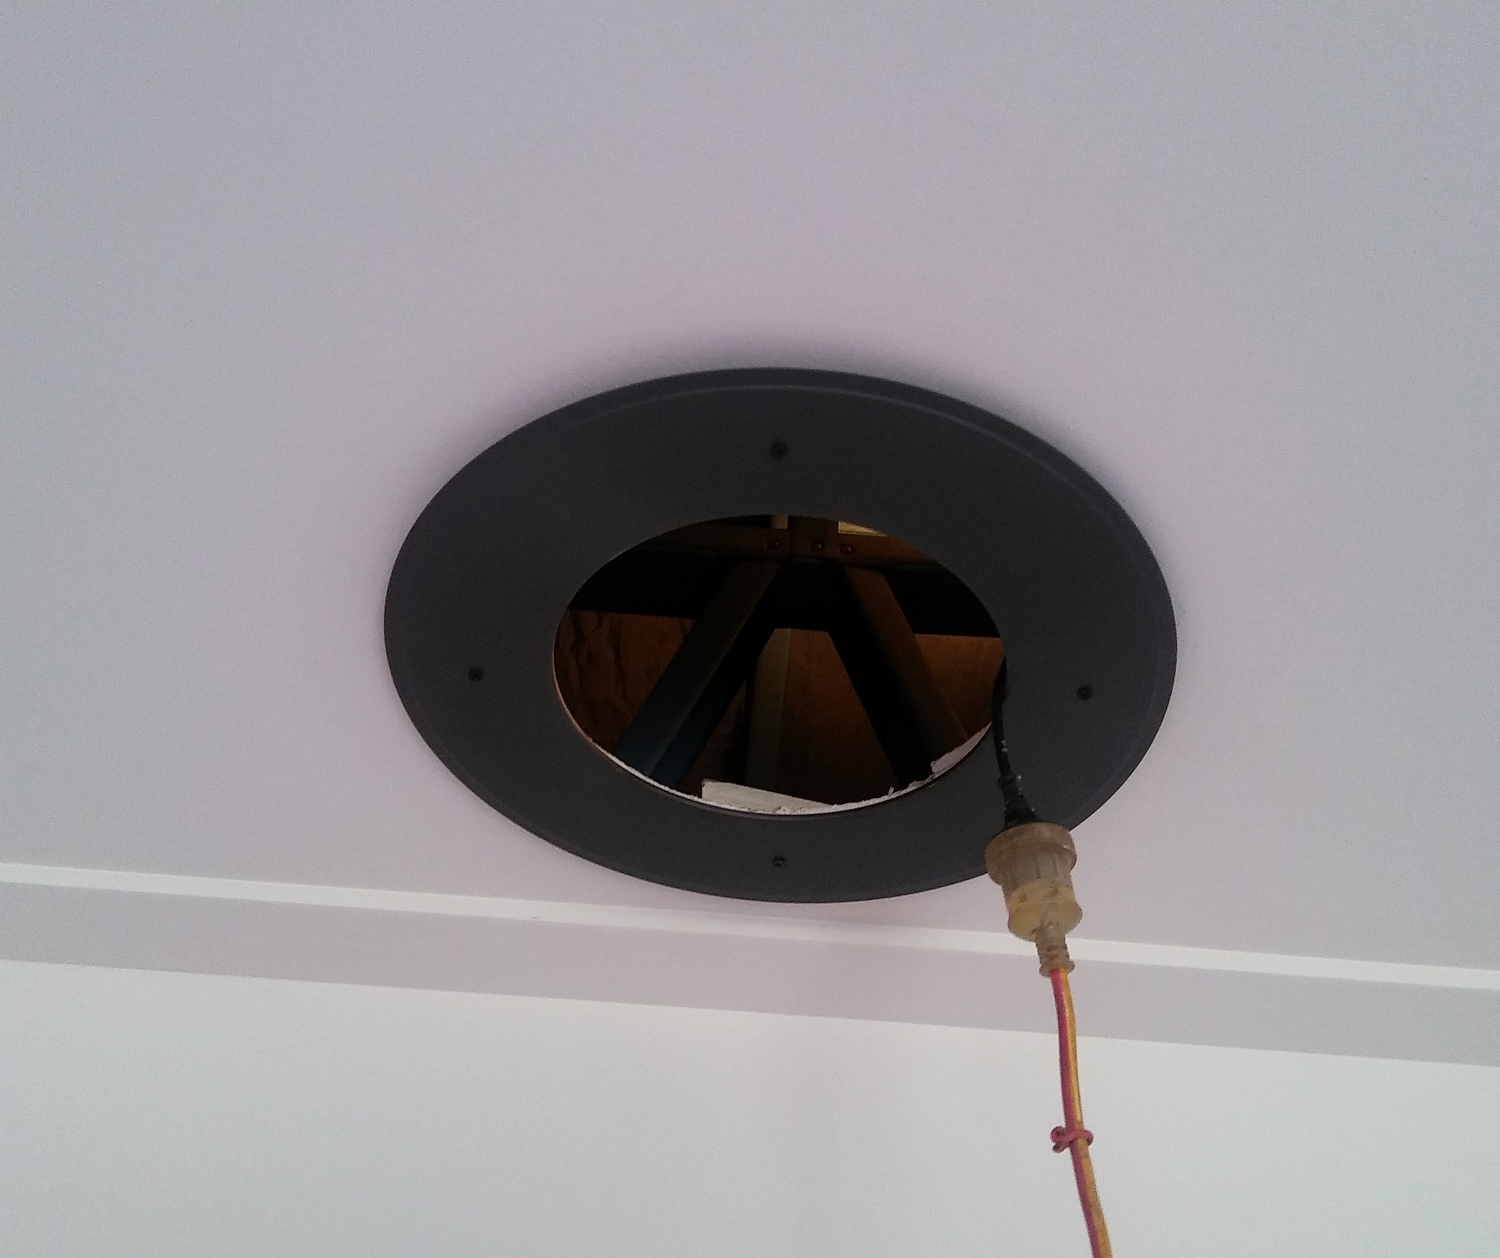
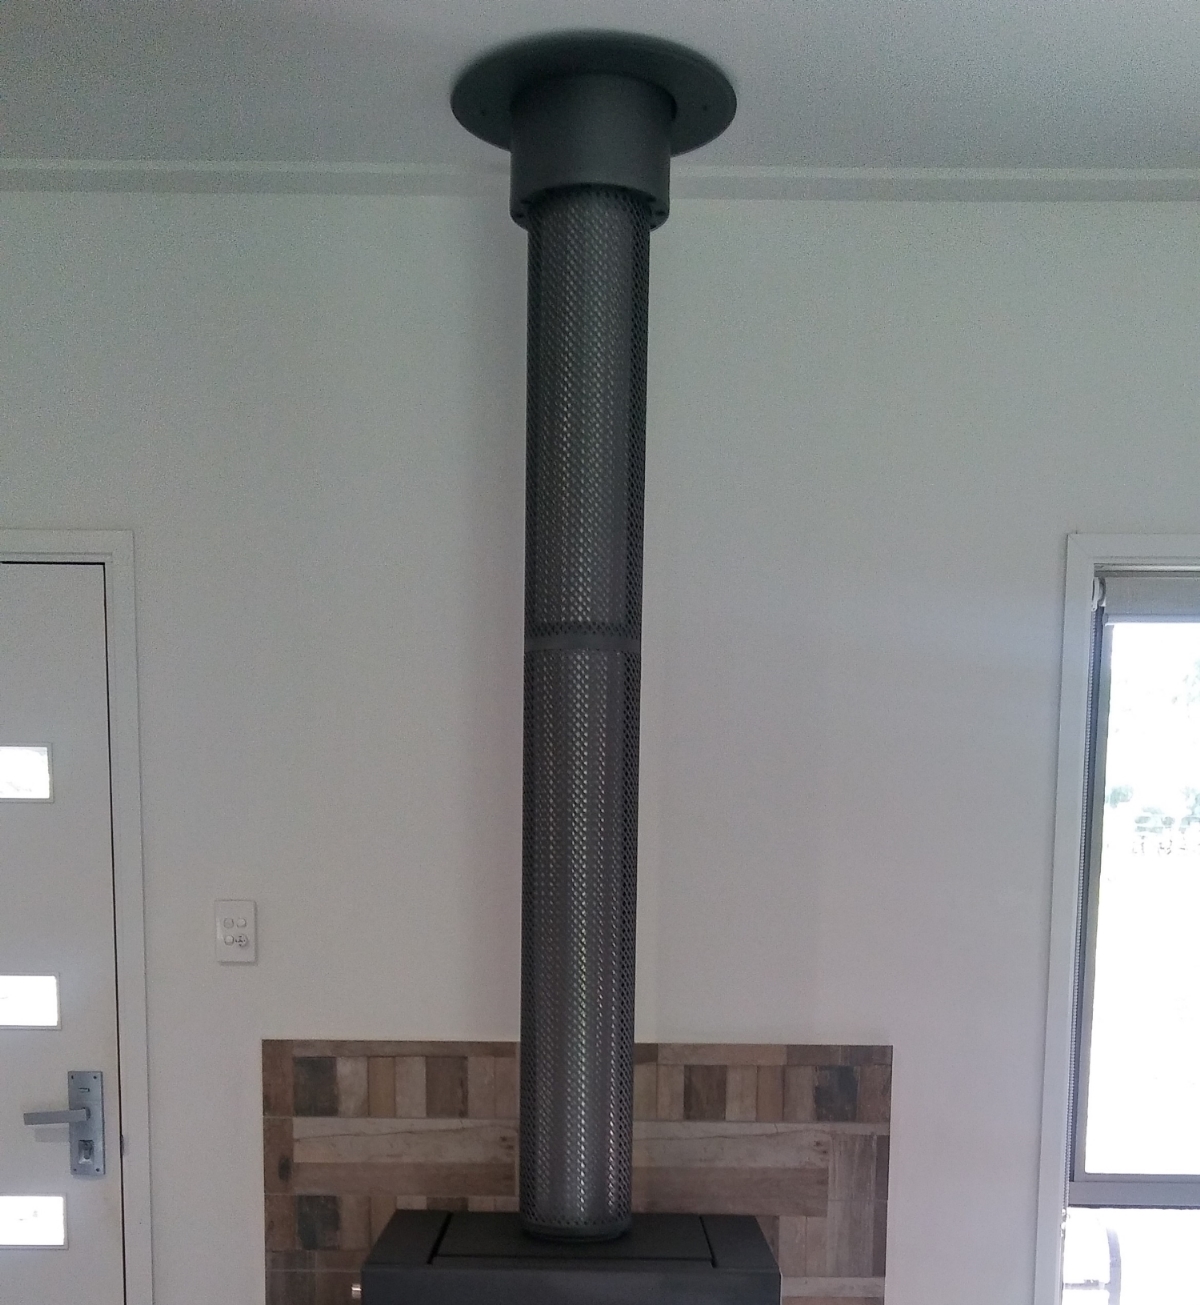
The installer then went about his craft, finding a centre point on the ceiling, pre-cutting a guide hole, checking how the flue would travel through the roofing, cutting a hole in the corrugated iron etc. Once all was ready we started the assembly of the flue kit which had to be done in a specific order. I loved the look of this Maxiheat Decromesh Flue and the installer said it was a very good product. I really don't know how these guys do it alone as my second pair of hands seemed essential.
The spaced flashing ring was installed under the ceiling, braces were installed in the ceiling space to support the flue, and we stacked the flue and decorative outer casing according to the plan. He installed the flashing ring onto the corrugated roofing and finished it with silicon sealant. Lastly the chimney cowl was installed and the job was done.
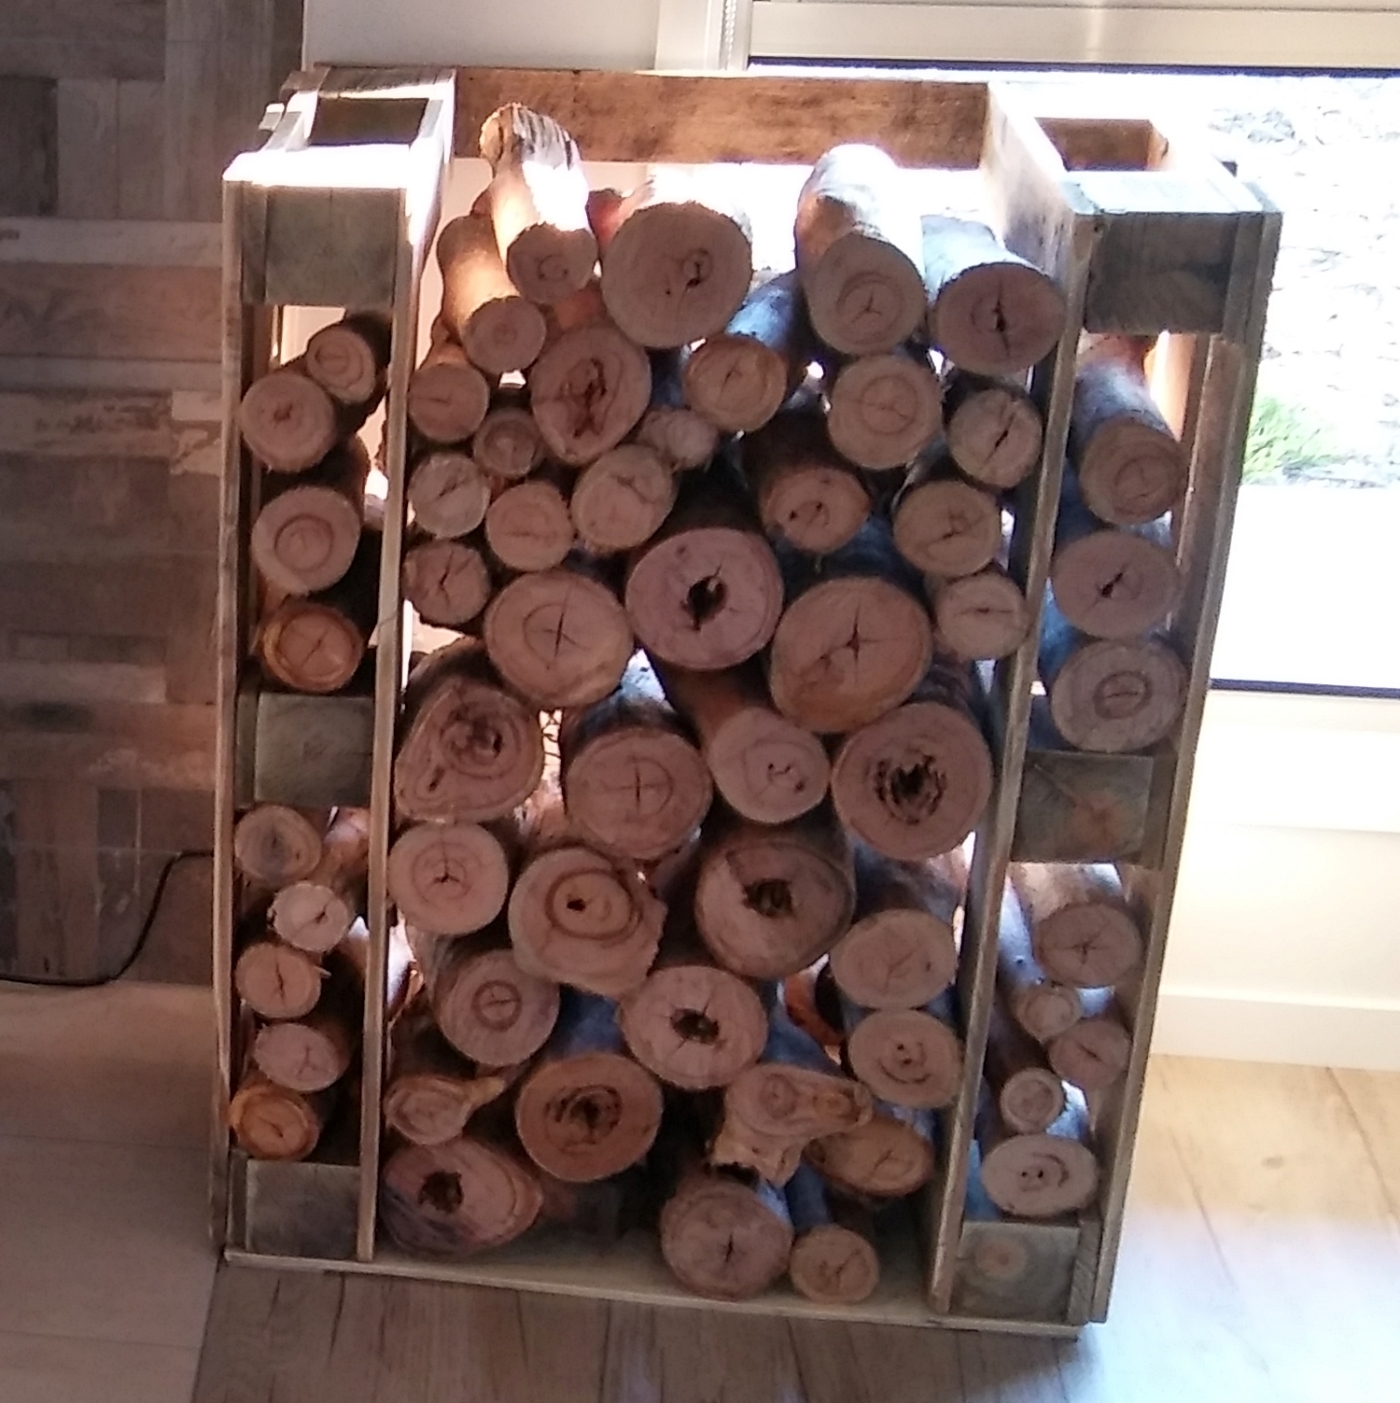
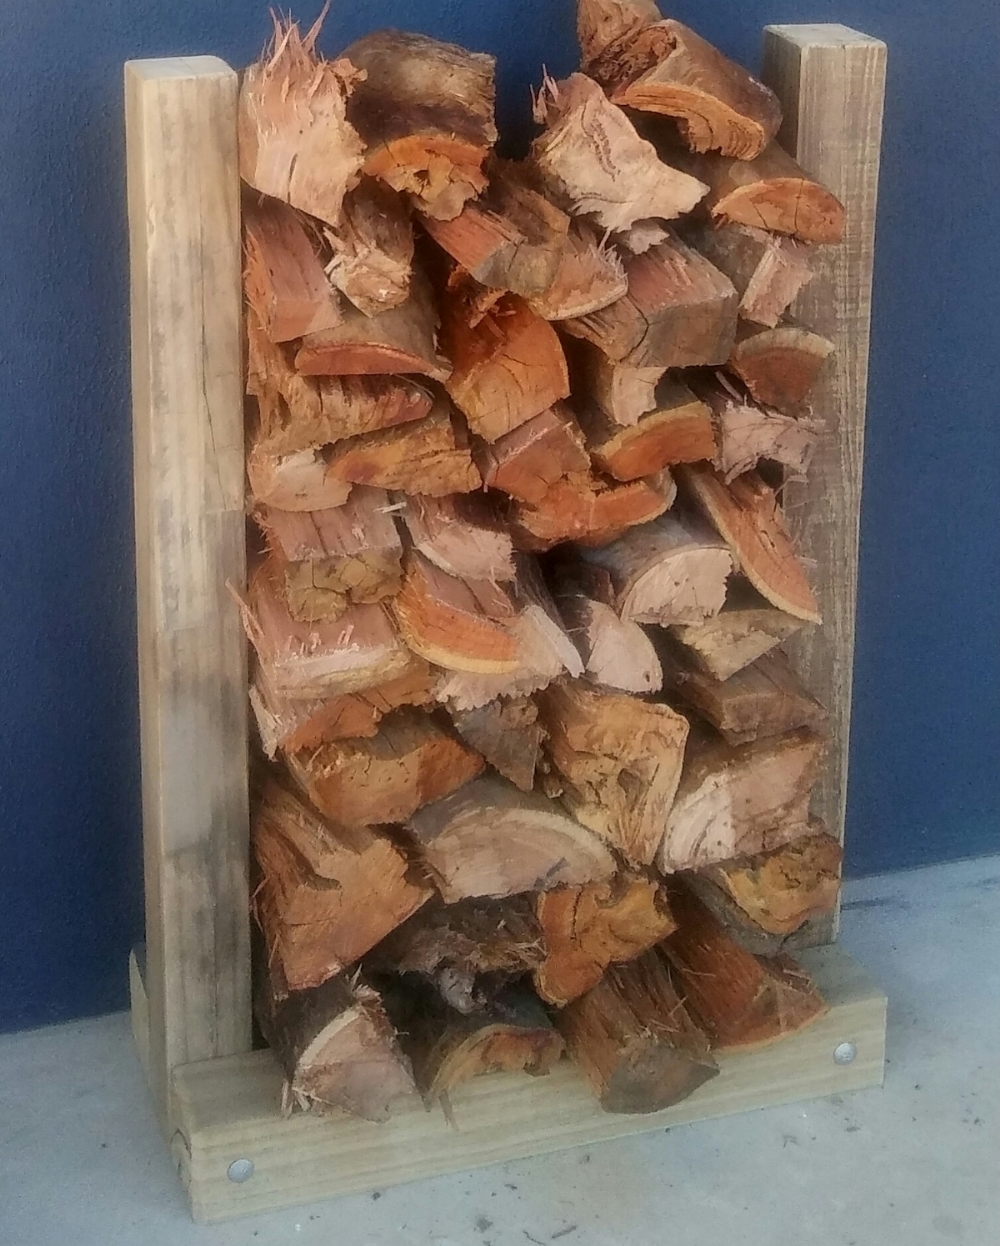
I added a wood stacker made from an old pallet to blend with the wood look tiles and my wood heater project was complete.
See my Blaze wood heater review here
Go back to Projects or return to kithomebasics home page
Comments..
Great Site, that's all one can say, it fills in most of the questions and doubts that one has when making the decision to take the plunge and build your own home. Couple of questions if I may be so bold?
On bush block have heaps of firewood and wish to use it for cooking (ESSE wood burner) and heating (lounge fire place), showing my age now. There the two questions are now combined as one, except for how do you achieve these two requirements so you do not burn the house down?
Do you build an inclusive with fire bricks or what do you think would be the best way to go about this within the house envelope?
Thanks & keep up the good work, Oh all the best for the upcoming Christmas Season to you & yours also.
Regards Rod WA
Ed Reply
Hi Rod
I too have a lifetime supply of wood on my property, but only use a convection heater for winter. As I live in northern OZ cooking with wood would be a little hot most of the time. I would like the option though and found lots of sites that helped me as I decided. I am someone who tries everything but my brickwork is a bit sad so I cant help you with something I have personally tried. I would look for mud brick or similar creations on the net. Your concerns about burning down the house are valid as some of these ideas have been disasters.
For a ready made option , look for one of these...
https://www.sneddons.com.au/products/nectre-big-bakers-oven
The trick is to get one with a big firebox. The one above is about $3K but good big kitchen cookers will cost $10k+. Add delivery, flue and installation.
Other ideas to use your supply of firewood... build a fire pit outside, a pizza oven, bbq?
Good luck
Michael
Kithomebasics.com
